图15
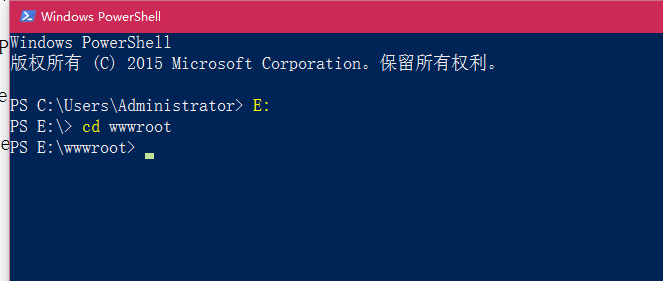
1、在 Windows PowerShll 中,进入wwwroot目录,如图1
2、通过 Composer 安装,运行下面的命令,将其安装在kaiqiu_shujujiexi_api目录,如图2、3
composer create-project yiisoft/yii2-app-advanced kaiqiu_shujujiexi_api 2.0.10
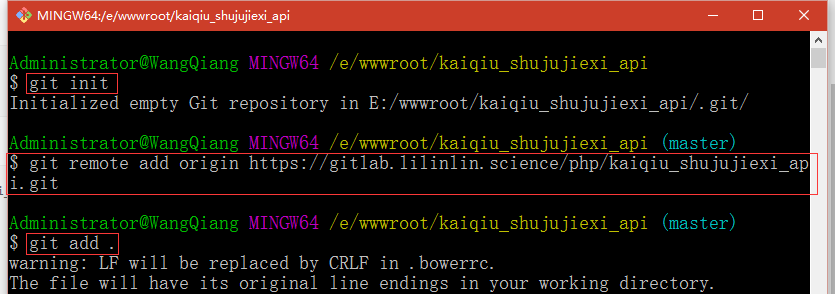
3、进入kaiqiu_shujujiexi_api目录,右键单击,选择 Git Bash Here,如图4
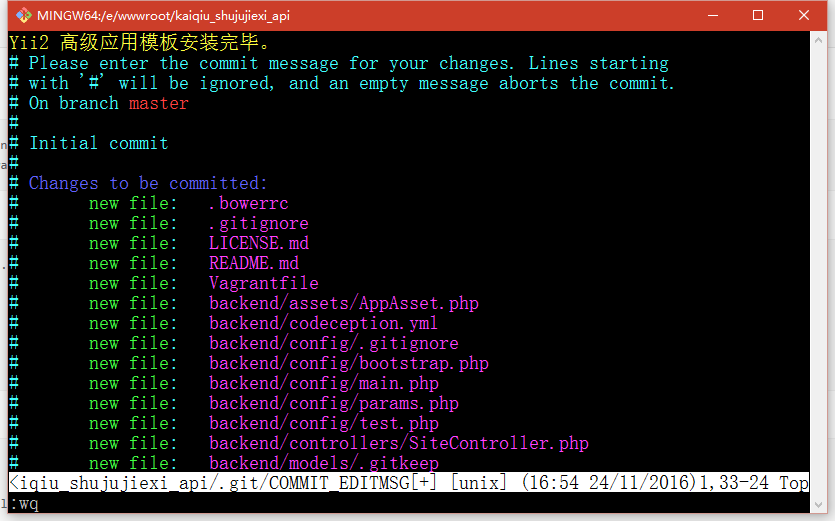
4、依次执行命令,如图5、6
git init
git remote add origin https://gitlab.lilinlin.science/php/kaiqiu_shujujiexi_api.git
git add .
git commit
git push -u origin master
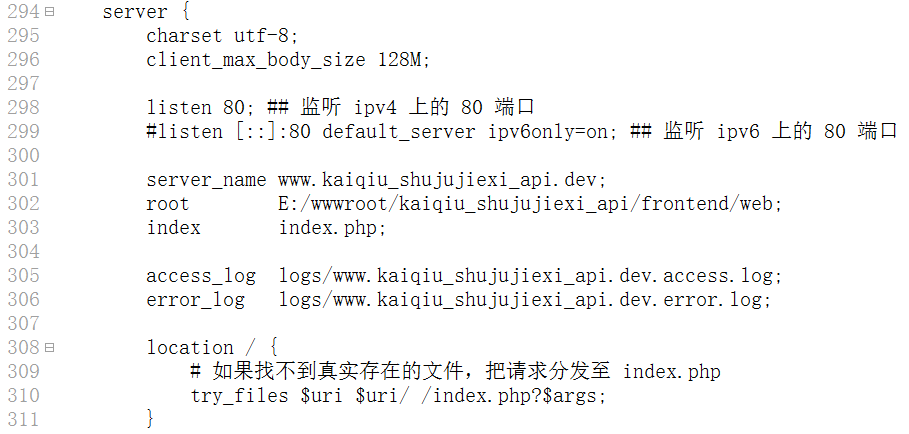
5、设置Web服务器,使用虚拟主机部署前端与后端,编辑nginx.conf文件,添加如下内容,如图7
server {
listen 80;
server_name www.kaiqiu_shujujiexi.dev;
root E:/wwwroot/kaiqiu_shujujiexi/web;
index index.html index.htm index.php;
#charset koi8-r;
charset utf-8;
access_log logs/www.kaiqiu_shujujiexi.dev.access.log;
error_log logs/www.kaiqiu_shujujiexi.dev.error.log;
location / {
try_files $uri $uri/ /index.php?$args;
}
client_max_body_size 128M;
#error_page 404 /404.html;
# redirect server error pages to the static page /50x.html
#
error_page 500 502 503 504 /50x.html;
location = /50x.html {
root html;
}
# proxy the PHP scripts to Apache listening on 127.0.0.1:80
#
#location ~ \.php$ {
# proxy_pass http://127.0.0.1;
#}
# pass the PHP scripts to FastCGI server listening on 127.0.0.1:9000
#
location ~ \.php$ {
include fastcgi.conf;
# fastcgi_split_path_info ^(.+\.php)(/.+)$;
# root E:/wwwroot/kaiqiu_shujujiexi/web;
fastcgi_pass 127.0.0.1:9000;
# fastcgi_index index.php;
# fastcgi_param SCRIPT_FILENAME $document_root$fastcgi_script_name;
# include fastcgi_params;
try_files $uri = 404;
}
# deny access to .htaccess files, if Apache’s document root
# concurs with nginx’s one
#
#location ~ /\.ht {
# deny all;
#}
location ~ /\.(ht|svn|git) {
deny all;
}
}
server {
charset utf-8;
client_max_body_size 128M;
listen 80; ## 监听 ipv4 上的 80 端口
#listen [::]:80 default_server ipv6only=on; ## 监听 ipv6 上的 80 端口
server_name www.kaiqiu_shujujiexi_api.dev;
root E:/wwwroot/kaiqiu_shujujiexi_api/frontend/web;
index index.php;
access_log logs/www.kaiqiu_shujujiexi_api.dev.access.log;
error_log logs/www.kaiqiu_shujujiexi_api.dev.error.log;
location / {
# 如果找不到真实存在的文件,把请求分发至 index.php
try_files $uri $uri/ /index.php?$args;
}
# 若取消下面这段的注释,可避免 Yii 接管不存在文件的处理过程(404)
#location ~ \.(js|css|png|jpg|gif|swf|ico|pdf|mov|fla|zip|rar)$ {
# try_files $uri =404;
#}
#error_page 404 /404.html;
# redirect server error pages to the static page /50x.html
#
error_page 500 502 503 504 /50x.html;
location = /50x.html {
root html;
}
# proxy the PHP scripts to Apache listening on 127.0.0.1:80
#
#location ~ \.php$ {
# proxy_pass http://127.0.0.1;
#}
# pass the PHP scripts to FastCGI server listening on 127.0.0.1:9000
#
location ~ \.php$ {
fastcgi_split_path_info ^(.+\.php)(/.+)$;
root E:/wwwroot/kaiqiu_shujujiexi_api/frontend/web;
fastcgi_pass 127.0.0.1:9000;
fastcgi_index index.php;
fastcgi_param SCRIPT_FILENAME $document_root$fastcgi_script_name;
include fastcgi_params;
}
# deny access to .htaccess files, if Apache’s document root
# concurs with nginx’s one
#
#location ~ /\.ht {
# deny all;
#}
}
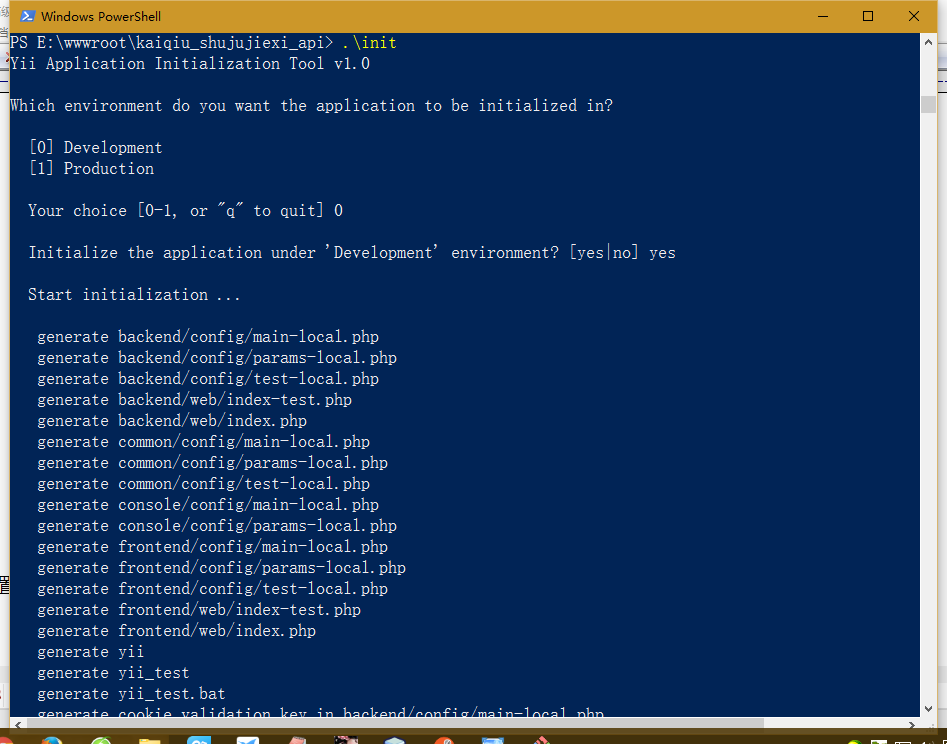
6、设置应用环境,进入 kaiqiu_shujujiexi_api 目录,执行 init 命令,如图8
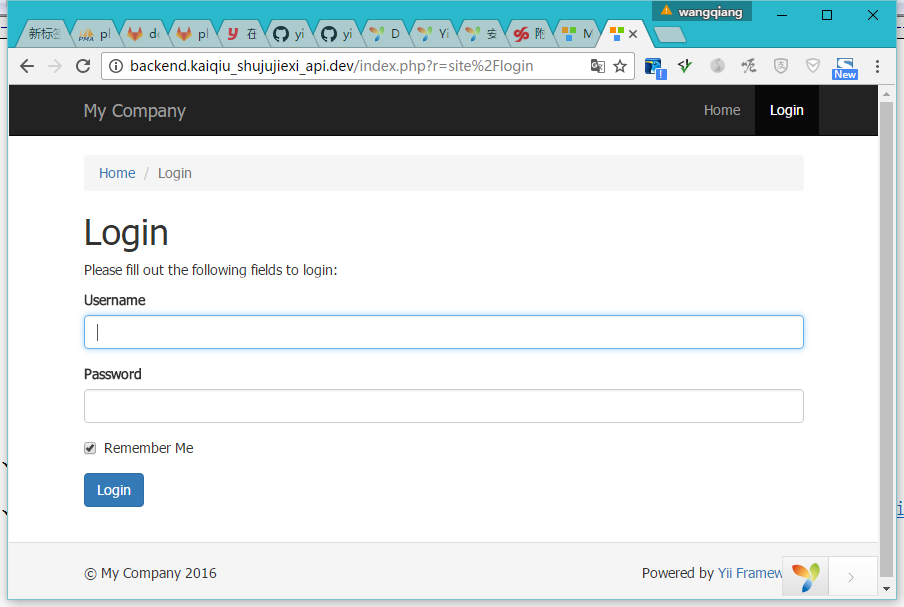
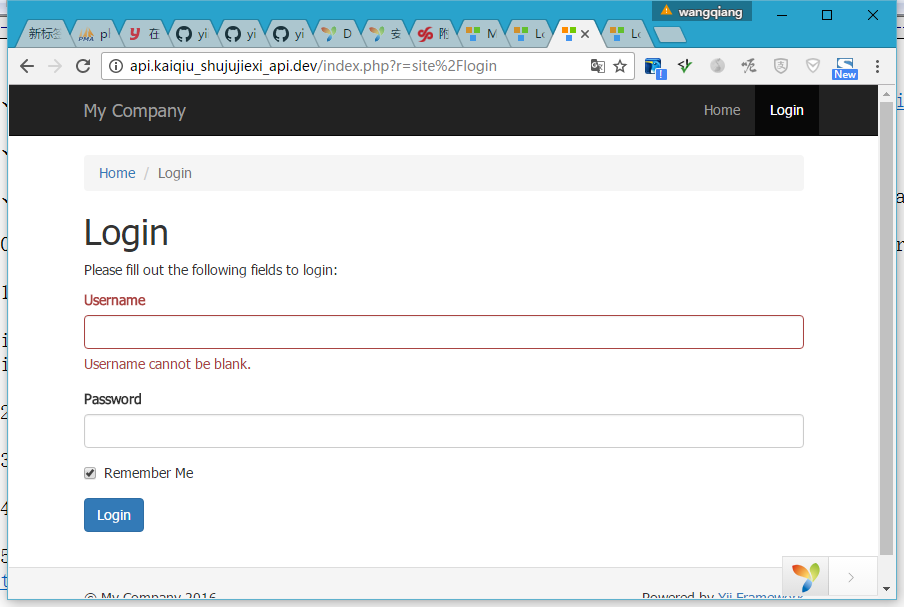
7、打开网址:http://www.kaiqiu_shujujiexi_api.dev/、http://backend.kaiqiu_shujujiexi_api.dev/,如图9、10
8、新建应用shujujiexi、api,复制backend目录为shujujiexi、api,如图11
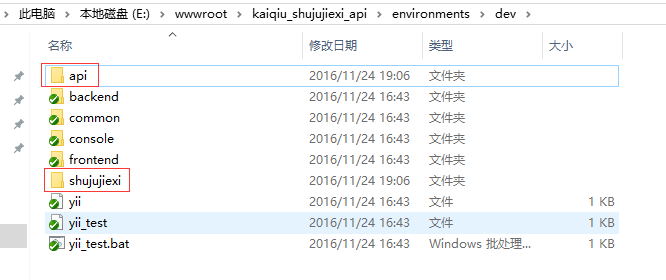
9、复制environments/dev/backend目录为environments/dev/shujujiexi、environments/dev/api,如图12
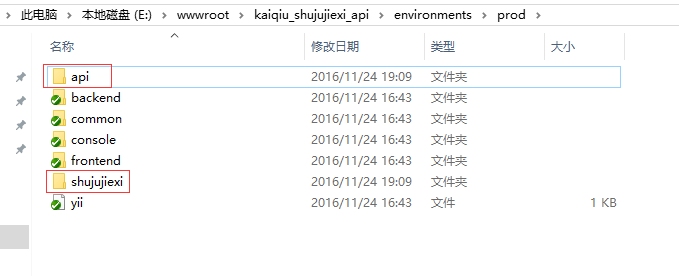
10、复制environments/prod/backend目录为environments/prod/shujujiexi、environments/prod/api,如图13
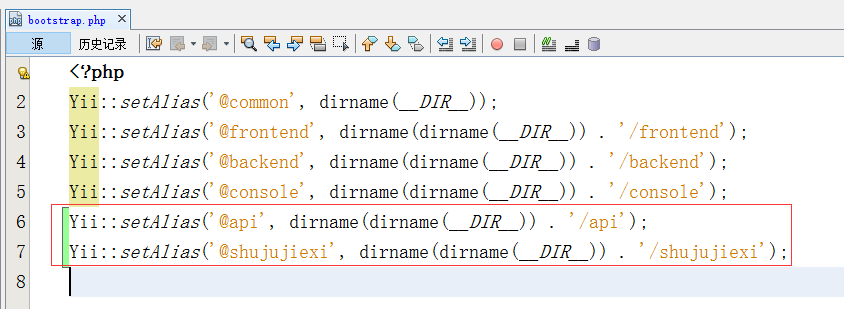
11、编辑common/config/bootstrap.php,添加2行,如图14
Yii::setAlias(‘@api’, dirname(dirname(__DIR__)) . ‘/api’);
Yii::setAlias(‘@shujujiexi’, dirname(dirname(__DIR__)) . ‘/shujujiexi’);
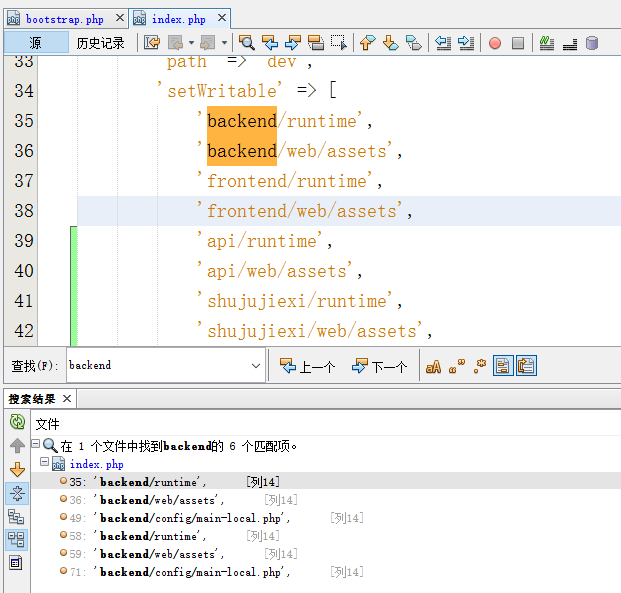
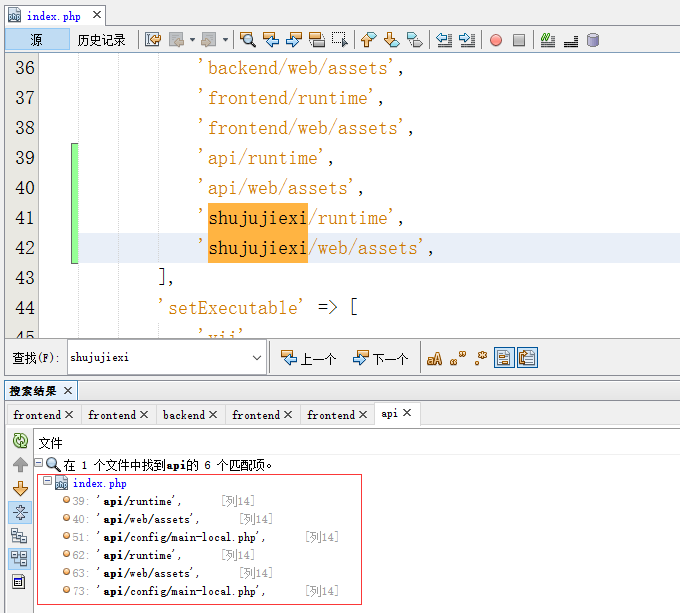
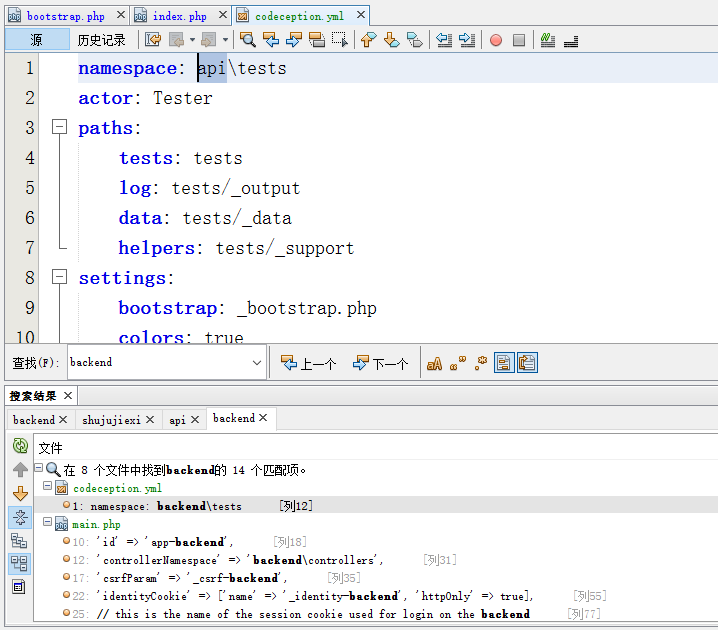
12、编辑environments/index.php,搜索此文件有6处backend,则相应复制6份,如图15、16
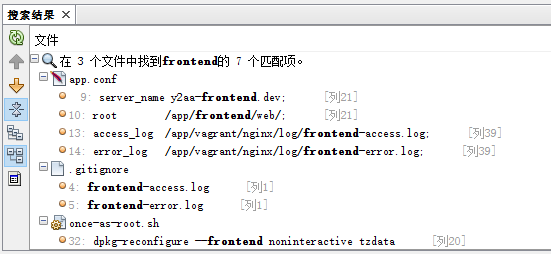
13、如果需要使用vagrant,建议按照第12项的方案复制处理,如图17
14、在目录shujujiexi、api中搜索backend,将其分别替换为shujujiexi、api,如图18
15、在 Nginx 中添加虚拟主机,打开网址:http://api.kaiqiu_shujujiexi_api.dev/、http://shujujiexi.kaiqiu_shujujiexi_api.dev/,如图19
View Comments