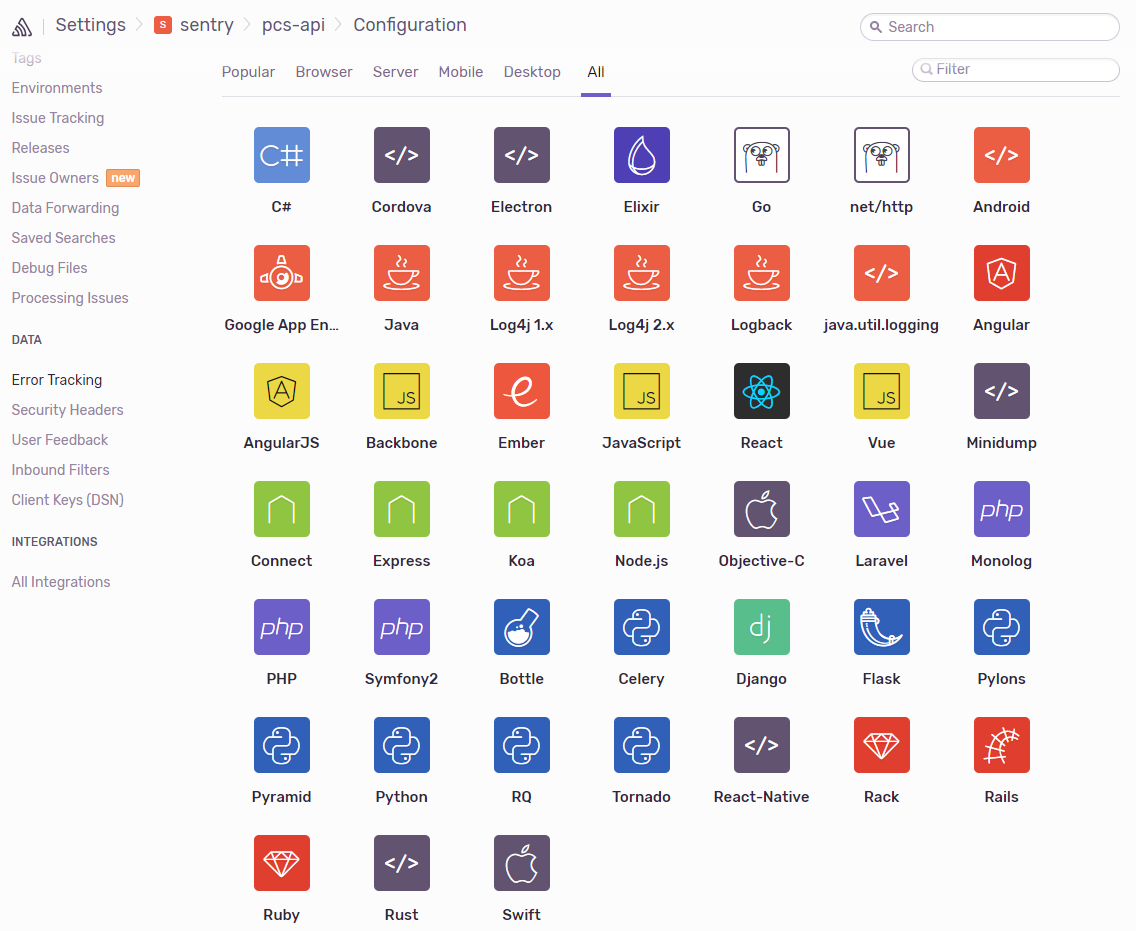
图1
1、在配置您的应用程序的 All 选项中,不存在 Yii2 框架,只能够选择 PHP,如图1
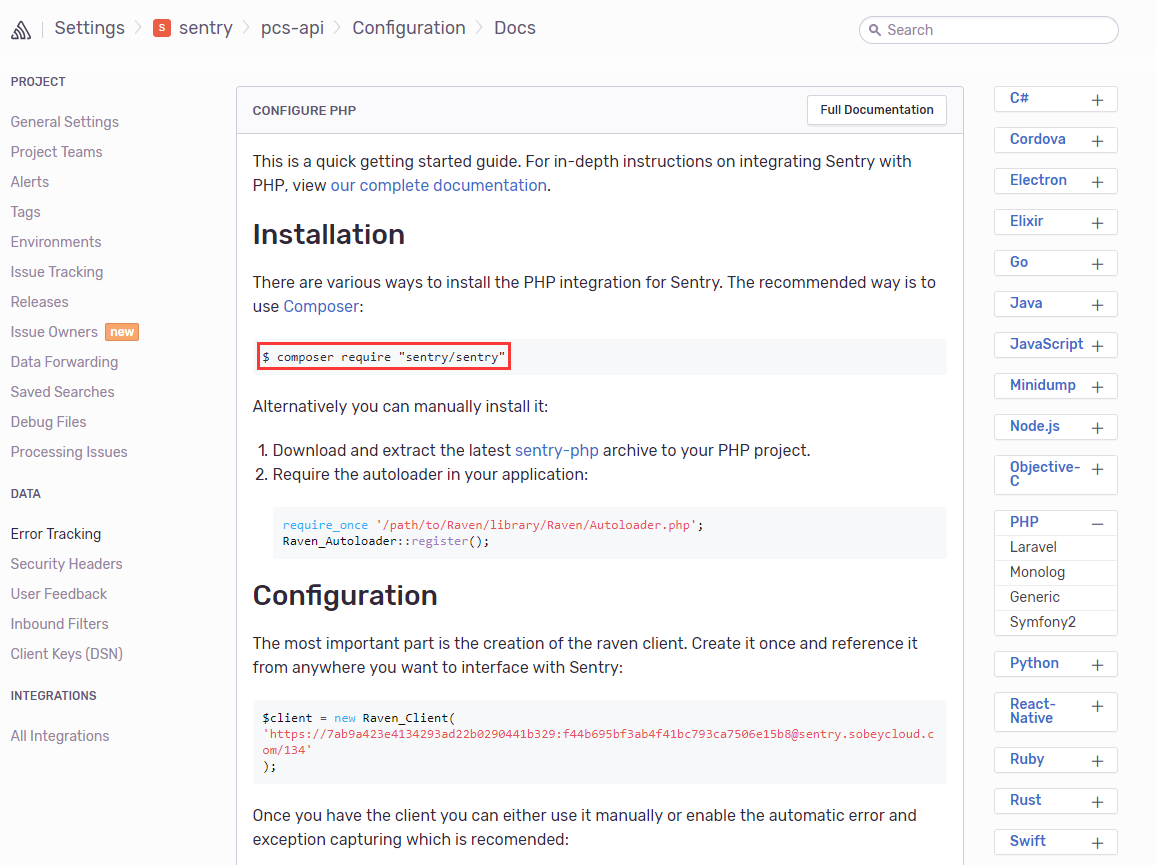
2、为 Sentry 安装 PHP 集成。推荐的方法是使用 Composer,不过决定暂不采用此方案,如图2
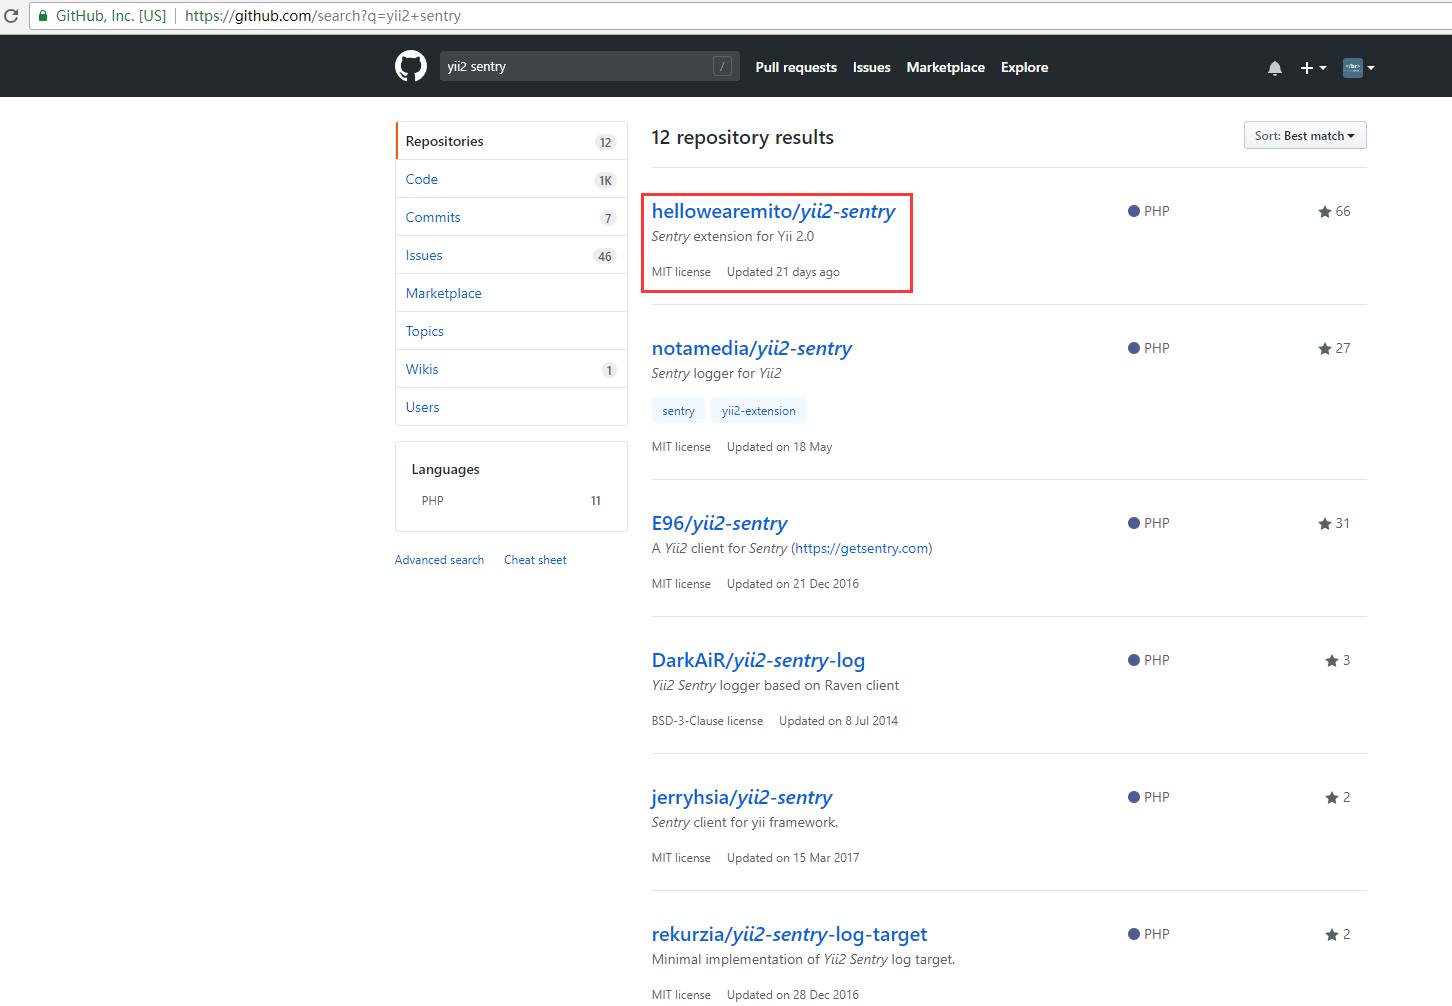
3、在 GitHub 中搜索 yii2 sentry,决定基于 hellowearemito/yii2-sentry 实现,如图3
3、在 GitHub 中搜索 yii2 sentry,决定基于 hellowearemito/yii2-sentry 实现,如图3
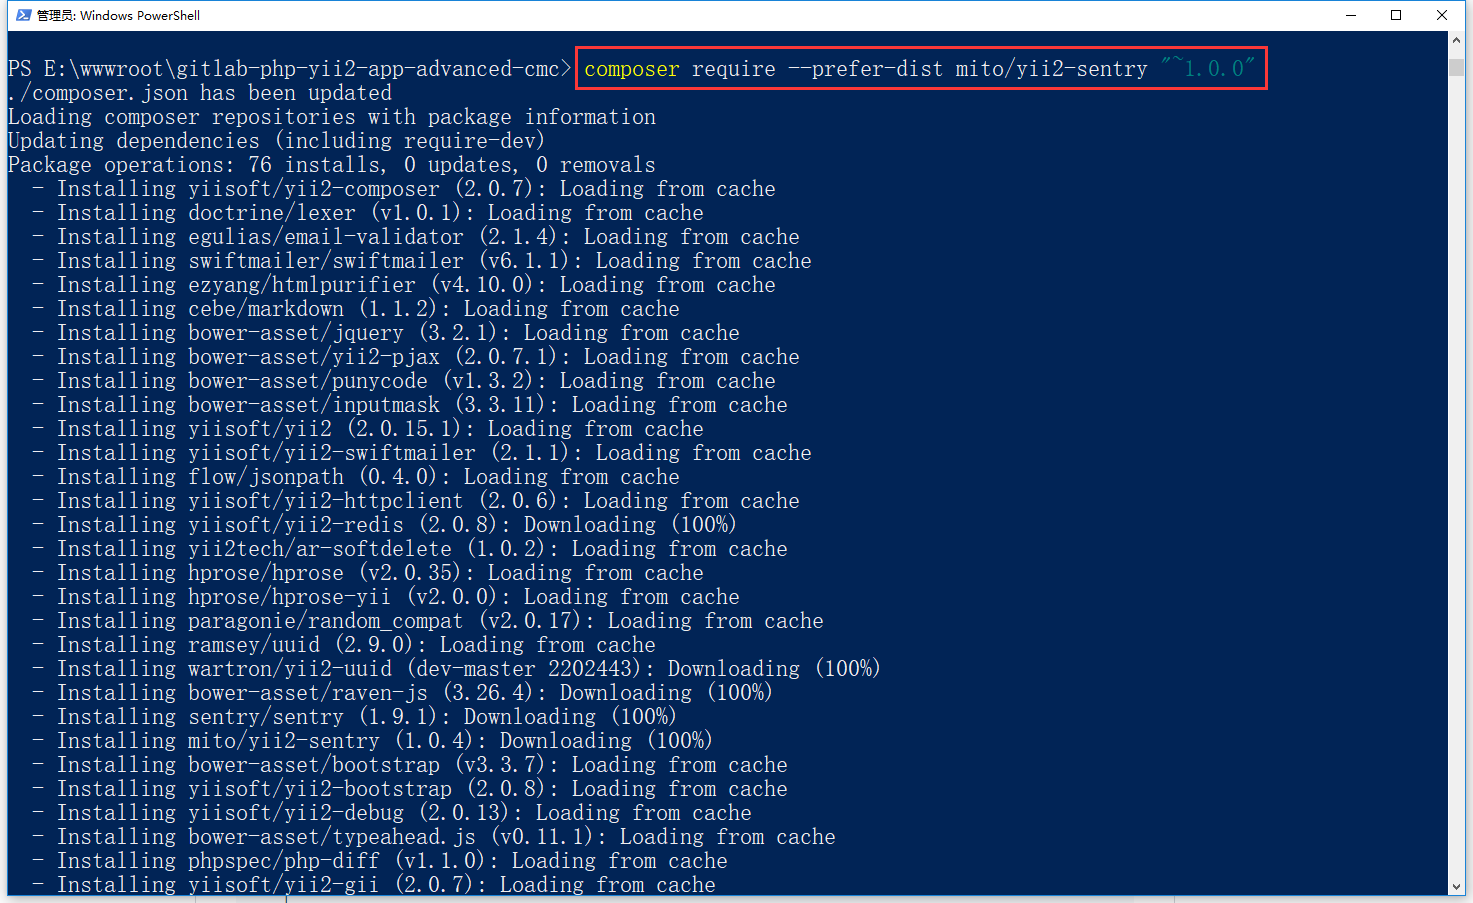
4、打开网址:https://github.com/hellowearemito/yii2-sentry ,执行命令,如图4
composer require --prefer-dist mito/yii2-sentry "~1.0.0"
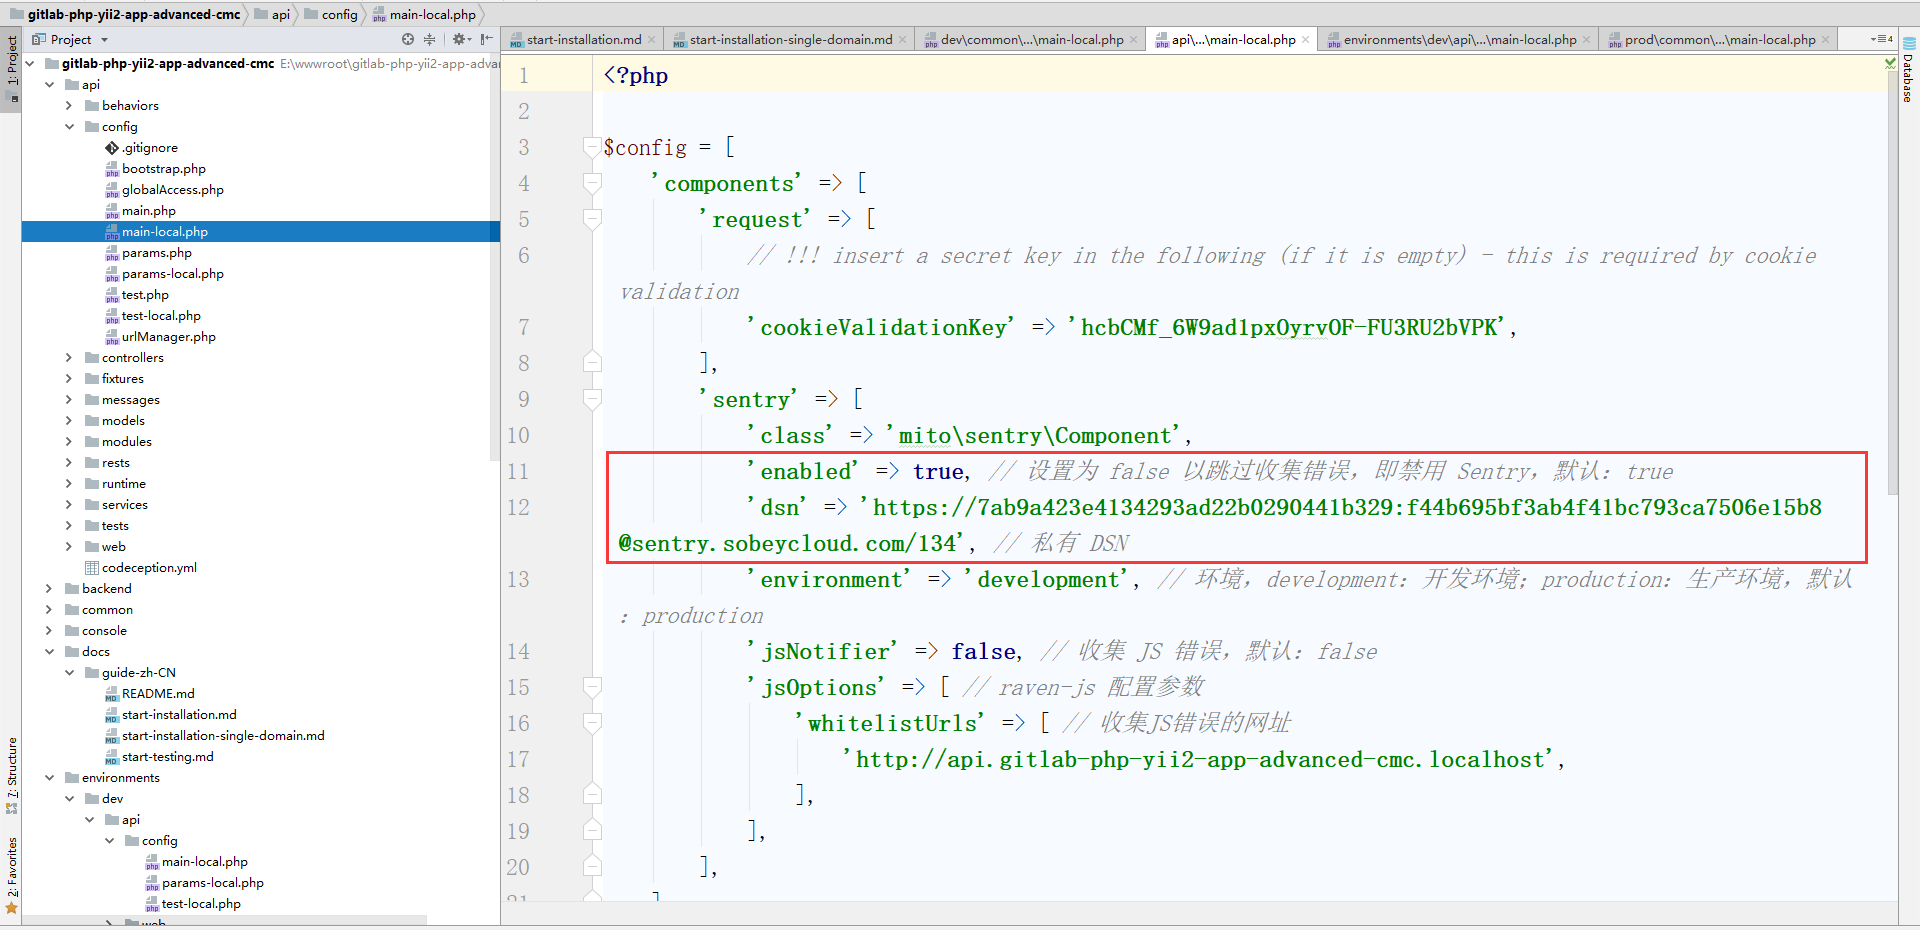
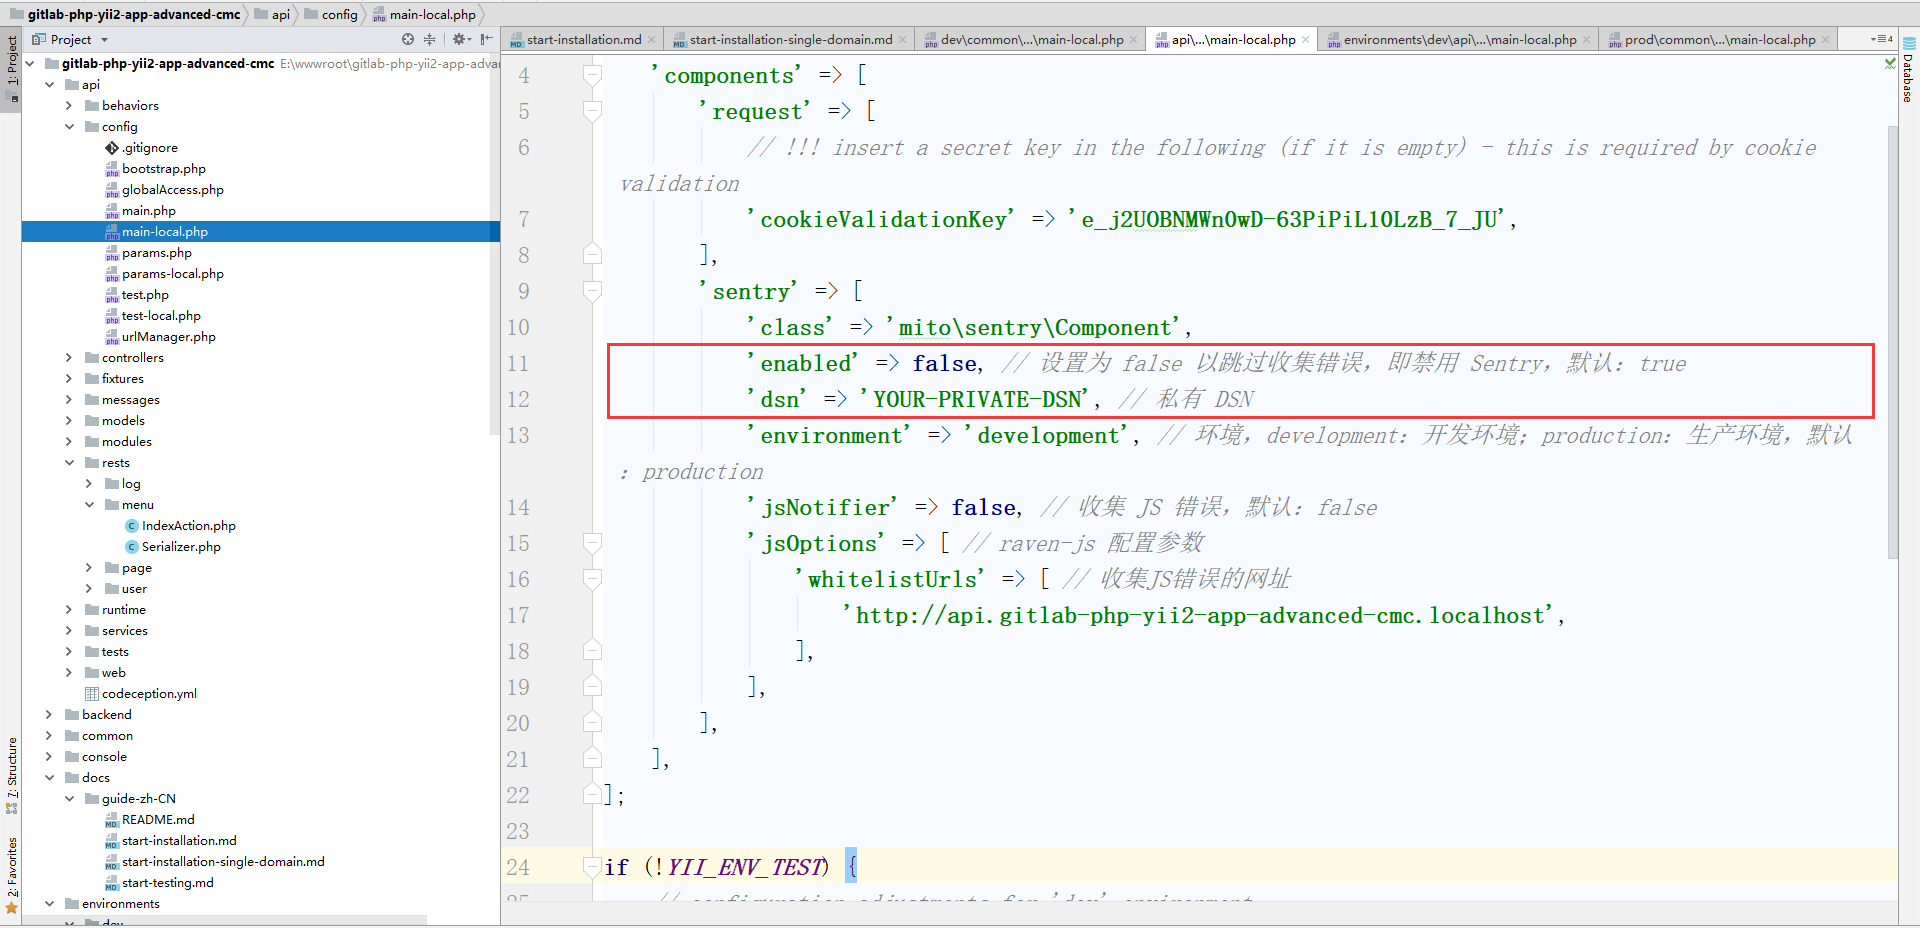
5、安装扩展后,在开发环境的配置文件中设置配置,编辑 \environments\dev\api\config\main-local.php
return [
    'components' => [
        'request' => [
            // !!! insert a secret key in the following (if it is empty) - this is required by cookie validation
            'cookieValidationKey' => '',
        ],
        'sentry' => [
            'class' => 'mito\sentry\Component',
            'enabled' => false, // 设置为 false 以跳过收集错误,即禁用 Sentry,默认:true
            'dsn' => 'YOUR-PRIVATE-DSN', // 私有 DSN
            'environment' => 'development', // 环境,development:开发环境;production:生产环境,默认:production
            'jsNotifier' => false, // 收集 JS 错误,默认:false
            'jsOptions' => [ // raven-js 配置参数
                'whitelistUrls' => [ // 收集JS错误的网址
                    'http://api.gitlab-php-yii2-app-advanced-cmc.localhost',
                ],
            ],
        ],
    ],
];
6、安装扩展后,在生产环境的配置文件中设置配置,编辑 \environments\prod\api\config\main-local.php
return [
    'components' => [
        'request' => [
            // !!! insert a secret key in the following (if it is empty) - this is required by cookie validation
            'cookieValidationKey' => '',
        ],
        'sentry' => [
            'class' => 'mito\sentry\Component',
            'enabled' => false, // 设置为 false 以跳过收集错误,即禁用 Sentry,默认:true
            'dsn' => 'YOUR-PRIVATE-DSN', // 私有 DSN
            'environment' => 'production', // 环境,development:开发环境;production:生产环境,默认:production
            'jsNotifier' => false, // 收集 JS 错误,默认:false
            'jsOptions' => [ // raven-js 配置参数
                'whitelistUrls' => [ // 收集JS错误的网址
                    'http://api.gitlab-php-yii2-app-advanced-cmc.localhost',
                ],
            ],
        ],
    ],
];
7、配置日志组件,以支持将日志发送至 Sentry,编辑 \api\config\main.php
    'components' => [
        'log' => [
            'traceLevel' => YII_DEBUG ? 3 : 0,
            'targets' => [
                'sentry' => [
                    'class' => 'mito\sentry\Target',
                    'levels' => ['error', 'warning'],
                ],
            ],
        ],
    ],
8、初始化选择开发环境,编辑 \api\config\main-local.php,如图5
init
0
yes
All
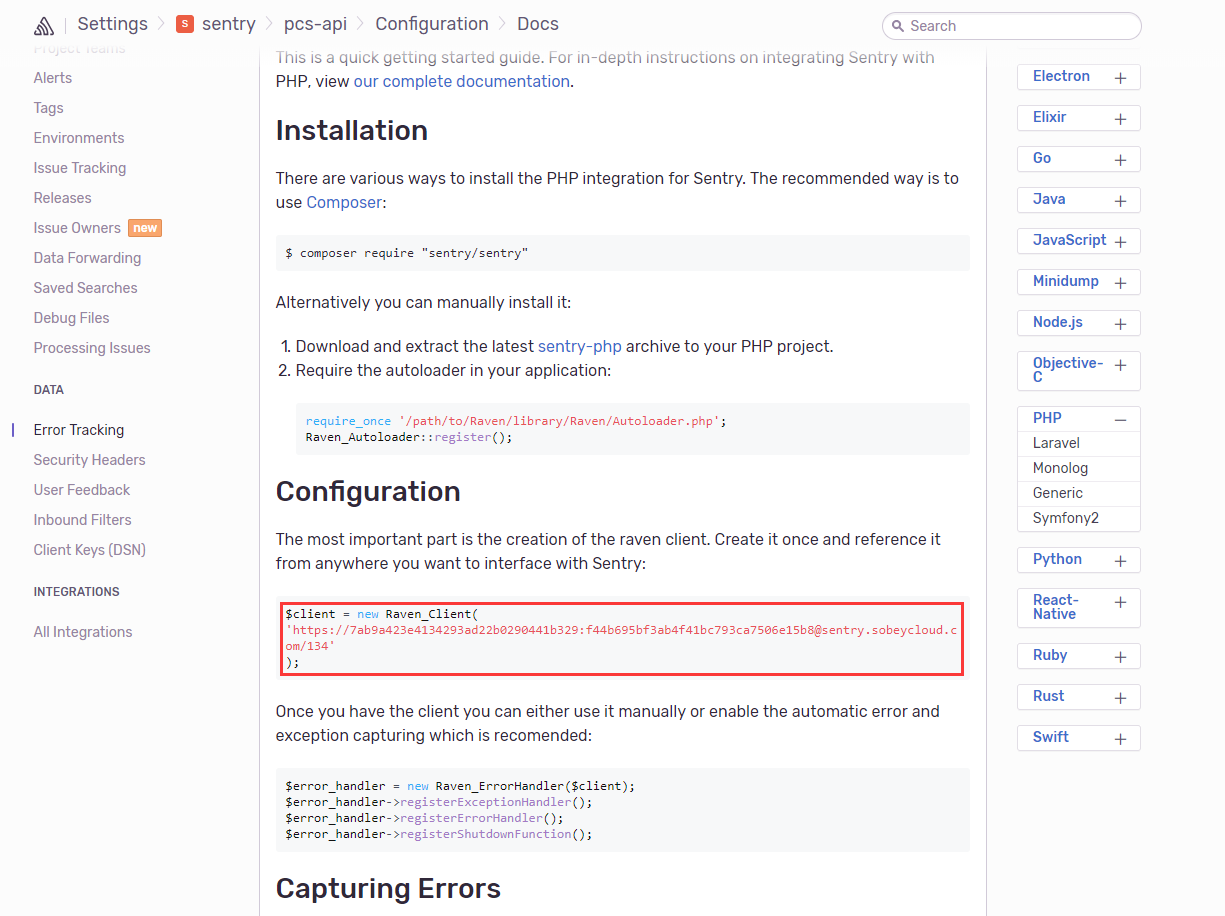
9、私有 DSN 的值,需要从 /settings/sentry/pcs-api/install/php/ 的 Configuration 中复制,如图6
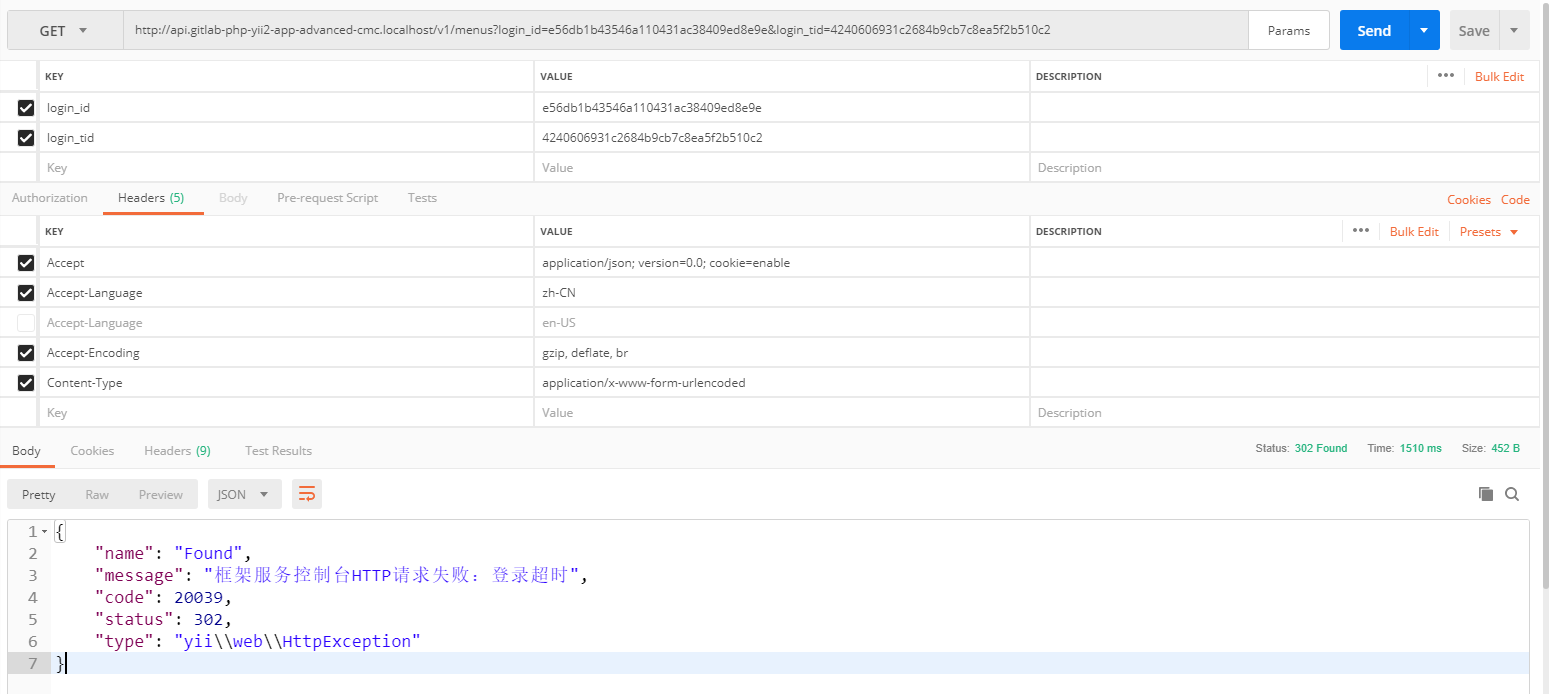
10、GET 请求接口,响应 302,如图7
{
    "name": "Found",
    "message": "框架服务控制台HTTP请求失败:登录超时",
    "code": 20039,
    "status": 302,
    "type": "yii\\web\\HttpException"
}
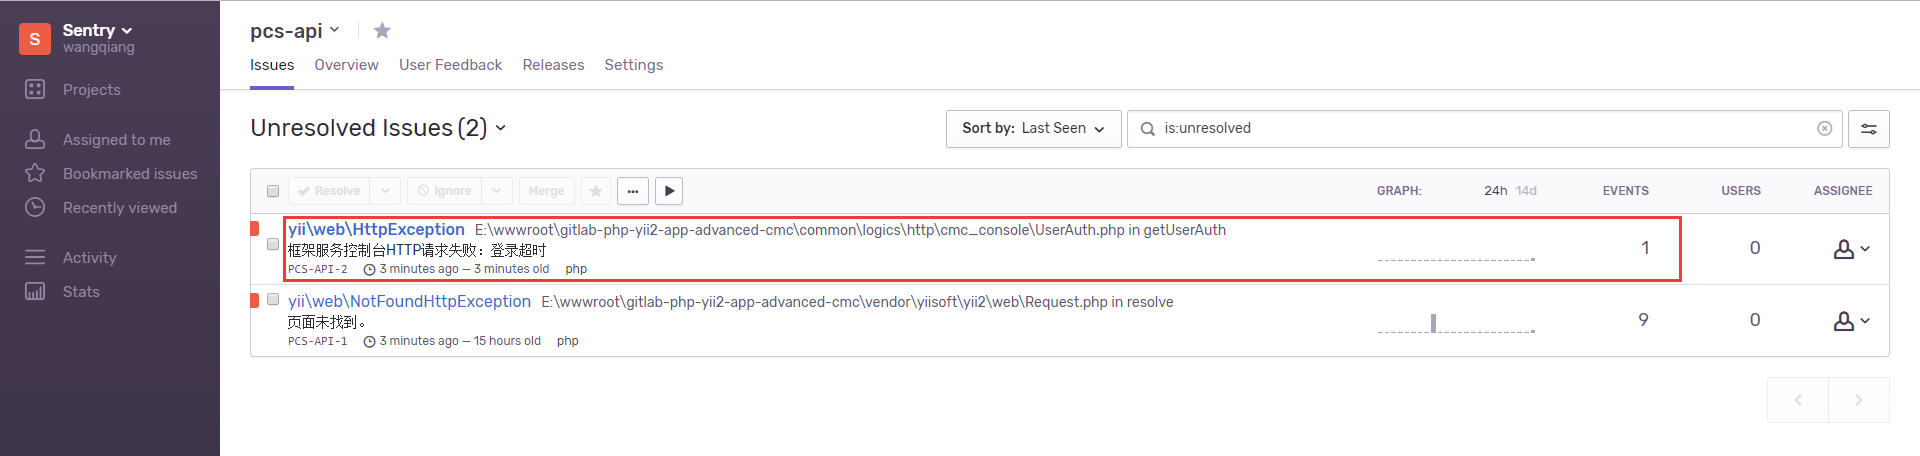
11、查看 Unresolved Issues,即尚未解决的问题,符合预期,对应的日志已经发送至 Sentry,如图8
12、初始化选择生产环境,编辑 \api\config\main-local.php,如图9
init
1
yes
All
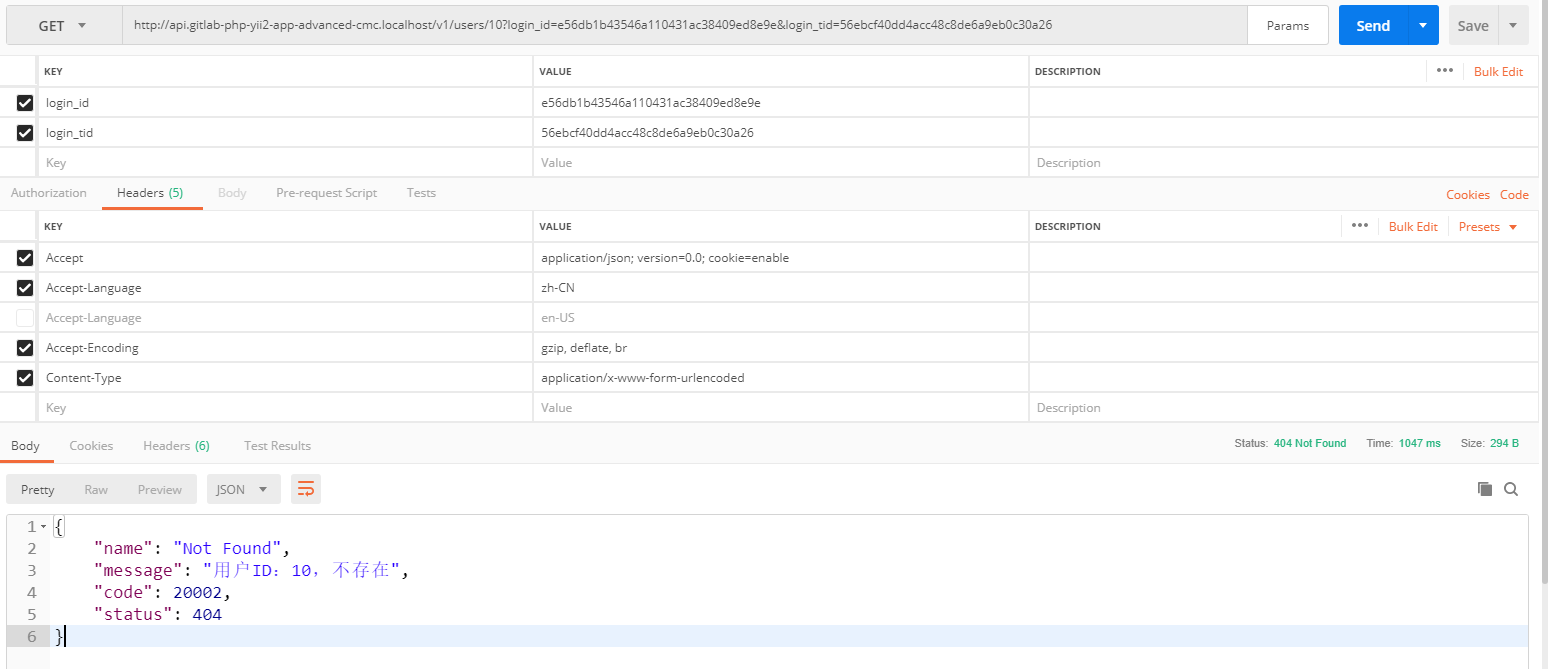
13、GET 请求接口,响应 404,如图10
{
    "name": "Not Found",
    "message": "用户ID:10,不存在",
    "code": 20002,
    "status": 404
}
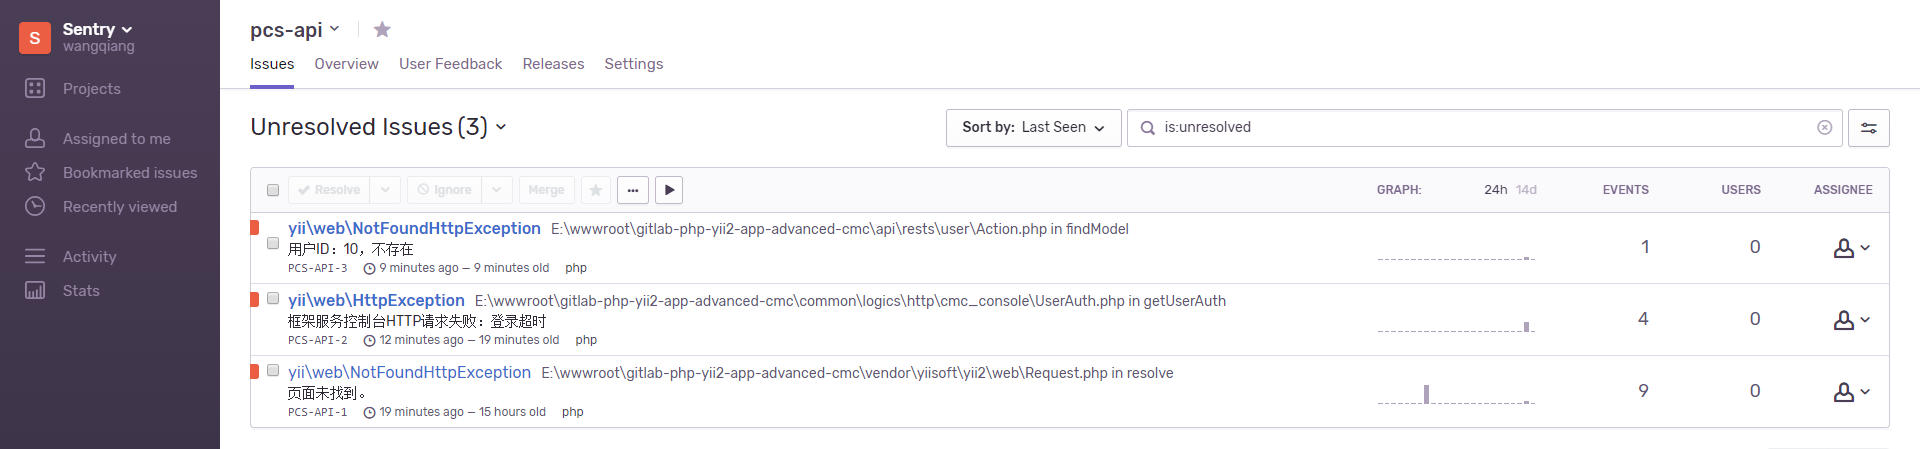
14、查看 Unresolved Issues,即尚未解决的问题,符合预期,对应的日志已经发送至 Sentry,如图11
15、初始化选择开发环境后,不编辑 \api\config\main-local.php,如图12
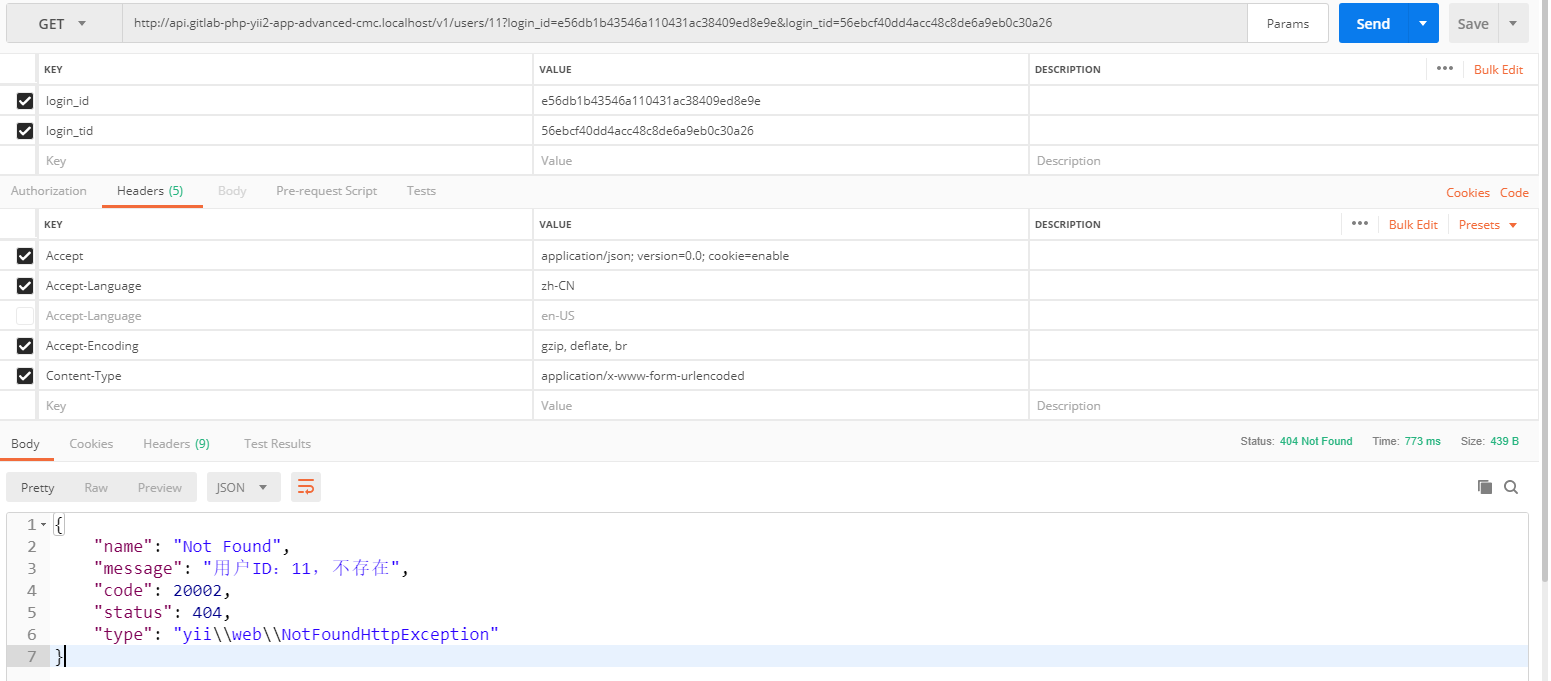
16、GET 请求接口,响应 404,如图13
{
    "name": "Not Found",
    "message": "用户ID:11,不存在",
    "code": 20002,
    "status": 404,
    "type": "yii\\web\\NotFoundHttpException"
}
17、查看 Unresolved Issues,即尚未解决的问题,符合预期,对应的日志未发送至 Sentry,因为已禁用 Sentry,如图14
18、再次重复第 15、16、17步骤,第15步骤的环境选择生产环境,发现对应的日志未发送至 Sentry,符合预期,因为已禁用 Sentry,如图15