图1
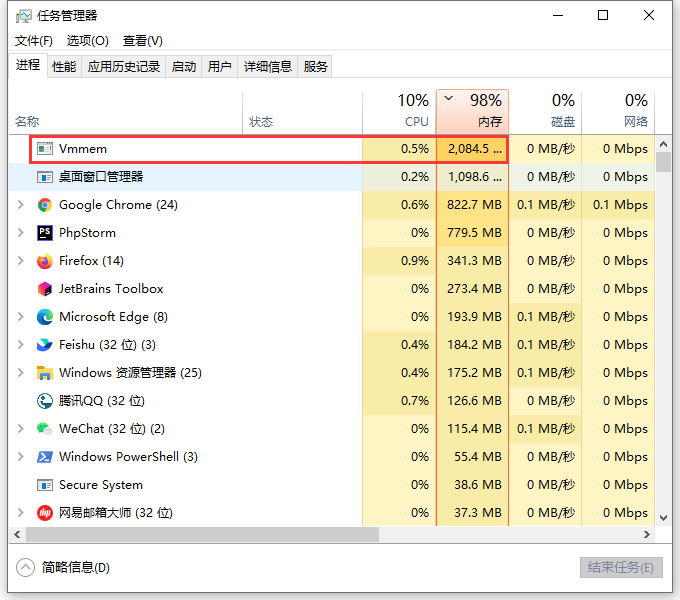
1、在 Windows 10 中,感觉卡顿得厉害。查看任务管理器,内存占用 98%。而名为 Vmmem 的进程占用内存高达 2.1 GB 。如图1
2、Vmmem 进程是系统合成的一个虚拟进程,用于表示虚拟机消耗的内存和 CPU 资源。 换句话说,如果您看到 Vmmem 消耗大量内存和 CPU 资源,那么这意味着您的虚拟机正在消耗大量内存和 CPU 资源。如果要让它停止,请关闭您的虚拟机。
3、我认为原因应该在于操作系统上运行了 Docker,并且正在进行的开发也可能使用它。 尝试寻找 Docker Desktop 并退出它,然后任务应该消失了。或者设置 Docker Desktop 的 内存 与 CPU 的占用限额。
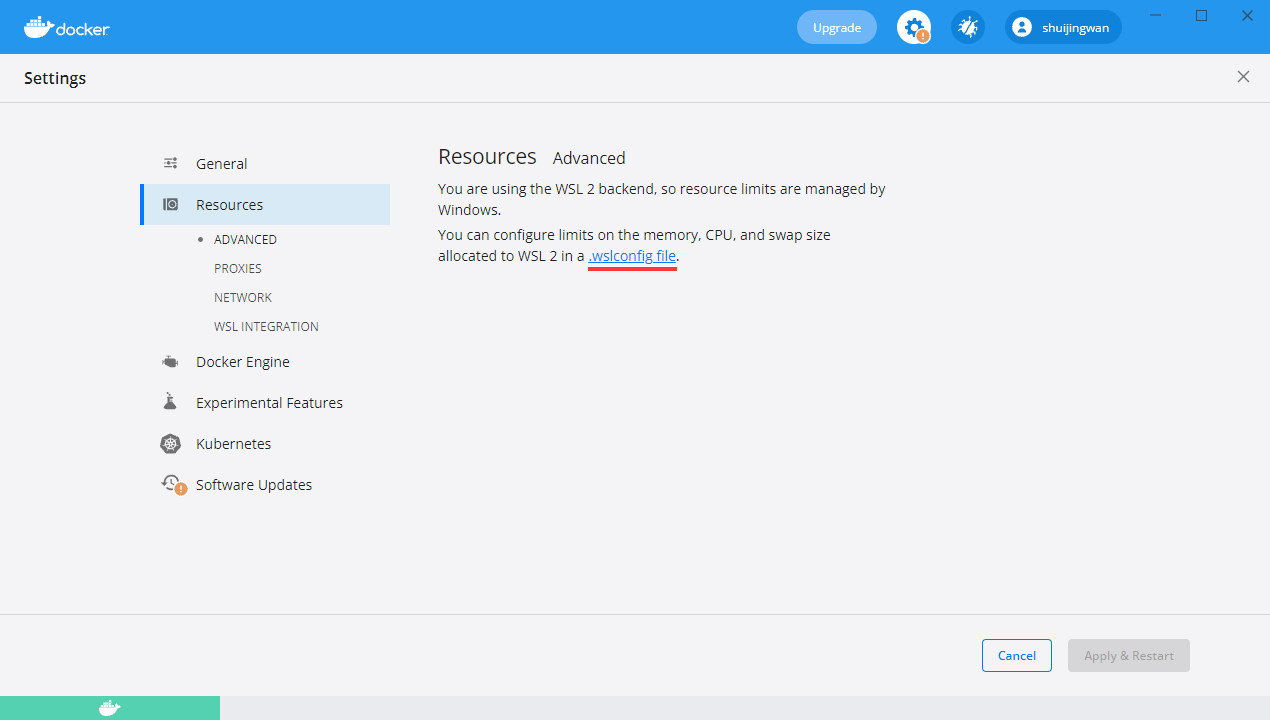
4、打开 Docker Desktop,Settings – Resources – ADVANCED。您正在使用 WSL 2 后端,因此资源限制由 Windows 管理。您可以在 .wslconfig 文件中配置分配给 WSL 2 的内存、CPU 和交换大小的限制。如图2
5、点击 .wslconfig,链接至 Advanced settings configuration in WSL:https://docs.microsoft.com/en-us/windows/wsl/wsl-config#configure-global-options-with-wslconfig 。WSL 2 作为轻型虚拟机 (VM) 运行,因此使用虚拟化设置可以控制使用的内存或处理器量。
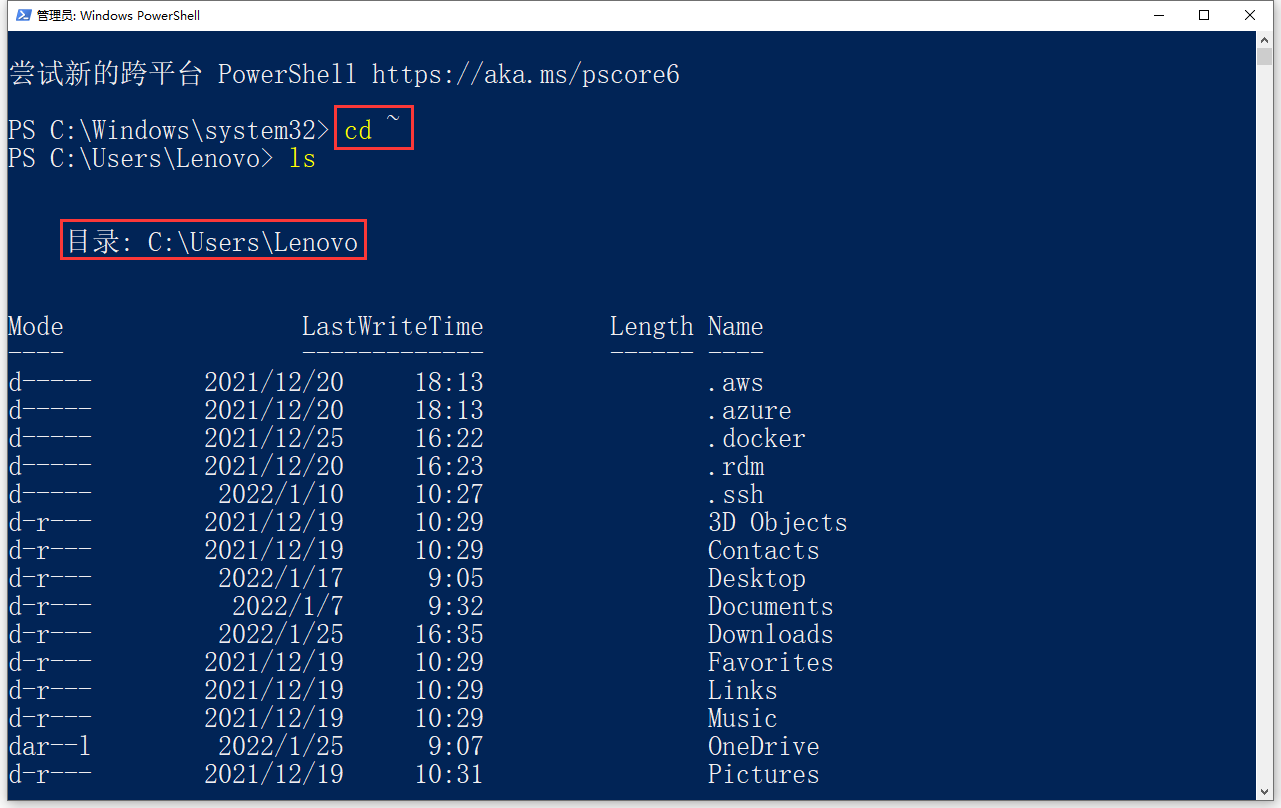
6、在 PowerShell 中使用 cd ~ 访问主目录(通常是用户配置文件 C:\Users\<UserName>)。目录:C:\Users\Lenovo。如图3
PS C:\Windows\system32> cd ~
PS C:\Users\Lenovo> ls


    目录: C:\Users\Lenovo


Mode                 LastWriteTime         Length Name
----                 -------------         ------ ----
d-----        2021/12/20     18:13                .aws
d-----        2021/12/20     18:13                .azure
d-----        2021/12/25     16:22                .docker
d-----        2021/12/20     16:23                .rdm
d-----         2022/1/10     10:27                .ssh
d-r---        2021/12/19     10:29                3D Objects
d-r---        2021/12/19     10:29                Contacts
d-r---         2022/1/17      9:05                Desktop
d-r---          2022/1/7      9:32                Documents
d-r---         2022/1/25     16:35                Downloads
d-r---        2021/12/19     10:29                Favorites
d-r---        2021/12/19     10:29                Links
d-r---        2021/12/19     10:29                Music
dar--l         2022/1/25      9:07                OneDrive
d-r---        2021/12/19     10:31                Pictures
d-r---        2021/12/19     10:29                Saved Games
d-r---        2021/12/19     10:30                Searches
d-r---         2022/1/10      9:04                Videos
-a----        2021/12/30     16:01           1387 .bash_history
-a----        2021/12/27     15:30            177 .gitconfig
-a----         2022/1/24     10:34             20 .lesshst
-a----        2021/12/30      9:16             29 .minttyrc
-a----         2022/1/17     13:54            121 .yarnrc
-a----          2022/1/6     18:00            206 _netrc


PS C:\Users\Lenovo>
7、由于文件 C:\Users\Lenovo\.wslconfig 不存在,则新建。processors:要分配给 WSL 2 VM 的处理器数量。Windows 上相同数量的处理器。memory:要分配给 WSL 2 VM 的内存量。Windows 上总内存的 50% 或 8GB,以较小者为准;在 20175 之前的版本上:Windows 上总内存的 80%。swap:要向 WSL 2 VM 添加的交换空间量,0 表示无交换文件。 交换存储是内存需求超过硬件设备限制时使用的基于磁盘的 RAM。Windows 上 25% 的内存大小四舍五入到最接近的 GB。localhostForwarding:一个布尔值,用于指定绑定到 WSL 2 VM 中的通配符或 localhost 的端口是否应可通过 localhost:port 从主机连接。我的电脑的内存为 16 GB,处理器为 Intel(R) Core(TM) i5-7200U CPU @ 2.50GHz 2.71 GHz,其内核数:2,线程数:4。
# Settings apply across all Linux distros running on WSL 2
[wsl2]

# Limits VM memory to use no more than 4 GB, this can be set as whole numbers using GB or MB
memory=2GB

# Sets the VM to use two virtual processors
processors=2

# Specify a custom Linux kernel to use with your installed distros. The default kernel used can be found at https://github.com/microsoft/WSL2-Linux-Kernel
# kernel=C:\\temp\\myCustomKernel

# Sets additional kernel parameters, in this case enabling older Linux base images such as Centos 6
# kernelCommandLine = vsyscall=emulate

# Sets amount of swap storage space to 8GB, default is 25% of available RAM
swap=4GB

# Sets swapfile path location, default is %USERPROFILE%\AppData\Local\Temp\swap.vhdx
# swapfile=C:\\temp\\wsl-swap.vhdx

# Disable page reporting so WSL retains all allocated memory claimed from Windows and releases none back when free
# pageReporting=false

# Turn off default connection to bind WSL 2 localhost to Windows localhost
localhostforwarding=true

# Disables nested virtualization
# nestedVirtualization=false

# Turns on output console showing contents of dmesg when opening a WSL 2 distro for debugging
# debugConsole=true
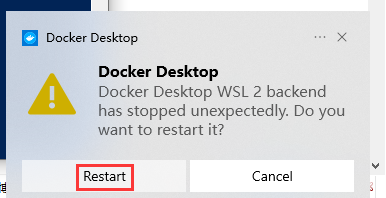
8、运行 wsl –shutdown 来关闭 WSL 2 VM,然后重启 WSL 实例(即重启 Docker Desktop)以使这些更改生效。如图4
PS C:\Users\Lenovo> wsl --shutdown
PS C:\Users\Lenovo>
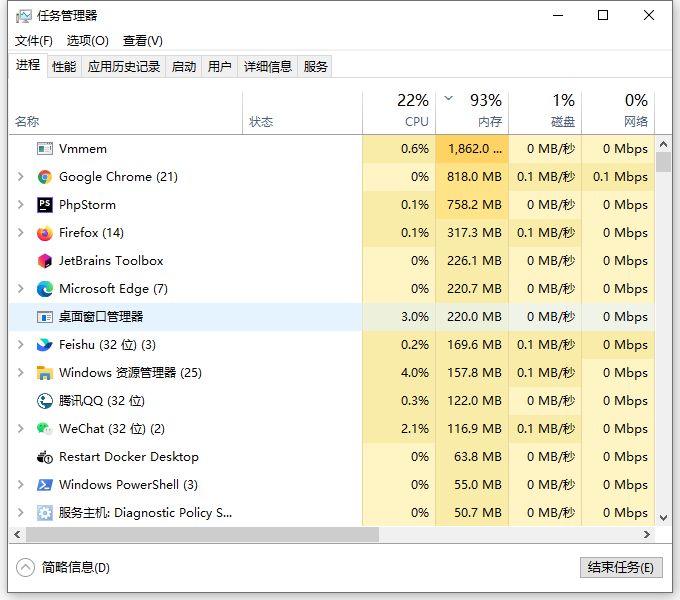
9、再次查看任务管理器,内存占用 92%。而名为 Vmmem 的进程占用内存仍然接近 1.8 GB ,有所下降,系统卡顿有所缓解。如图5
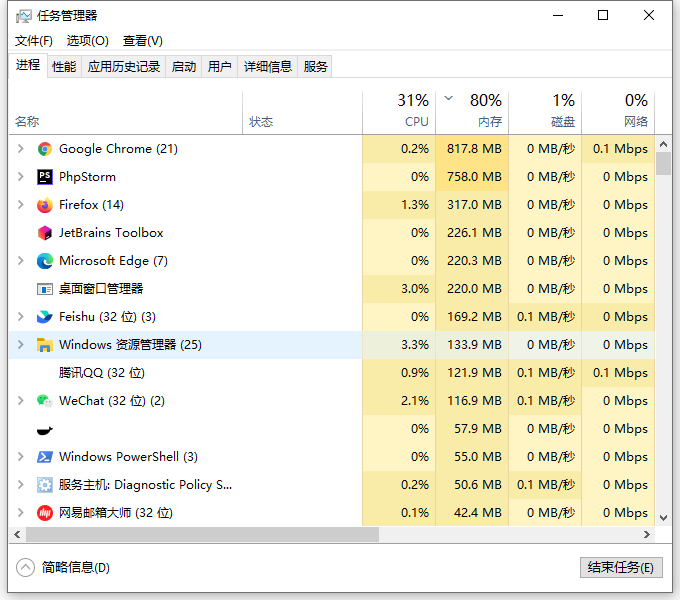
10、如果运行 wsl –shutdown 来关闭 WSL 2 VM,然后不再重启 WSL 实例(即退出 Docker Desktop)的话。再次查看任务管理器,内存占用 80%。而名为 Vmmem 的进程已经消失 。如图6
11、总结来看,如果需要在 Windows 10 中运行 Docker Desktop,内存配置为 32 GB 或许更为合适一些的。计划新购买笔记本时,配置内存为 32 GB 的。
View Comments