图9
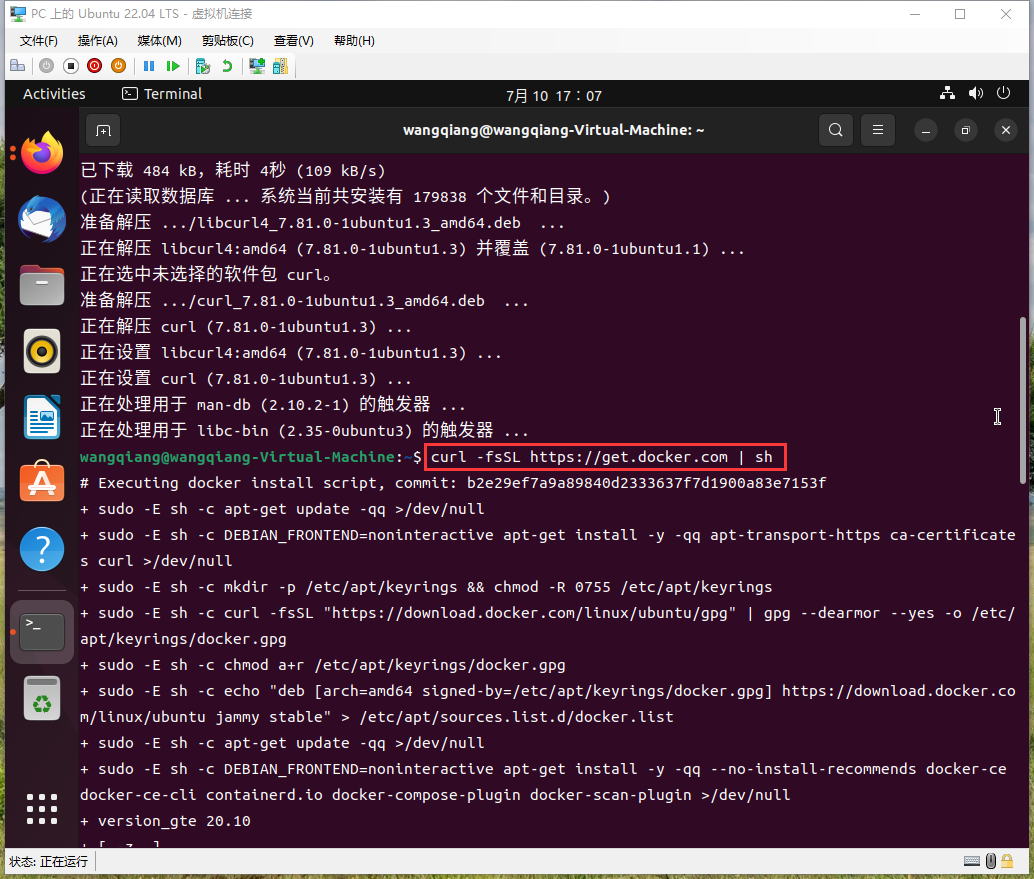
1、打开:Terminal,一键安装,执行命令:curl –fsSL https://get.docker.com | sh。期间提示 curl 未发现,执行:sudo apt install curl。如图1
wangqiang@wangqiang-Virtual-Machine:~$ curl -fsSL https://get.docker.com | sh
Command 'curl' not found, but can be installed with:
sudo apt install curl
wangqiang@wangqiang-Virtual-Machine:~$ sudo apt install curl
[sudo] password for wangqiang:
正在读取软件包列表... 完成
正在分析软件包的依赖关系树... 完成
正在读取状态信息... 完成
将会同时安装下列软件:
libcurl4
下列【新】软件包将被安装:
curl
下列软件包将被升级:
libcurl4
升级了 1 个软件包,新安装了 1 个软件包,要卸载 0 个软件包,有 212 个软件包未被升级。
需要下载 484 kB 的归档。
解压缩后会消耗 458 kB 的额外空间。
您希望继续执行吗? [Y/n] Y
获取:1 http://archive.ubuntu.com/ubuntu jammy-updates/main amd64 libcurl4 amd64 7.81.0-1ubuntu1.3 [290 kB]
获取:2 http://archive.ubuntu.com/ubuntu jammy-updates/main amd64 curl amd64 7.81.0-1ubuntu1.3 [194 kB]
已下载 484 kB,耗时 4秒 (109 kB/s)
(正在读取数据库 ... 系统当前共安装有 179838 个文件和目录。)
准备解压 .../libcurl4_7.81.0-1ubuntu1.3_amd64.deb ...
正在解压 libcurl4:amd64 (7.81.0-1ubuntu1.3) 并覆盖 (7.81.0-1ubuntu1.1) ...
正在选中未选择的软件包 curl。
准备解压 .../curl_7.81.0-1ubuntu1.3_amd64.deb ...
正在解压 curl (7.81.0-1ubuntu1.3) ...
正在设置 libcurl4:amd64 (7.81.0-1ubuntu1.3) ...
正在设置 curl (7.81.0-1ubuntu1.3) ...
正在处理用于 man-db (2.10.2-1) 的触发器 ...
正在处理用于 libc-bin (2.35-0ubuntu3) 的触发器 ...
wangqiang@wangqiang-Virtual-Machine:~$ curl -fsSL https://get.docker.com | sh
# Executing docker install script, commit: b2e29ef7a9a89840d2333637f7d1900a83e7153f
+ sudo -E sh -c apt-get update -qq >/dev/null
+ sudo -E sh -c DEBIAN_FRONTEND=noninteractive apt-get install -y -qq apt-transport-https ca-certificates curl >/dev/null
+ sudo -E sh -c mkdir -p /etc/apt/keyrings && chmod -R 0755 /etc/apt/keyrings
+ sudo -E sh -c curl -fsSL "https://download.docker.com/linux/ubuntu/gpg" | gpg --dearmor --yes -o /etc/apt/keyrings/docker.gpg
+ sudo -E sh -c chmod a+r /etc/apt/keyrings/docker.gpg
+ sudo -E sh -c echo "deb [arch=amd64 signed-by=/etc/apt/keyrings/docker.gpg] https://download.docker.com/linux/ubuntu jammy stable" > /etc/apt/sources.list.d/docker.list
+ sudo -E sh -c apt-get update -qq >/dev/null
+ sudo -E sh -c DEBIAN_FRONTEND=noninteractive apt-get install -y -qq --no-install-recommends docker-ce docker-ce-cli containerd.io docker-compose-plugin docker-scan-plugin >/dev/null
+ version_gte 20.10
+ [ -z ]
+ return 0
+ sudo -E sh -c DEBIAN_FRONTEND=noninteractive apt-get install -y -qq docker-ce-rootless-extras >/dev/null
+ sudo -E sh -c docker version
Client: Docker Engine - Community
Version: 20.10.17
API version: 1.41
Go version: go1.17.11
Git commit: 100c701
Built: Mon Jun 6 23:02:46 2022
OS/Arch: linux/amd64
Context: default
Experimental: true
Server: Docker Engine - Community
Engine:
Version: 20.10.17
API version: 1.41 (minimum version 1.12)
Go version: go1.17.11
Git commit: a89b842
Built: Mon Jun 6 23:00:51 2022
OS/Arch: linux/amd64
Experimental: false
containerd:
Version: 1.6.6
GitCommit: 10c12954828e7c7c9b6e0ea9b0c02b01407d3ae1
runc:
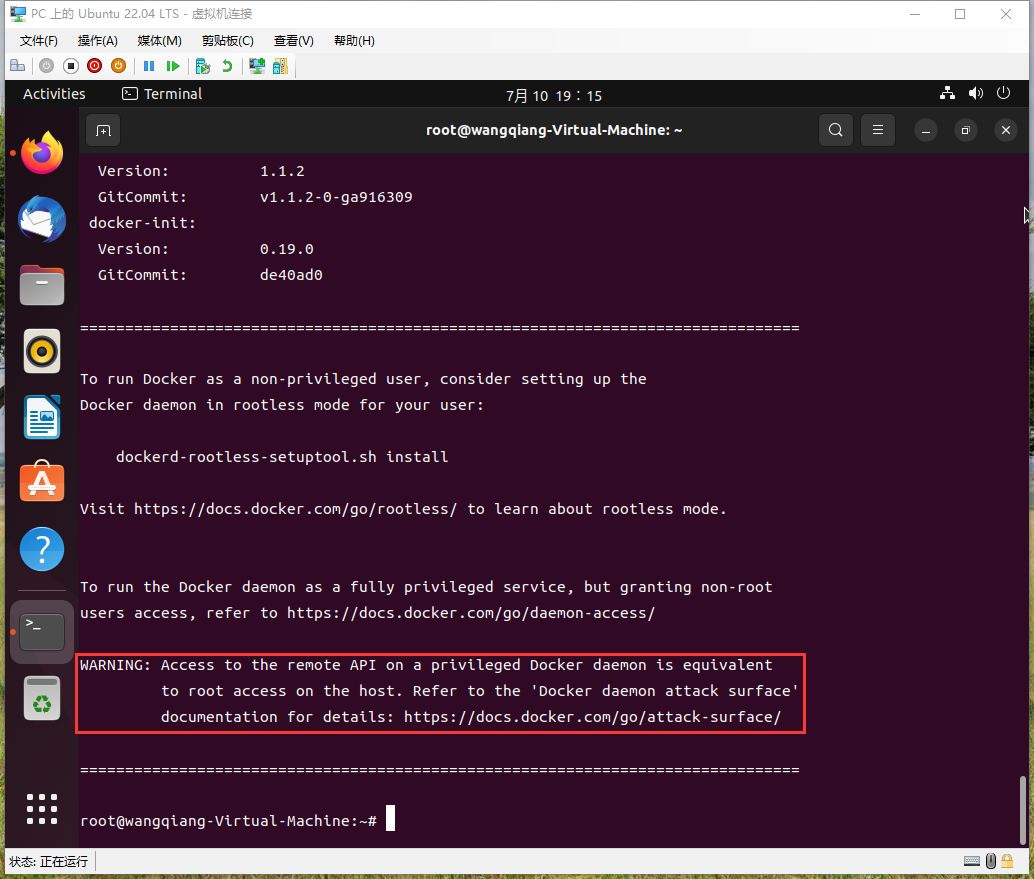
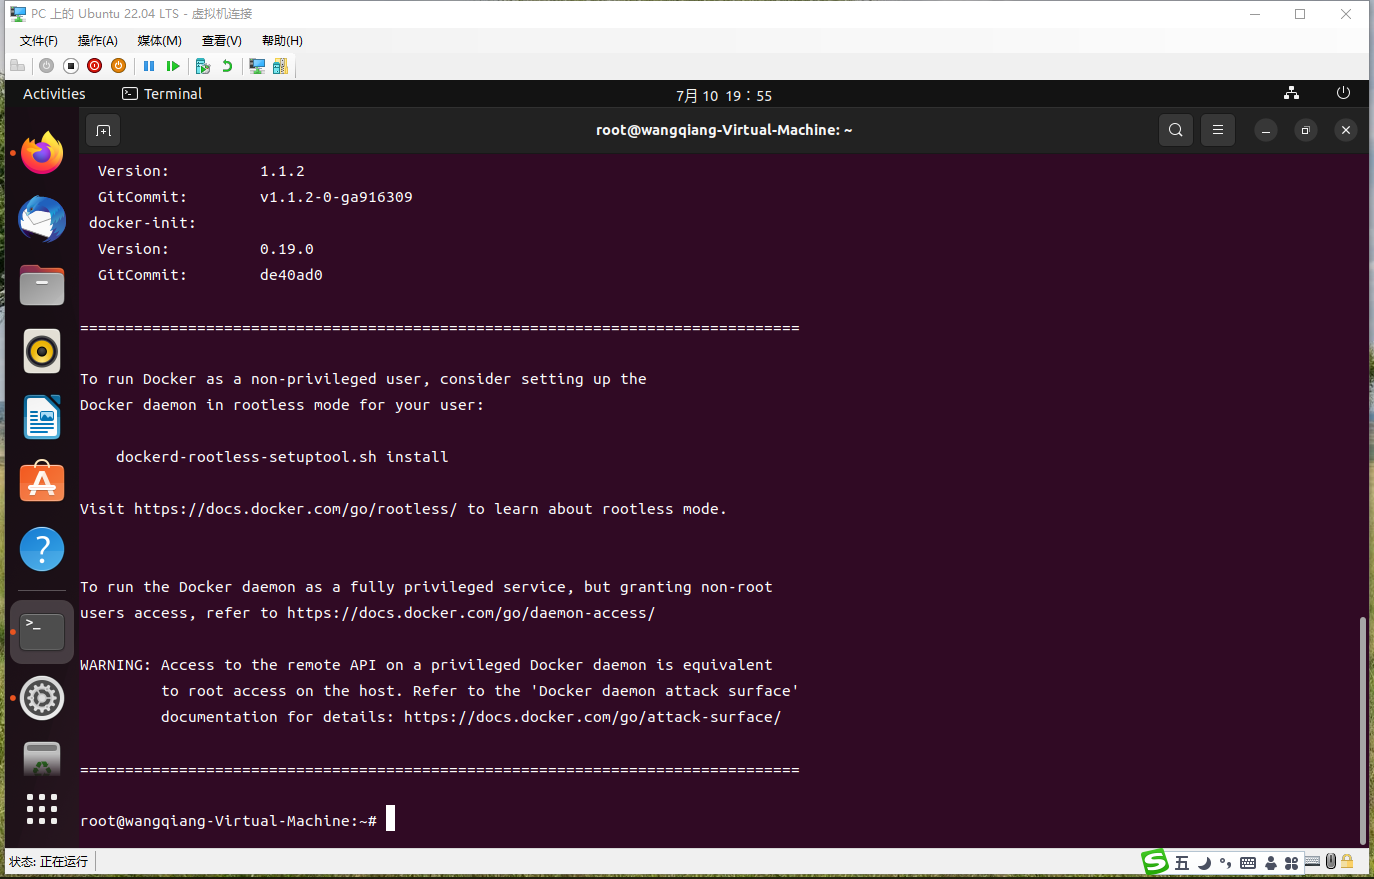
Version: 1.1.2
GitCommit: v1.1.2-0-ga916309
docker-init:
Version: 0.19.0
GitCommit: de40ad0
================================================================================
To run Docker as a non-privileged user, consider setting up the
Docker daemon in rootless mode for your user:
dockerd-rootless-setuptool.sh install
Visit https://docs.docker.com/go/rootless/ to learn about rootless mode.
To run the Docker daemon as a fully privileged service, but granting non-root
users access, refer to https://docs.docker.com/go/daemon-access/
WARNING: Access to the remote API on a privileged Docker daemon is equivalent
to root access on the host. Refer to the 'Docker daemon attack surface'
documentation for details: https://docs.docker.com/go/attack-surface/
================================================================================
2、要以非特权用户身份运行 Docker,请考虑设置为您的用户提供无根模式的 Docker 守护程序:dockerd-rootless-setuptool.sh 安装。访问 https://docs.docker.com/go/rootless/ 了解无根模式。root 登录的替代方案,如果你想在根控制台上工作,你也可以使用 sudo -i。如图2
wangqiang@wangqiang-Virtual-Machine:~$ sudo -i
[sudo] password for wangqiang:
root@wangqiang-Virtual-Machine:~#
3、再次执行命令:curl –fsSL https://get.docker.com | sh。仍然报:WARNING。如图3
root@wangqiang-Virtual-Machine:~# curl -fsSL https://get.docker.com | sh
# Executing docker install script, commit: b2e29ef7a9a89840d2333637f7d1900a83e7153f
Warning: the "docker" command appears to already exist on this system.

If you already have Docker installed, this script can cause trouble, which is
why we're displaying this warning and provide the opportunity to cancel the
installation.

If you installed the current Docker package using this script and are using it
again to update Docker, you can safely ignore this message.

You may press Ctrl+C now to abort this script.
+ sleep 20
+ sh -c apt-get update -qq >/dev/null
+ sh -c DEBIAN_FRONTEND=noninteractive apt-get install -y -qq apt-transport-https ca-certificates curl >/dev/null
+ sh -c mkdir -p /etc/apt/keyrings && chmod -R 0755 /etc/apt/keyrings
+ sh -c curl -fsSL "https://download.docker.com/linux/ubuntu/gpg" | gpg --dearmor --yes -o /etc/apt/keyrings/docker.gpg
+ sh -c chmod a+r /etc/apt/keyrings/docker.gpg
+ sh -c echo "deb [arch=amd64 signed-by=/etc/apt/keyrings/docker.gpg] https://download.docker.com/linux/ubuntu jammy stable" > /etc/apt/sources.list.d/docker.list
+ sh -c apt-get update -qq >/dev/null
+ sh -c DEBIAN_FRONTEND=noninteractive apt-get install -y -qq --no-install-recommends docker-ce docker-ce-cli containerd.io docker-compose-plugin docker-scan-plugin >/dev/null
+ version_gte 20.10
+ [ -z  ]
+ return 0
+ sh -c DEBIAN_FRONTEND=noninteractive apt-get install -y -qq docker-ce-rootless-extras >/dev/null
+ sh -c docker version
Client: Docker Engine - Community
 Version:           20.10.17
 API version:       1.41
 Go version:        go1.17.11
 Git commit:        100c701
 Built:             Mon Jun  6 23:02:46 2022
 OS/Arch:           linux/amd64
 Context:           default
 Experimental:      true

Server: Docker Engine - Community
 Engine:
  Version:          20.10.17
  API version:      1.41 (minimum version 1.12)
  Go version:       go1.17.11
  Git commit:       a89b842
  Built:            Mon Jun  6 23:00:51 2022
  OS/Arch:          linux/amd64
  Experimental:     false
 containerd:
  Version:          1.6.6
  GitCommit:        10c12954828e7c7c9b6e0ea9b0c02b01407d3ae1
 runc:
  Version:          1.1.2
  GitCommit:        v1.1.2-0-ga916309
 docker-init:
  Version:          0.19.0
  GitCommit:        de40ad0

================================================================================

To run Docker as a non-privileged user, consider setting up the
Docker daemon in rootless mode for your user:

    dockerd-rootless-setuptool.sh install

Visit https://docs.docker.com/go/rootless/ to learn about rootless mode.


To run the Docker daemon as a fully privileged service, but granting non-root
users access, refer to https://docs.docker.com/go/daemon-access/

WARNING: Access to the remote API on a privileged Docker daemon is equivalent
         to root access on the host. Refer to the 'Docker daemon attack surface'
         documentation for details: https://docs.docker.com/go/attack-surface/

================================================================================

root@wangqiang-Virtual-Machine:~#
4、要以非特权用户身份运行 Docker,请考虑设置为您的用户提供无根模式的 Docker 守护程序:dockerd-rootless-setuptool.sh 安装。访问 https://docs.docker.com/go/rootless/ 了解无根模式。决定切换至 root 用户登录。如图4
root@wangqiang-Virtual-Machine:~# sudo passwd root
New password:
Retype new password:
passwd: password updated successfully
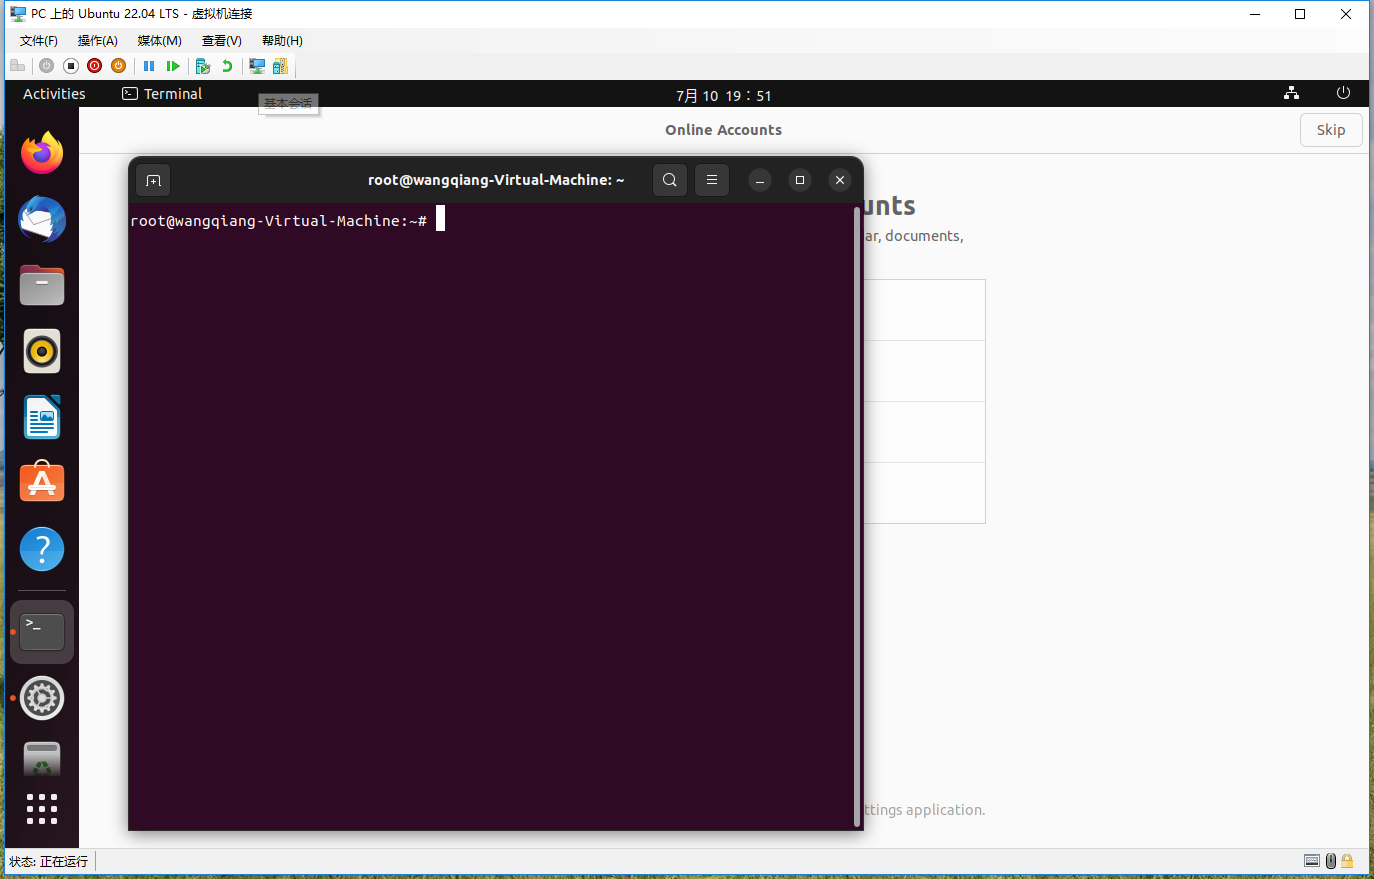
5、解锁帐户,执行命令:sudo passwd -u root,成功。如图5
root@wangqiang-Virtual-Machine:~# sudo passwd -u root
passwd: password expiry information changed.
root@wangqiang-Virtual-Machine:~#
6、启用增强会话,重新以 root 登录,登录成功,打开:Terminal,用户默认为:root。如图6
7、执行命令:curl –fsSL https://get.docker.com | sh,仍然报:WARNING。暂时忽略此问题。如图7
8、配置以让 Docker 服务开机自启动。如图8
root@wangqiang-Virtual-Machine:~# systemctl enable docker
Synchronizing state of docker.service with SysV service script with /lib/systemd/systemd-sysv-install.
Executing: /lib/systemd/systemd-sysv-install enable docker
root@wangqiang-Virtual-Machine:~# systemctl start docker
root@wangqiang-Virtual-Machine:~#
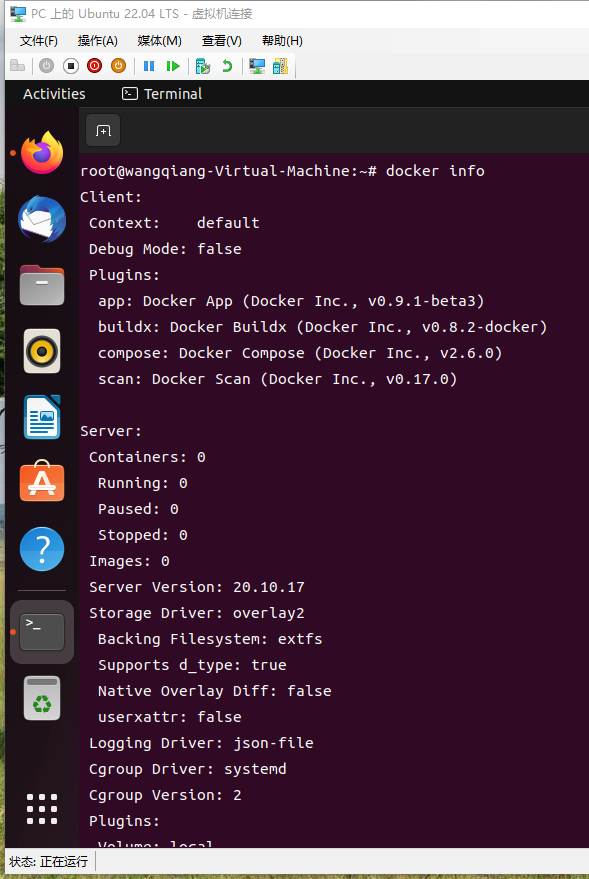
9、执行:docker info ,查看相关信息。确认安装完毕。如图9
root@wangqiang-Virtual-Machine:~# docker info
Client:
 Context:    default
 Debug Mode: false
 Plugins:
  app: Docker App (Docker Inc., v0.9.1-beta3)
  buildx: Docker Buildx (Docker Inc., v0.8.2-docker)
  compose: Docker Compose (Docker Inc., v2.6.0)
  scan: Docker Scan (Docker Inc., v0.17.0)

Server:
 Containers: 0
  Running: 0
  Paused: 0
  Stopped: 0
 Images: 0
 Server Version: 20.10.17
 Storage Driver: overlay2
  Backing Filesystem: extfs
  Supports d_type: true
  Native Overlay Diff: false
  userxattr: false
 Logging Driver: json-file
 Cgroup Driver: systemd
 Cgroup Version: 2
 Plugins:
  Volume: local
  Network: bridge host ipvlan macvlan null overlay
  Log: awslogs fluentd gcplogs gelf journald json-file local logentries splunk syslog
 Swarm: inactive
 Runtimes: io.containerd.runc.v2 io.containerd.runtime.v1.linux runc
 Default Runtime: runc
 Init Binary: docker-init
 containerd version: 10c12954828e7c7c9b6e0ea9b0c02b01407d3ae1
 runc version: v1.1.2-0-ga916309
 init version: de40ad0
 Security Options:
  apparmor
  seccomp
   Profile: default
  cgroupns
 Kernel Version: 5.15.0-1012-azure
 Operating System: Ubuntu 22.04 LTS
 OSType: linux
 Architecture: x86_64
 CPUs: 2
 Total Memory: 4.268GiB
 Name: wangqiang-Virtual-Machine
 ID: MRXG:6OLL:EVDB:I5AX:Y4UK:GDOL:SCUL:LEMV:Z6GI:J6AR:J26M:6QPZ
 Docker Root Dir: /var/lib/docker
 Debug Mode: false
 Registry: https://index.docker.io/v1/
 Labels:
 Experimental: false
 Insecure Registries:
  127.0.0.0/8
 Live Restore Enabled: false