1. Install mailhog in Windows 10, which is convenient for us to monitor the email sending when developing Laravel. The reason is that the development environment is a localhost environment, not Homestead or Docker . Open the URL: https://github.com/mailhog/mailhog .
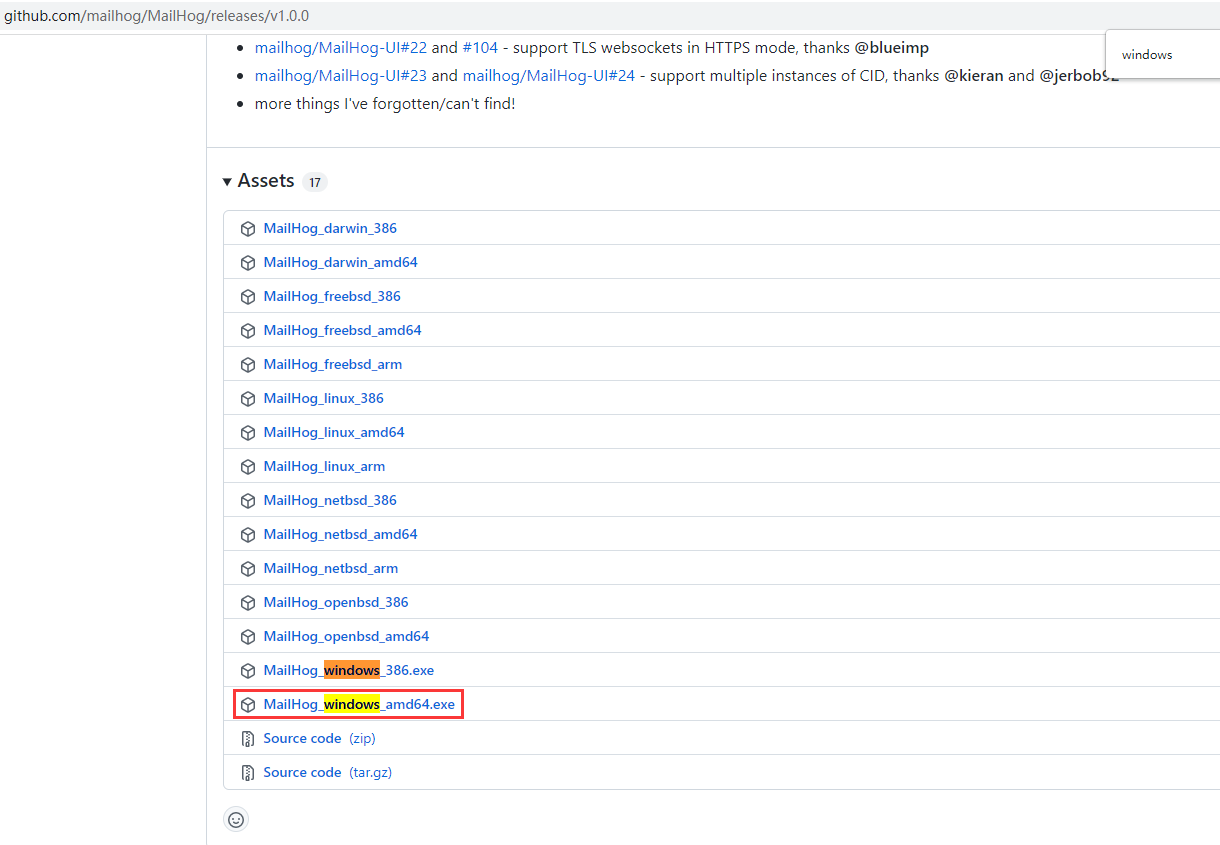
2. Select mailhog_windows_amd64.exe, as shown in Figure 1
3. After running the downloaded file, the interface is as shown in Figure 2

[APIv1]Broadcast /api/v1/events
2021/12/31 11:20:12[SMTP 127.0.0.1:64569]session ended
[APIv2]get /api/v2/jim
[APIv2]get /api/v2/messages
[APIv2]get /api/v2/websocket
[APIv1]keepalive /api/v1/events
[APIv1]get /api/v1/messages/9u2mg73goyyjthv5yukhctgqlrdsdsvzl88mrkpxblw=@mailhog.example

[APIv1]keepalive /api/v1/events
[APIv1]keepalive /api/v1/events
[APIv1]keepalive /api/v1/events
[APIv1]keepalive /api/v1/events
[APIv1]keepalive /api/v1/events
[APIv1]keepalive /api/v1/events
[APIv1]keepalive /api/v1/events
[APIv1]keepalive /api/v1/events
[APIv1]keepalive /api/v1/events
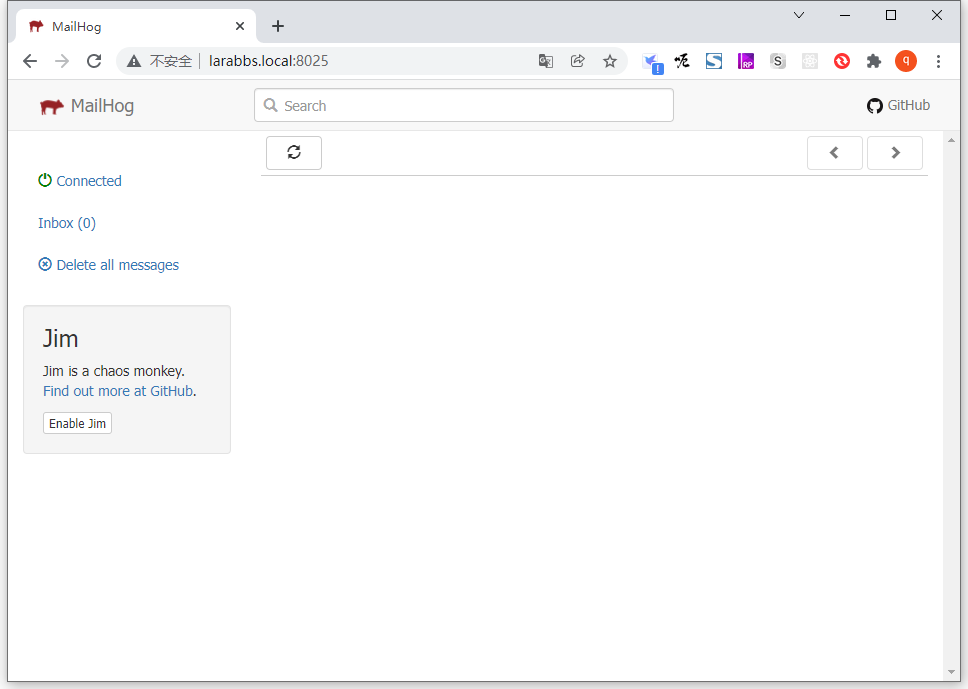
4. Open the URL in the browser: http://larabbs.local:8025/ . as shown in Figure 3
5. Modify the email related settings in Laravel’s .env file to open mailhog
mail_mailer=smtp
mail_host=127.0.0.1
mail_port=1025
mail_username=null
mail_password=null
mail_encryption=null
mail_from_address=admin@larabbs.local
mail_from_name="${app_name}"
6. Next, the browser visits larabbs.local/register, fills in the form and registers a test user. After successful registration, visit larabbs.local:8025/ to view mailhog . It can be seen that the email was successfully sent. as shown in Figure 4

Leave a Reply