1. Now the local environment URL: http://morefun.dev.dev.xxx.cn/ I want to get the cookie data under the development environment: https://.xxx.cn, but found that it cannot be obtained. The reason is the difference between HTTP and HTTPS.
2. Configure the URL in the local environment: https://morefun.dev.xxx.cn/ .
3. Reference URL: https://web.dev/how-to-use-local-https/ . How to use HTTPS for local development. Sometimes you need to run a local development site using HTTPS. Tools and tips to do this safely and quickly. as shown in Figure 1
Figure 1
4. In special cases, you need to use https locally, such as a custom hostname or a secure cookie across browsers. The current situation is a secure cookie across browsers. If your production website uses HTTPS, you want to develop a site locally to behave like an HTTPS website.
5. Use MKCERT to run your site locally using HTTPS (recommended). If you use HTTPS to open a locally running site in your browser, your browser will check the certificate for the local development server. After you see that the certificate has been signed by the certificate authority generated by MKCERT, the browser will check whether it is registered as a trusted certificate authority. MKCERT is listed as a trusted authority, so your browser trusts the certificate and creates an HTTPS connection.
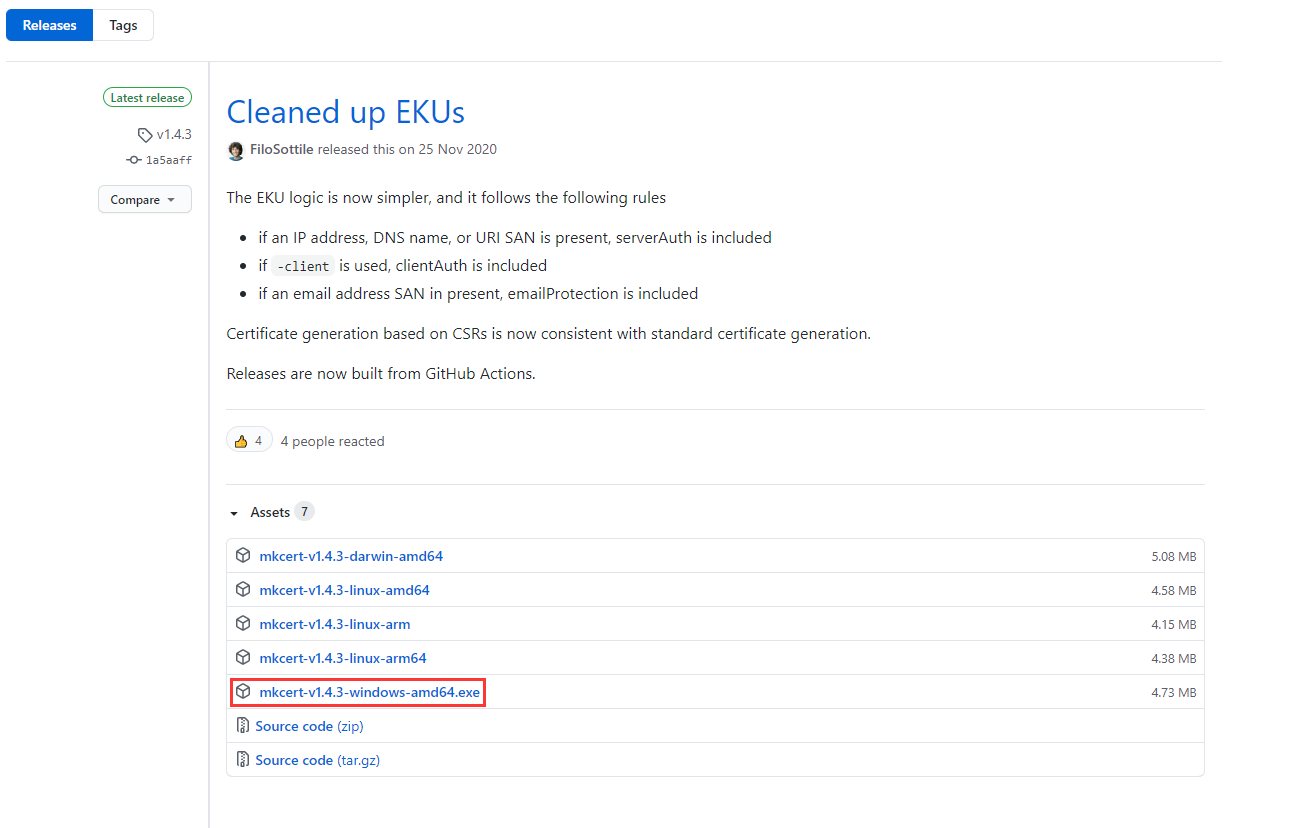
6. MKCERT is a simple tool for making local trust development certificates. It does not require configuration. Reference URL: https://github.com/FiloSottile/MkCert . On Windows, use pre-built binaries. Download: mkcert-v1.4.3-windows-amd64.exe to the directory: e:/wwwroot. as shown in Figure 2
Figure 2
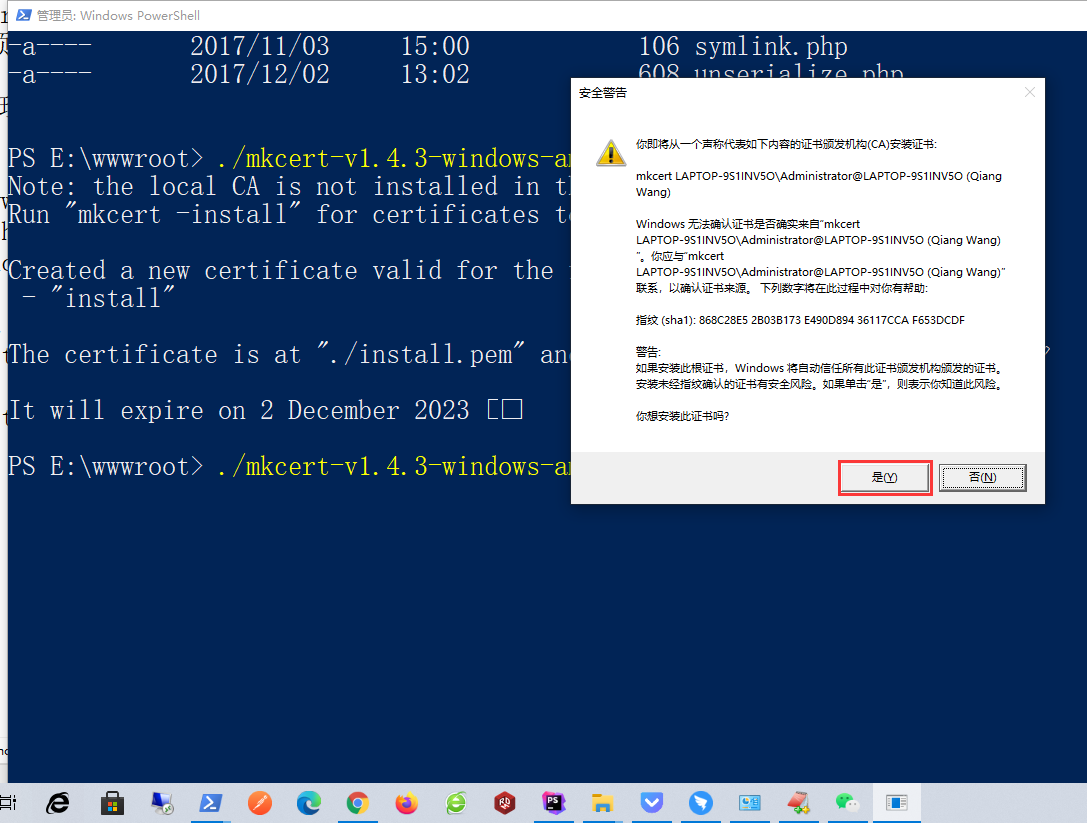
7. Run PowerShell as an administrator, enter the directory: e:/wwwroot, and add mkcert to the local root CA. In your terminal, run the following commands:, click Yes, the local CA is now installed in the system truststore! ⚡ Note: Firefox support is not available on your platform. as shown in Figure 3
Figure 3
PS E:\wwwroot> ./mkcert-v1.4.3-windows-amd64.exe install
Note: the local CA is not installed in the system trust store.
Run "mkcert -install" for certificates to be trusted automatically ⚠️

Created a new certificate valid for the following names 📜
 - "install"

The certificate is at "./install.pem" and the key at "./install-key.pem" ✅

It will expire on 2 December 2023 �
PS E:\wwwroot> ./mkcert-v1.4.3-windows-amd64.exe -install
The local CA is now installed in the system trust store! ⚡️
Note: Firefox support is not available on your platform. ℹ️

PS E:\wwwroot>�
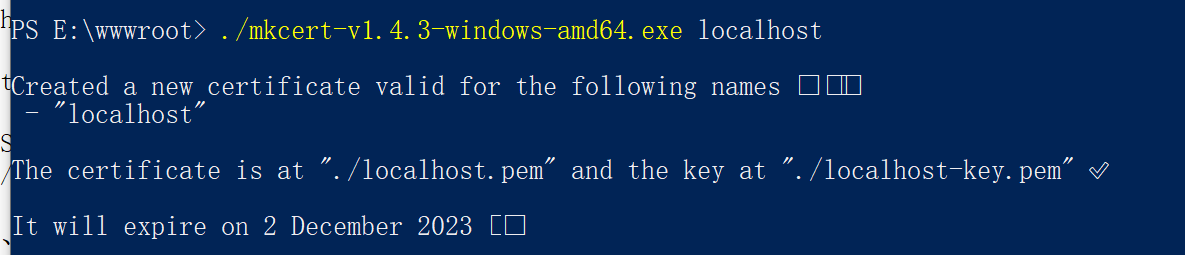
8. Generate a certificate signed by MKCERT for your site. Navigate to the root directory of the site (https://localhost). as shown in Figure 4
Figure 4
PS E:\wwwroot> ./mkcert-v1.4.3-windows-amd64.exe localhost

Created a new certificate valid for the following names 📜
 - "localhost"

The certificate is at "./localhost.pem" and the key at "./localhost-key.pem" ✅

It will expire on 2 December 2023 🗓

PS E:\wwwroot>
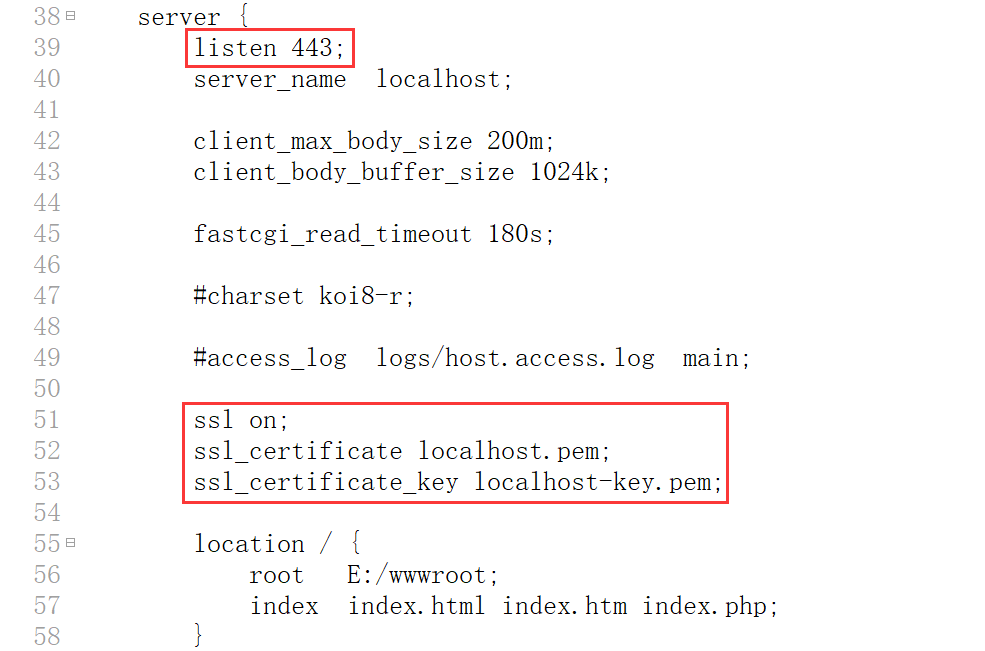
9. Add support for certificates in the Nginx configuration file of the local environment. Cut the file to: c:/nginx-1.10.1/conf/localhost.pem, c:/nginx-1.10.1/conf/localhost-key.pem. Edit c:/nginx-1.10.1/conf/nginx.conf. Add 3 lines starting with SSL. The listening port is modified to 443. as shown in Figure 5
Figure 5
    server {
        listen 443;
        server_name  localhost;

		client_max_body_size 200m;
		client_body_buffer_size 1024k;

		fastcgi_read_timeout 180s;

        #charset koi8-r;

        #access_log  logs/host.access.log  main;

		ssl on;
		ssl_certificate localhost.pem;
		ssl_certificate_key localhost-key.pem;

        location / {
            root   E:/wwwroot;
            index  index.html index.htm index.php;
        }

        #error_page  404              /404.html;

        # redirect server error pages to the static page /50x.html
        #
        error_page   500 502 503 504  /50x.html;
        location = /50x.html {
            root   html;
        }

        # proxy the PHP scripts to Apache listening on 127.0.0.1:80
        #
        #location ~ \.php$ {
        #    proxy_pass   http://127.0.0.1;
        #}

        # pass the PHP scripts to FastCGI server listening on 127.0.0.1:9000
        #
        location ~ \.php$ {
	    fastcgi_split_path_info ^(.+\.php)(/.+)$;
            root           E:/wwwroot;
            fastcgi_pass   127.0.0.1:9000;
            fastcgi_index  index.php;
            fastcgi_param  SCRIPT_FILENAME  $document_root$fastcgi_script_name;
            include        fastcgi_params;
        }

        # deny access to .htaccess files, if Apache's document root
        # concurs with nginx's one
        #
        #location ~ /\.ht {
        #    deny  all;
        #}
    }
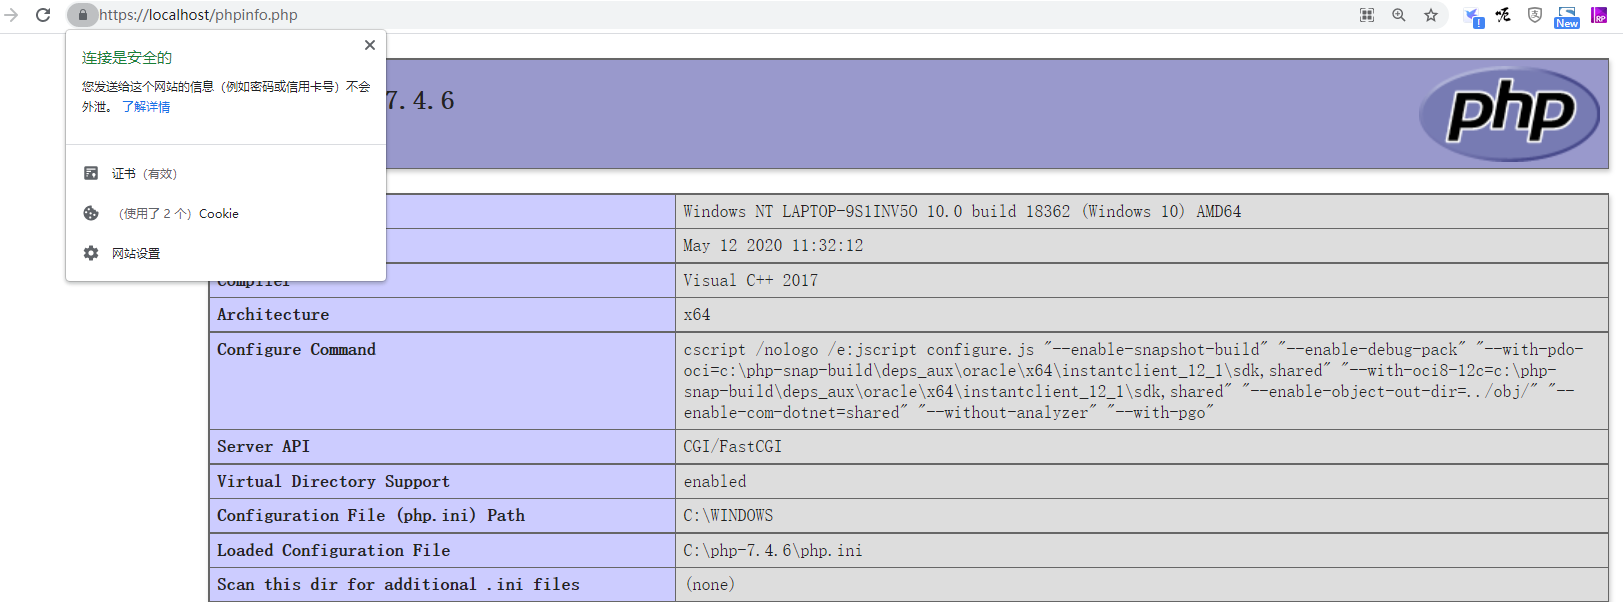
10. Open the URL in the Chrome browser: https://localhost/phpinfo.php, the access is successful, which is in line with expectations. as shown in Figure 6
Figure 6
11. Run PowerShell as an administrator, go to the directory: e:/wwwroot, generate one by mkcert for your site (https://morefun.dev.xxx.cn) signed certificate.
PS E:\wwwroot> ./mkcert-v1.4.3-windows-amd64.exe morefun.dev.xxx.cn

Created a new certificate valid for the following names 📜
 - "morefun.dev.xxx.cn"

The certificate is at "./morefun.dev.xxx.cn.pem" and the key at "./morefun.dev.xxx.cn-key.pem" ✅

It will expire on 2 December 2023 🗓
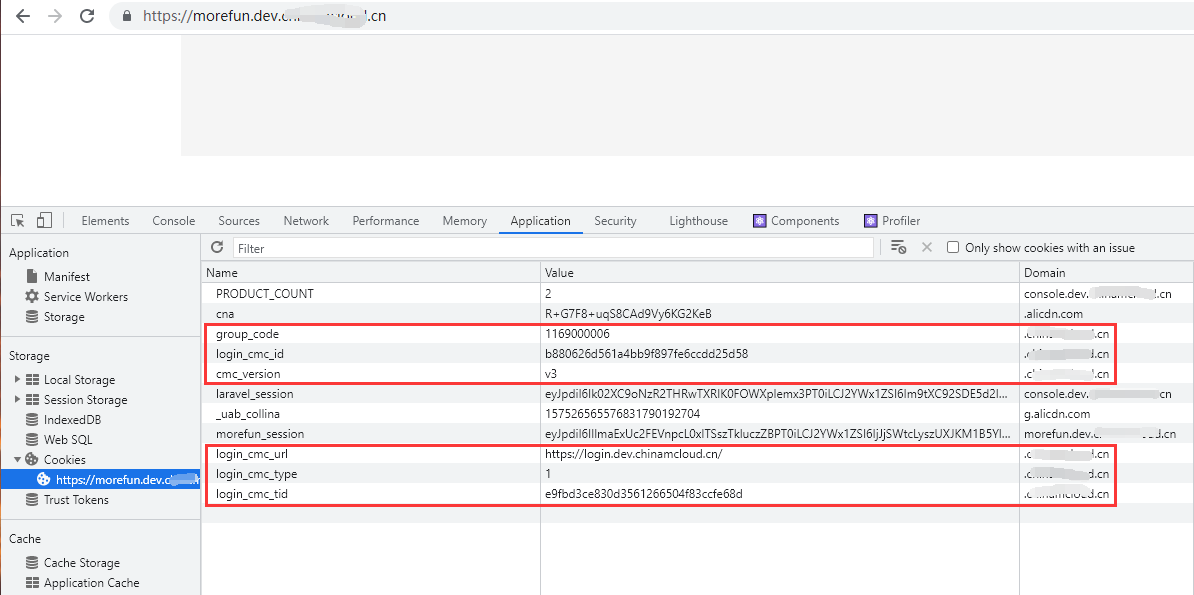
12. Refer to the above steps, copy the certificate file and edit the nginx file. Open the URL: https://morefun.dev.dev.dev.dev.xxx.cn/ , in cookies, you can already get the cookie data under the development environment: https://.xxx.cn . as shown in Figure 7
Figure 7
Leave a Reply