1. Run git status, you can see the status of changes:
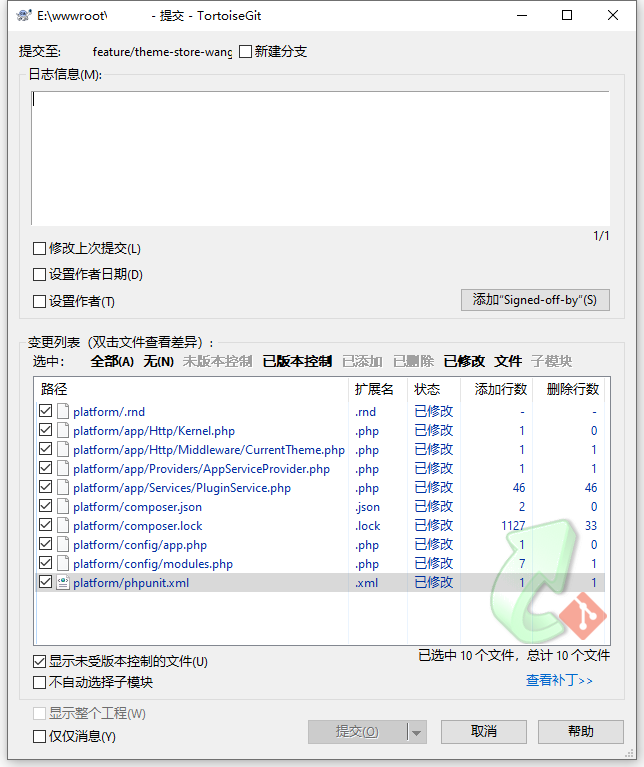
2. In TortoiseGit, git commits, which is consistent with the results of git status. as shown in Figure 1
3. Now I want to switch branches, but I don’t want to submit the previous work; so the storage modification pushes the new storage to the stack, run git stash or git stash push:
4. You can see that the working directory is clean
5. At this point, you can switch branches and work elsewhere; your modifications are stored on the stack. Run git stash pop to apply storage and immediately throw it from the stack.
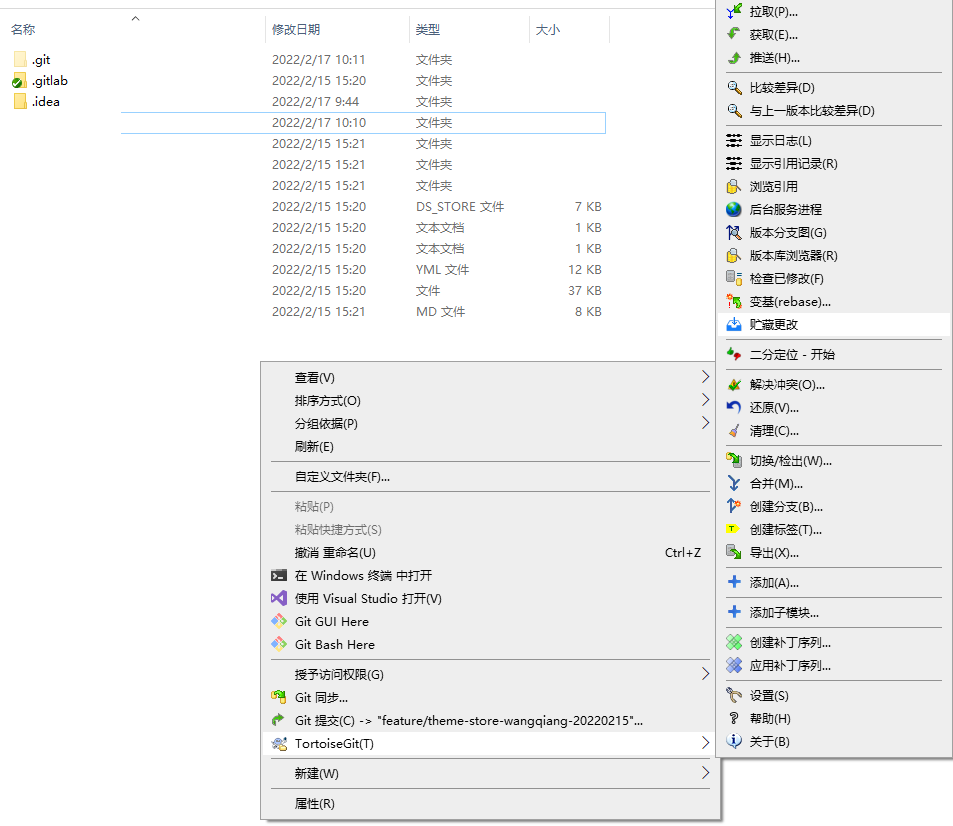
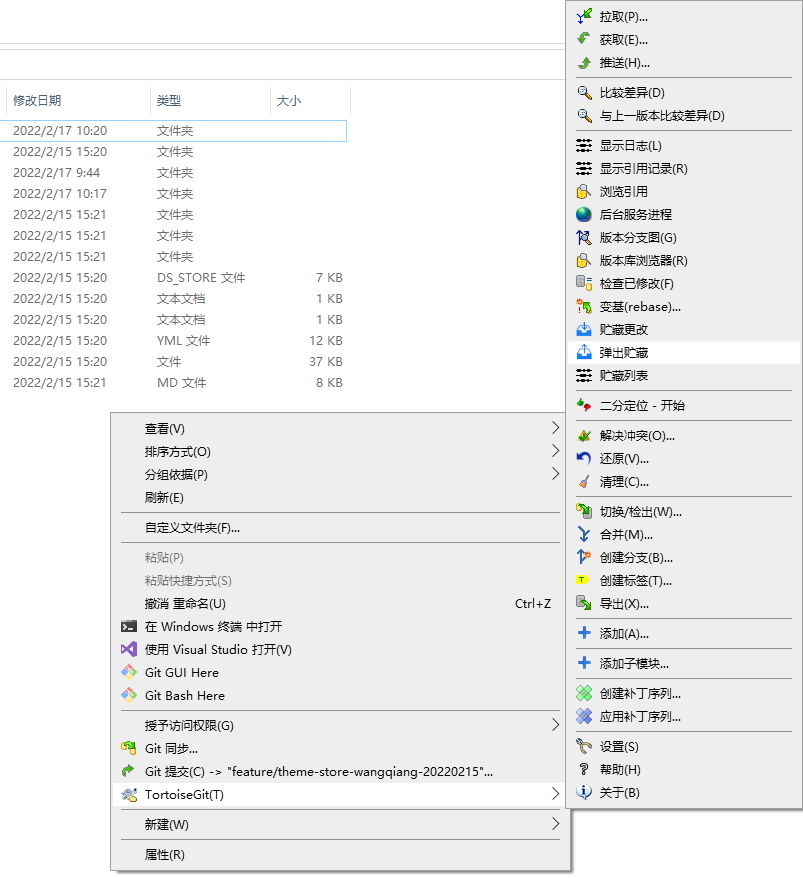
6. Now you need to implement the corresponding operations of steps 3 – 5 in TortoiseGit. TortoiseGit – Storage changes. as shown in Figure 2
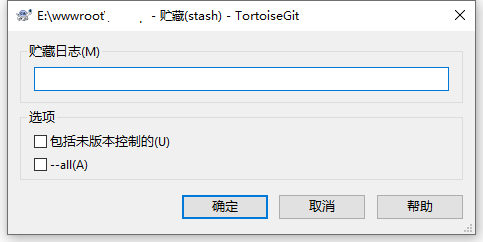
7. Pop up the Stash dialog box, click the OK button directly. as shown in Figure 3
8. The actual command to execute is: git.exe stash push, which is consistent with git stash. as shown in Figure 4

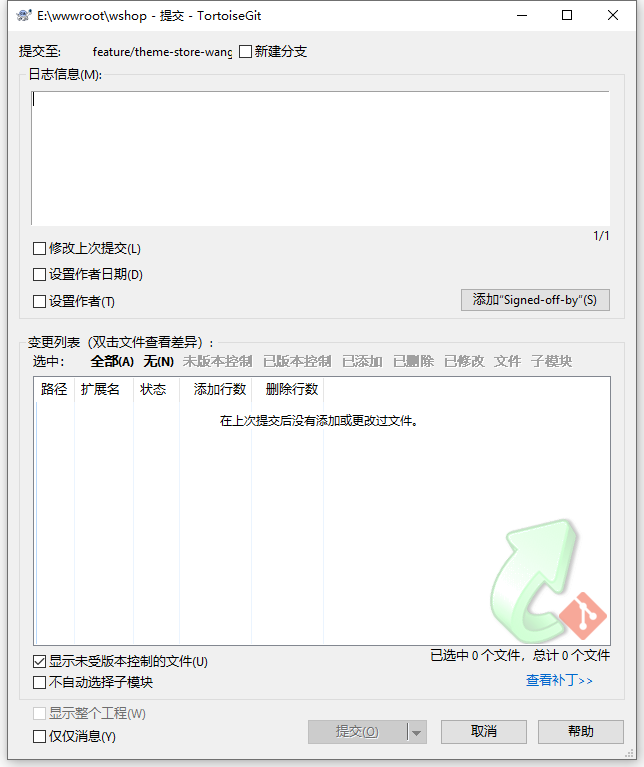
9. In TortoiseGit, git submits, and the change list is empty. as shown in Figure 5
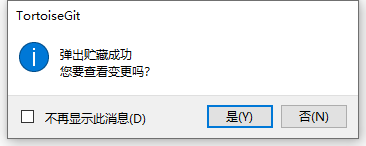
10. Apply storage and immediately throw it away from the stack. TortoiseGit – Pop up storage. as shown in Figure 6
11. The pop-up storage is successful. Click the No button directly. as shown in Figure 7
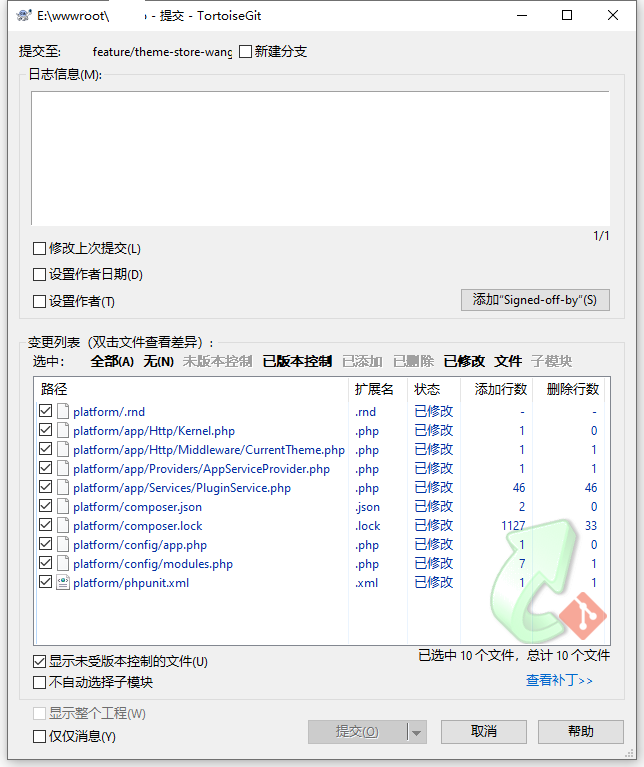
12. In TortoiseGit, git submits, the change list has been restored. as shown in Figure 8
Leave a Reply