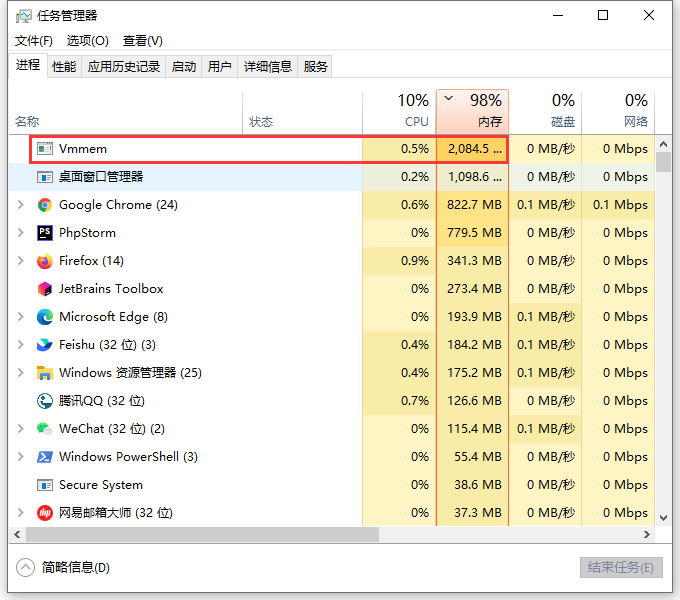
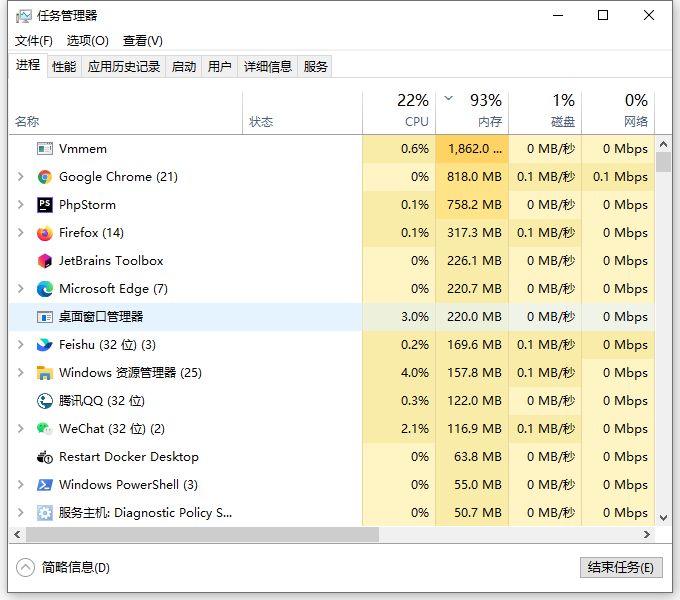
1. In Windows 10, it feels like a lot of lag. View Task Manager, 98% memory usage. The process named vmmem takes up to 2.1 GB of memory. as shown in Figure 1
Figure 1
2. The VMMMEM process is a virtual process synthesized by the system, which is used to represent the memory and CPU resources consumed by the virtual machine. In other words, if you see a VMMMEM consuming a lot of memory and CPU resources, then this means that your virtual machine is consuming a lot of memory and CPU resources. If you want it to stop, turn off your virtual machine.
3. I think the reason should be that Docker is running on the operating system, and it may also be used by the ongoing development. Try to find Docker Desktop and exit it, then the task should disappear. Or set the memory and CPU usage limit of Docker Desktop.
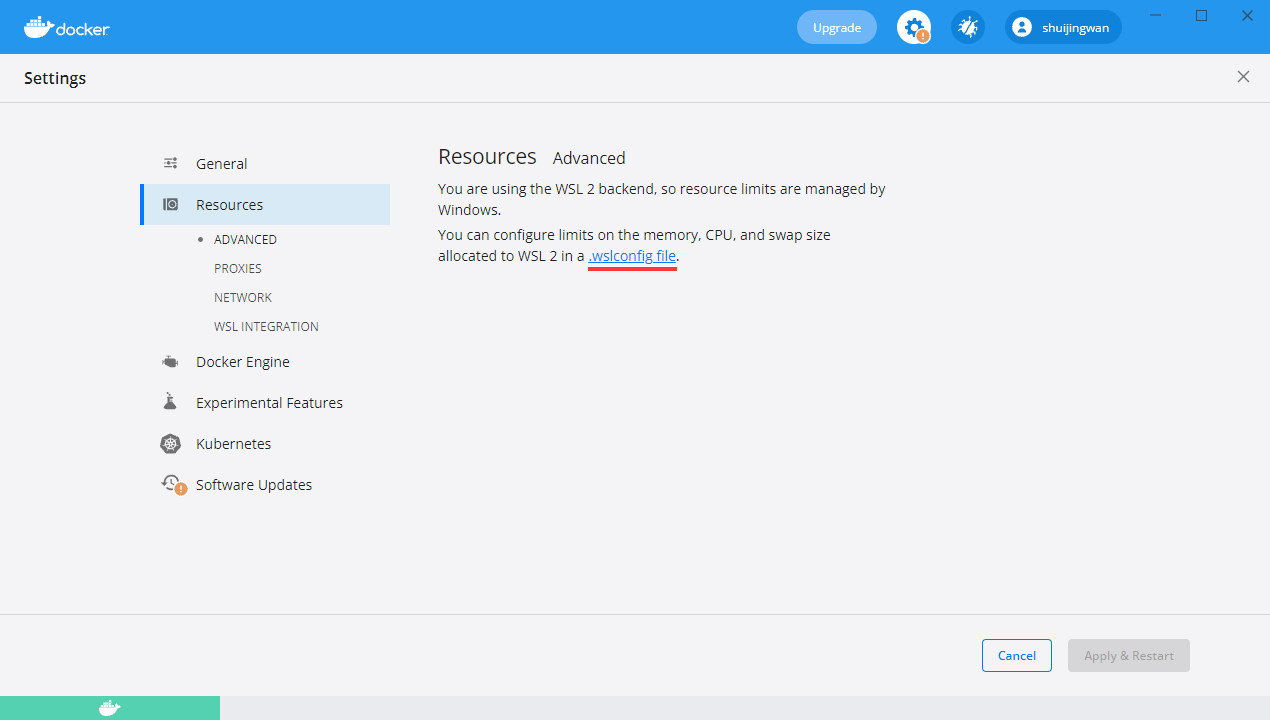
4. Open Docker Desktop, Settings – Resources – Advanced. You are using the WSL 2 backend, so the resource limit is managed by Windows. You can configure the limit of memory, CPU, and swap size allocated to WSL 2 in the .wslconfig file. as shown in Figure 2
Figure 2
5. Click .WSLConfig to link to Advanced Settings Configuration in WSL: https://docs.microsoft.com/en-us/windows/wsl/wsl-config#configure-global-options-with-wslconfig . WSL 2 operates as a light virtual machine (VM), so the amount of memory or processor used can be controlled using the virtualization settings.
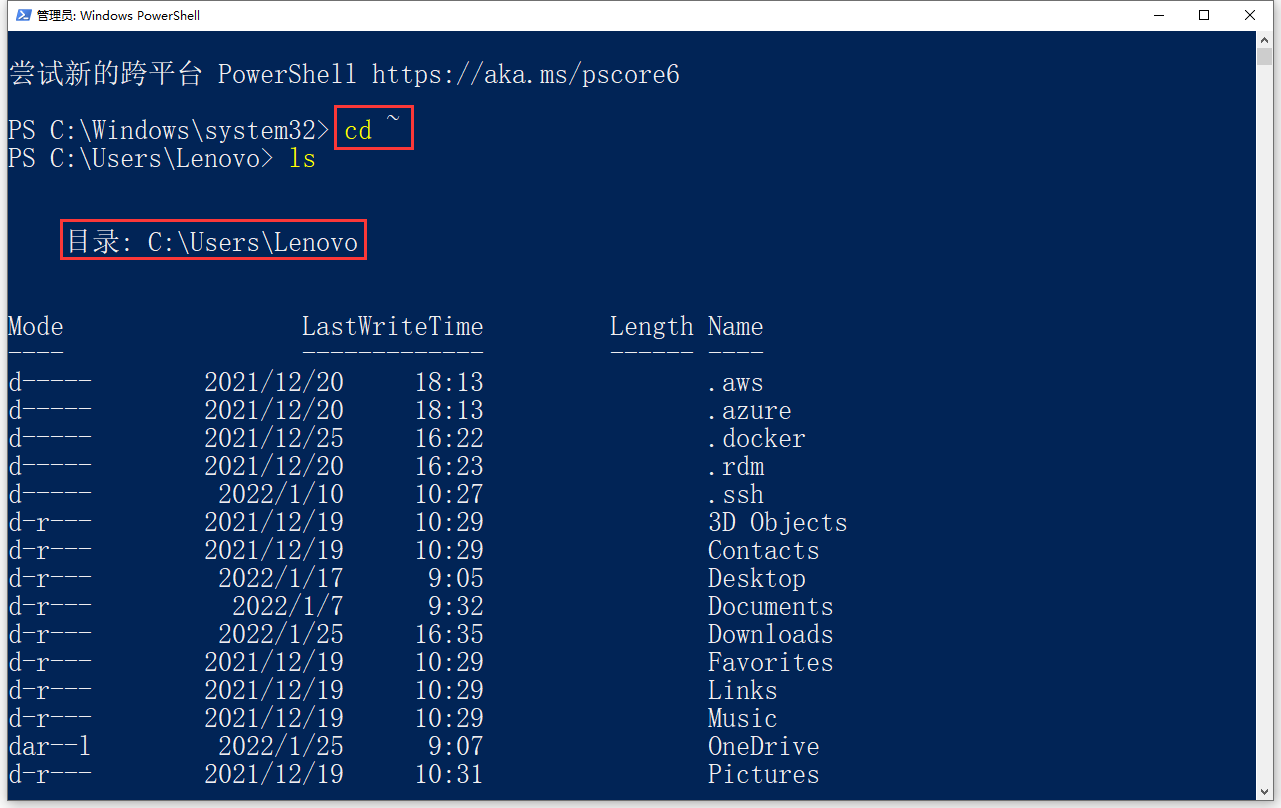
6. Use CD ~ to access the home directory in PowerShell (usually the user configuration file C:\Users\<username>). Directory: C:\Users\Lenovo. as shown in Figure 3
Figure 3
7. Since the file c:\users\lenovo\.wslconfig does not exist, it will be created new. Processors: The number of processors to allocate to the WSL 2 VM. The same number of processors on Windows. Memory: The amount of memory to allocate to WSL 2 VM. 50% or 8GB of total memory on Windows, whichever is the smaller one; on versions before 20175: 80% of the total memory on Windows. SWAP: The amount of swap space to be added to the WSL 2 VM, 0 means no swap file. Swap storage is a disk-based RAM used when memory requirements exceed hardware device limits. 25% of the memory size on Windows is rounded to the nearest GB. LocalhostForwarding: A boolean value that specifies whether the ports bound to the WSL 2 VM or the localhost should be connected from the host via localhost:port. The memory of my computer is 16 GB, the processor is Intel(R) Core(TM) I5-7200U CPU @ 2.50GHz 2.71 GHz, the number of cores: 2, the number of threads: 4.
# Settings apply across all Linux distros running on WSL 2
[wsl2]

# Limits VM memory to use no more than 4 GB, this can be set as whole numbers using GB or MB
memory=2GB

# Sets the VM to use two virtual processors
processors=2

# Specify a custom Linux kernel to use with your installed distros. The default kernel used can be found at https://github.com/microsoft/WSL2-Linux-Kernel
# kernel=C:\\temp\\myCustomKernel

# Sets additional kernel parameters, in this case enabling older Linux base images such as Centos 6
# kernelCommandLine = vsyscall=emulate

# Sets amount of swap storage space to 8GB, default is 25% of available RAM
swap=4GB

# Sets swapfile path location, default is %USERPROFILE%\AppData\Local\Temp\swap.vhdx
# swapfile=C:\\temp\\wsl-swap.vhdx

# Disable page reporting so WSL retains all allocated memory claimed from Windows and releases none back when free
# pageReporting=false

# Turn off default connection to bind WSL 2 localhost to Windows localhost
localhostforwarding=true

# Disables nested virtualization
# nestedVirtualization=false

# Turns on output console showing contents of dmesg when opening a WSL 2 distro for debugging
# debugConsole=true
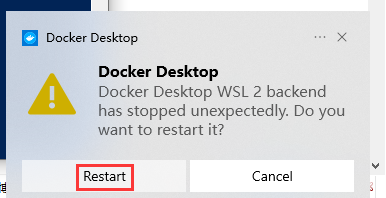
8. Run wsl –shutdown to turn off the WSL 2 VM, and then restart the WSL instance (that is, restart Docker Desktop) to make these changes take effect. as shown in Figure 4
Figure 4
9. Check the task manager again, the memory usage is 92%. The memory occupied by a process called vmmem is still close to 1.8 GB, which has declined, and the system has eased. as shown in Figure 5
Figure 5
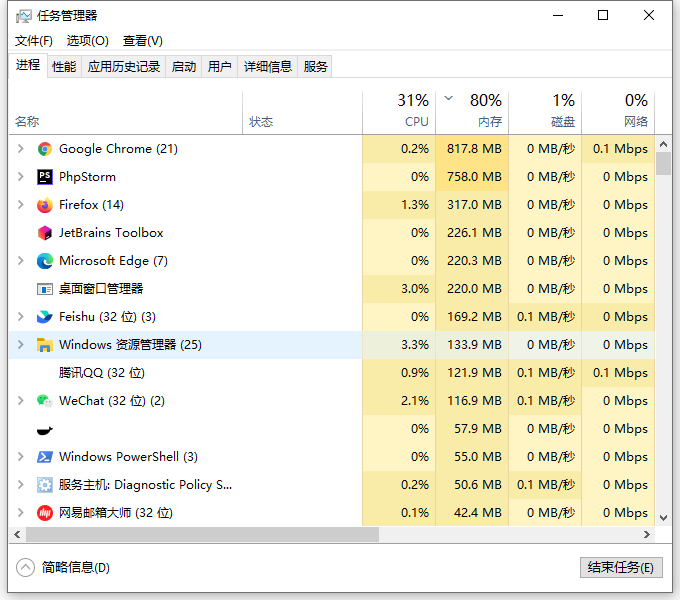
10. If you run wsl –shutdown to turn off WSL 2 VM, and then stop restarting the WSL instance (that is, exit Docker Desktop). Check the task manager again, the memory occupies 80%. And the process named vmmem has disappeared. as shown in Figure 6
Figure 6
11. In summary, if you need to run Docker Desktop in Windows 10, the memory configuration is 32 GB or more suitable. When planning a new notebook, the configuration memory is 32 GB.
Leave a Reply