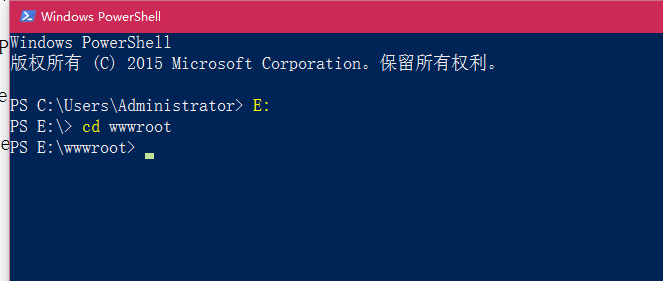
1. In Windows Powershll, enter the wwwroot directory, as shown in Figure 1
2. Through the Composer installation, run the following commands and install it in the kaiqiu_shujujixi_api directory, as shown in Figure 2 and 3
composer create-project yiisoft/yii2-app-advanced kaiqiu_shujujixi_api 2.0.10


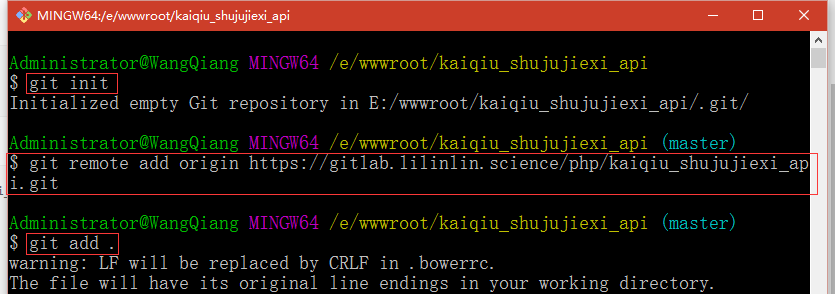
3. Enter kaiqiu_shujujixi_api directory, right-click, select git bash here, as shown in Figure 4

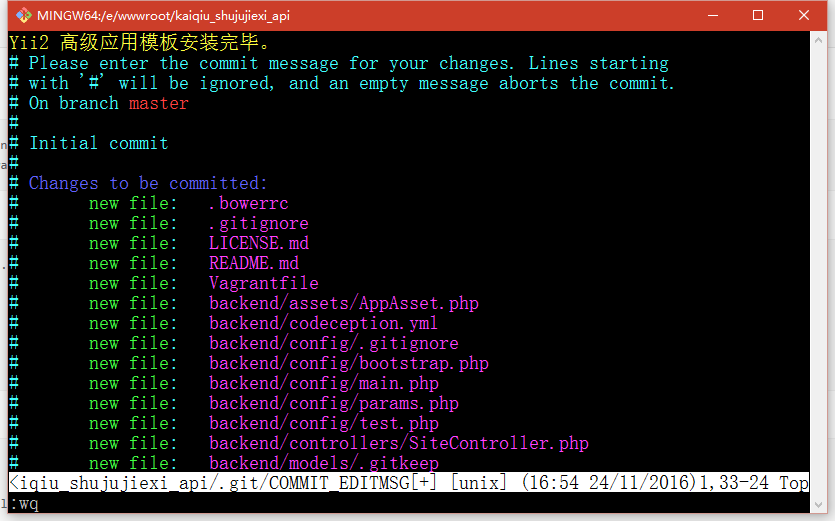
4. Execute the commands in sequence, as shown in Figure 5 and 6
git init
Git Remote Add Origin https://gitlab.lilinlin.science/php/kaiqiu_shujujixi_api.git
git add .
git commit
git push -u origin master
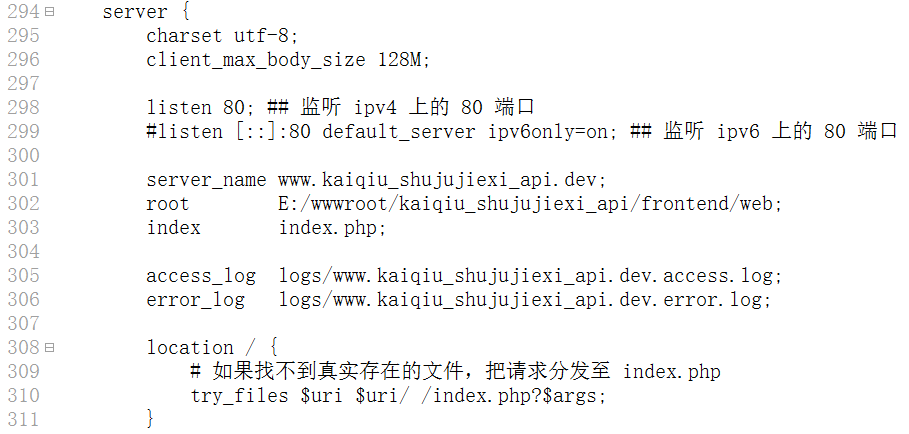
5. Set up the web server, use the virtual host to deploy the front-end and back-end, edit the nginx.conf file, and add the following content, as shown in Figure 7
server {
listen 80;
server_name www.kaiqiu_shujujixi.dev;
root e:/wwwroot/kaiqiu_shujujixi/web;
index index.html index.htm index.php;
#charset koi8-r;
Charset UTF-8;
access_log logs/www.kaiqiu_shujujixi.dev.access.log;
error_log logs/www.kaiqiu_shujujixi.dev.error.log;
location / {
try_files $uri $uri/ /index.php?$args;
}
client_max_body_size 128M;
#error_page 404 /404.html;
# redirect server error pages to the static page /50x.html
#
error_page 500 502 503 504 /50x.html;
location = /50x.html {
root html;
}
# proxy the php scripts to apache listening on 127.0.0.1:80
#
#location ~ \.php$ {
# proxy_pass http://127.0.0.1;
#}
# pass the php scripts to fastcgi server listening on 127.0.0.1:9000
#
location ~ \.php$ {
include fastcgi.conf;
# fastcgi_split_path_info ^(.+\.php)(/.+)$;
# root e:/wwwroot/kaiqiu_shujujixi/web;
fastcgi_pass 127.0.0.1:9000;
# fastcgi_index index.php;
# fastcgi_param script_filename $document_root$fastcgi_script_name;
# include fastcgi_params;
try_files $URI = 404;
}
# deny access to .htaccess files, if apaches document root
# concurs with nginxs one
#
#location ~ /\.ht {
# deny all;
#}
location ~ /\.(ht|svn|git) {
deny all;
}
}
server {
Charset UTF-8;
client_max_body_size 128M;
Listen 80; ## Monitoring port 80 on IPv4
#listen[::]:80 default_server ipv6only=on; ## monitor port 80 on IPv6
server_name www.kaiqiu_shujujixi_api.dev;
root e:/wwwroot/kaiqiu_shujujixi_api/frontend/web;
index index.php;
access_log logs/www.kaiqiu_shujujixi_api.dev.access.log;
error_log logs/www.kaiqiu_shujujixi_api.dev.error.log;
location / {
# If you can’t find a real file, distribute the request to index.php
try_files $uri $uri/ /index.php?$args;
}
# If you cancel the comment below, you can avoid the processing of Yii taking over the absence of files (404)
#location ~ \.(js|css|png|jpg|gif|swf|ico|pdf|mov|fla|zip|rar)$ {
# try_files $URI =404;
#}
#error_page 404 /404.html;
# redirect server error pages to the static page /50x.html
#
error_page 500 502 503 504 /50x.html;
location = /50x.html {
root html;
}
# proxy the php scripts to apache listening on 127.0.0.1:80
#
#location ~ \.php$ {
# proxy_pass http://127.0.0.1;
#}
# pass the php scripts to fastcgi server listening on 127.0.0.1:9000
#
location ~ \.php$ {
fastcgi_split_path_info ^(.+\.php)(/.+)$;
root e:/wwwroot/kaiqiu_shujujixi_api/frontend/web;
fastcgi_pass 127.0.0.1:9000;
fastcgi_index index.php;
fastcgi_param script_filename $document_root$fastcgi_script_name;
include fastcgi_params;
}
# deny access to .htaccess files, if apaches document root
# concurs with nginxs one
#
#location ~ /\.ht {
# deny all;
#}
}
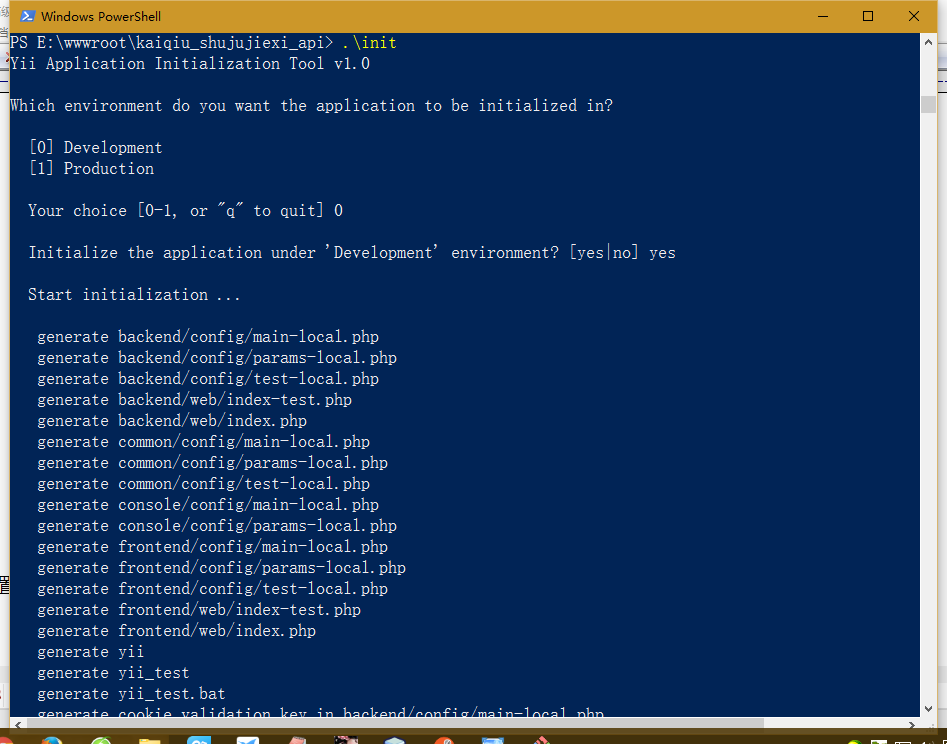
6. Set the application environment, enter the kaiqiu_shujujixi_api directory, and execute the init command, as shown in Figure 8
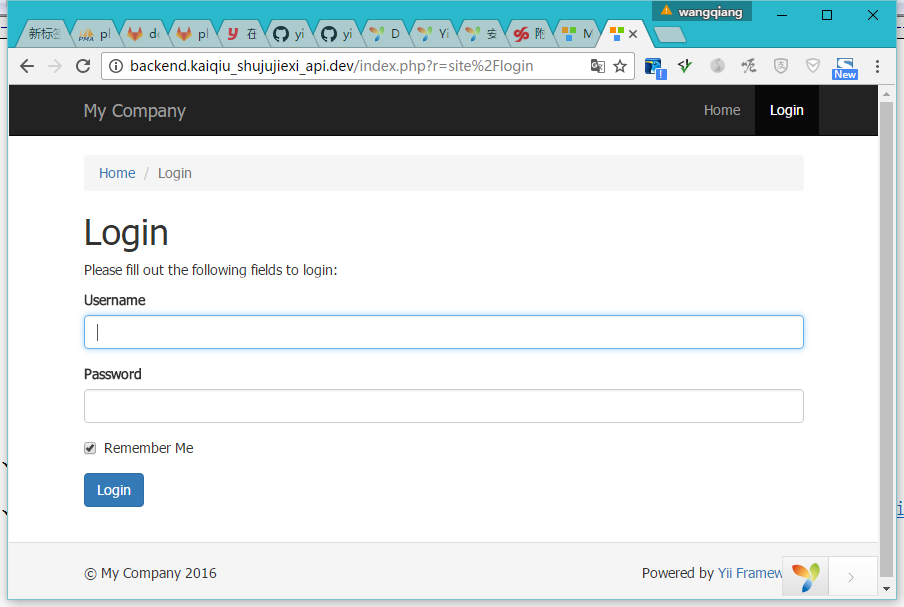
7. Open the URL: http://www.kaiqiu_shujujixi_api.dev/, H ttp://backend.kaiqiu_shujujixi_api.dev/, as shown in Figure 9, 10

8. Create a new application shujujixi and api, and copy the backend directory to shujujixi and api, as shown in Figure 11

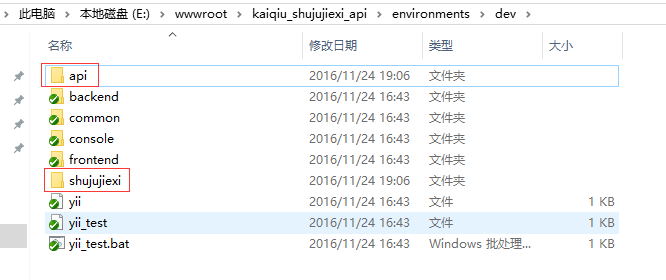
9. Copy the environments/dev/backend directory to environments/dev/shujujixi, environments/dev/api, as shown in Figure 12
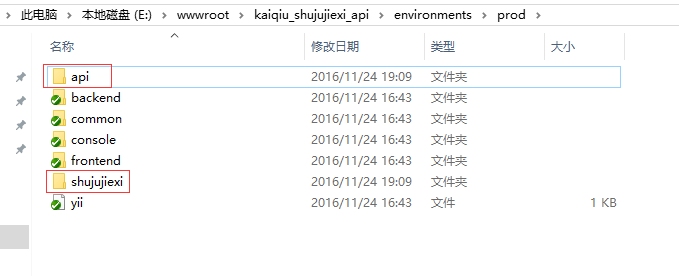
10. Copy the environments/prod/backend directory to environments/prod/shujujixi, environments/prod/api, as shown in Figure 13
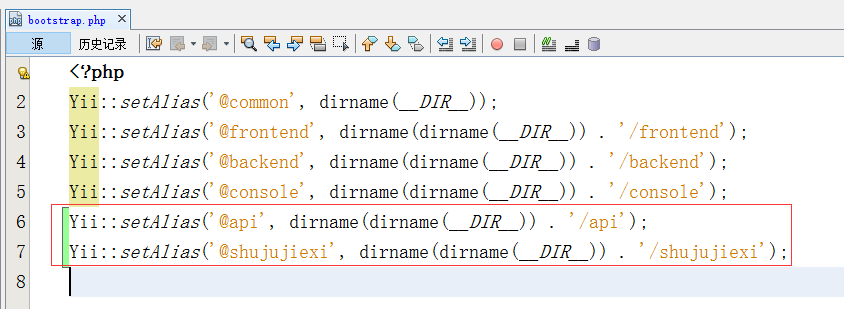
11. Edit common/config/bootstrap.php, add 2 lines, as shown in Figure 14
yii::setalias(@api, dirname(dirname(__dir__)) ./api);
yii::setalias(@shujujixi, dirname(dirname(__dir__)) ./shujujixi);
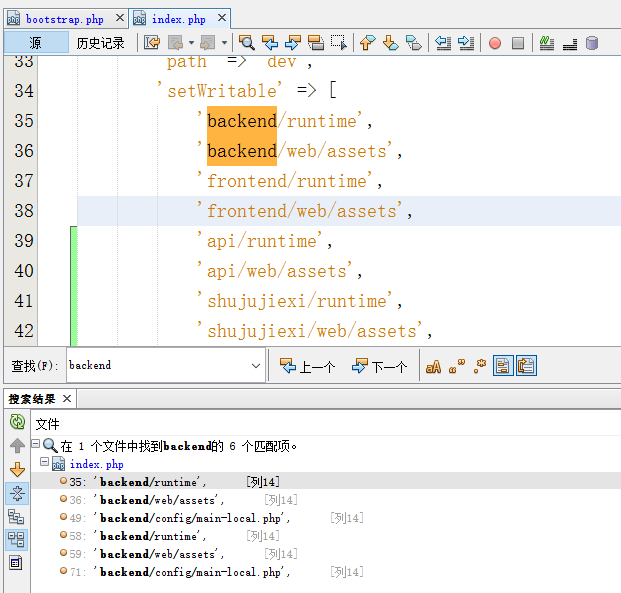
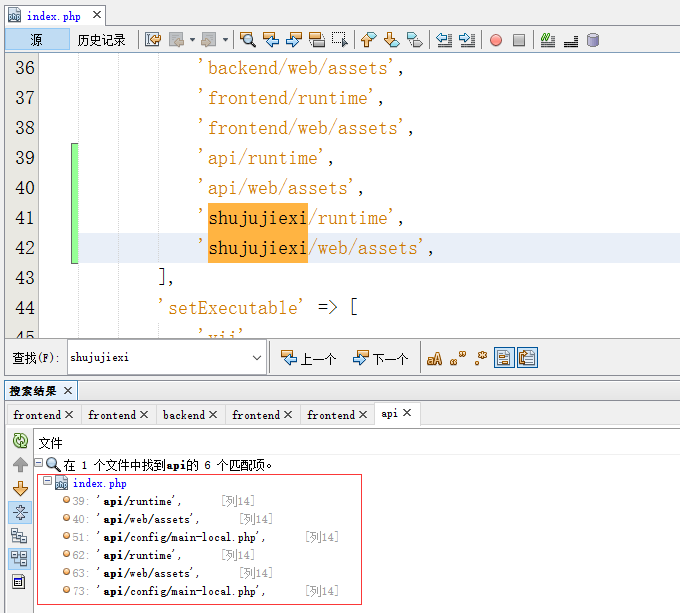
12. Edit environments/index.php, search for this file with 6 backends, then copy 6 copies accordingly, as shown in Figure 15 and 16
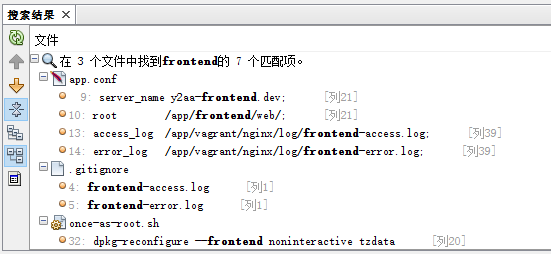
13. If you need to use Vagrant, it is recommended to copy and process according to the plan of item 12, as shown in Figure 17
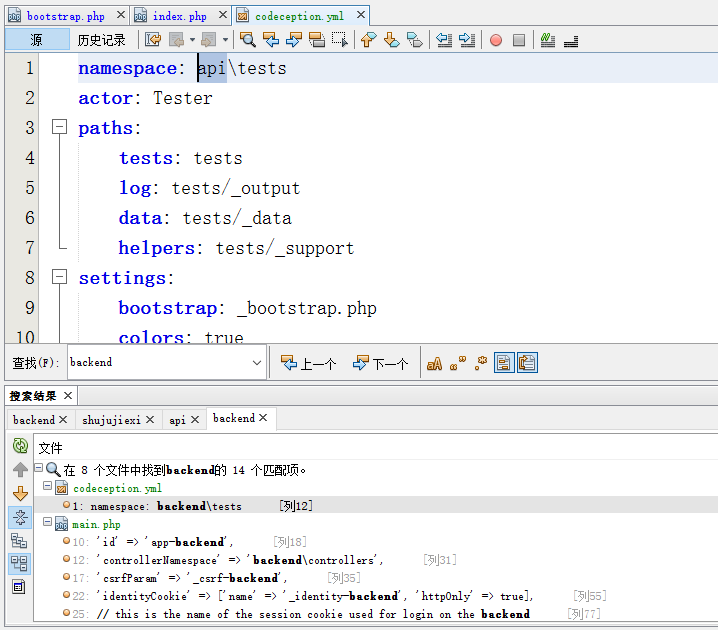
14. Search for backend in the directory shujujixi and api, and replace them with shujujixi and api, as shown in Figure 18
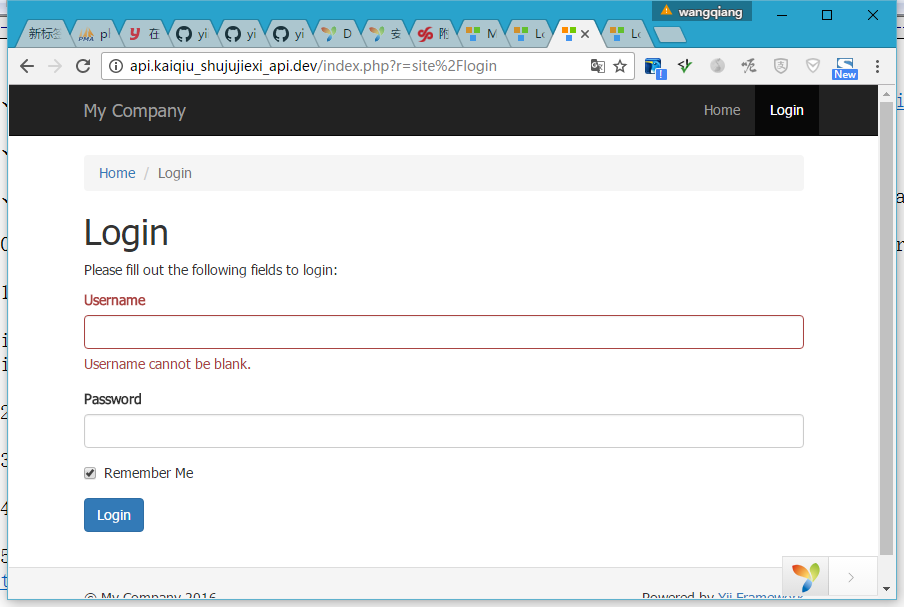
15. In Nginx Add a virtual host, open the URL: http://api.kaiqiu_shujujixi_api.dev/ , http://shujujixi.kaiqiu_shujujixi_api.dev/, as shown in Figure 19
Leave a Reply