Migrate to Ubuntu from Windows 10 – Next: Ubuntu 26.04 Installation and First Time Configuration
Continue to the previous article: Preparation before installation has been completed (FAT32 partition + easyuefi startup item)
This article contains Complete installation process(24 photos) and First boot configuration(4 photos)
No U disk, no black screen, everything goes well
1. Start and enter the Ubuntu installation environment
1.1 Select startup items
Restart the computer and press continuously during the ThinkPad POST f12 key to enter the temporary startup menu. Find what we created earlier in the list ubuntu installer startup items.
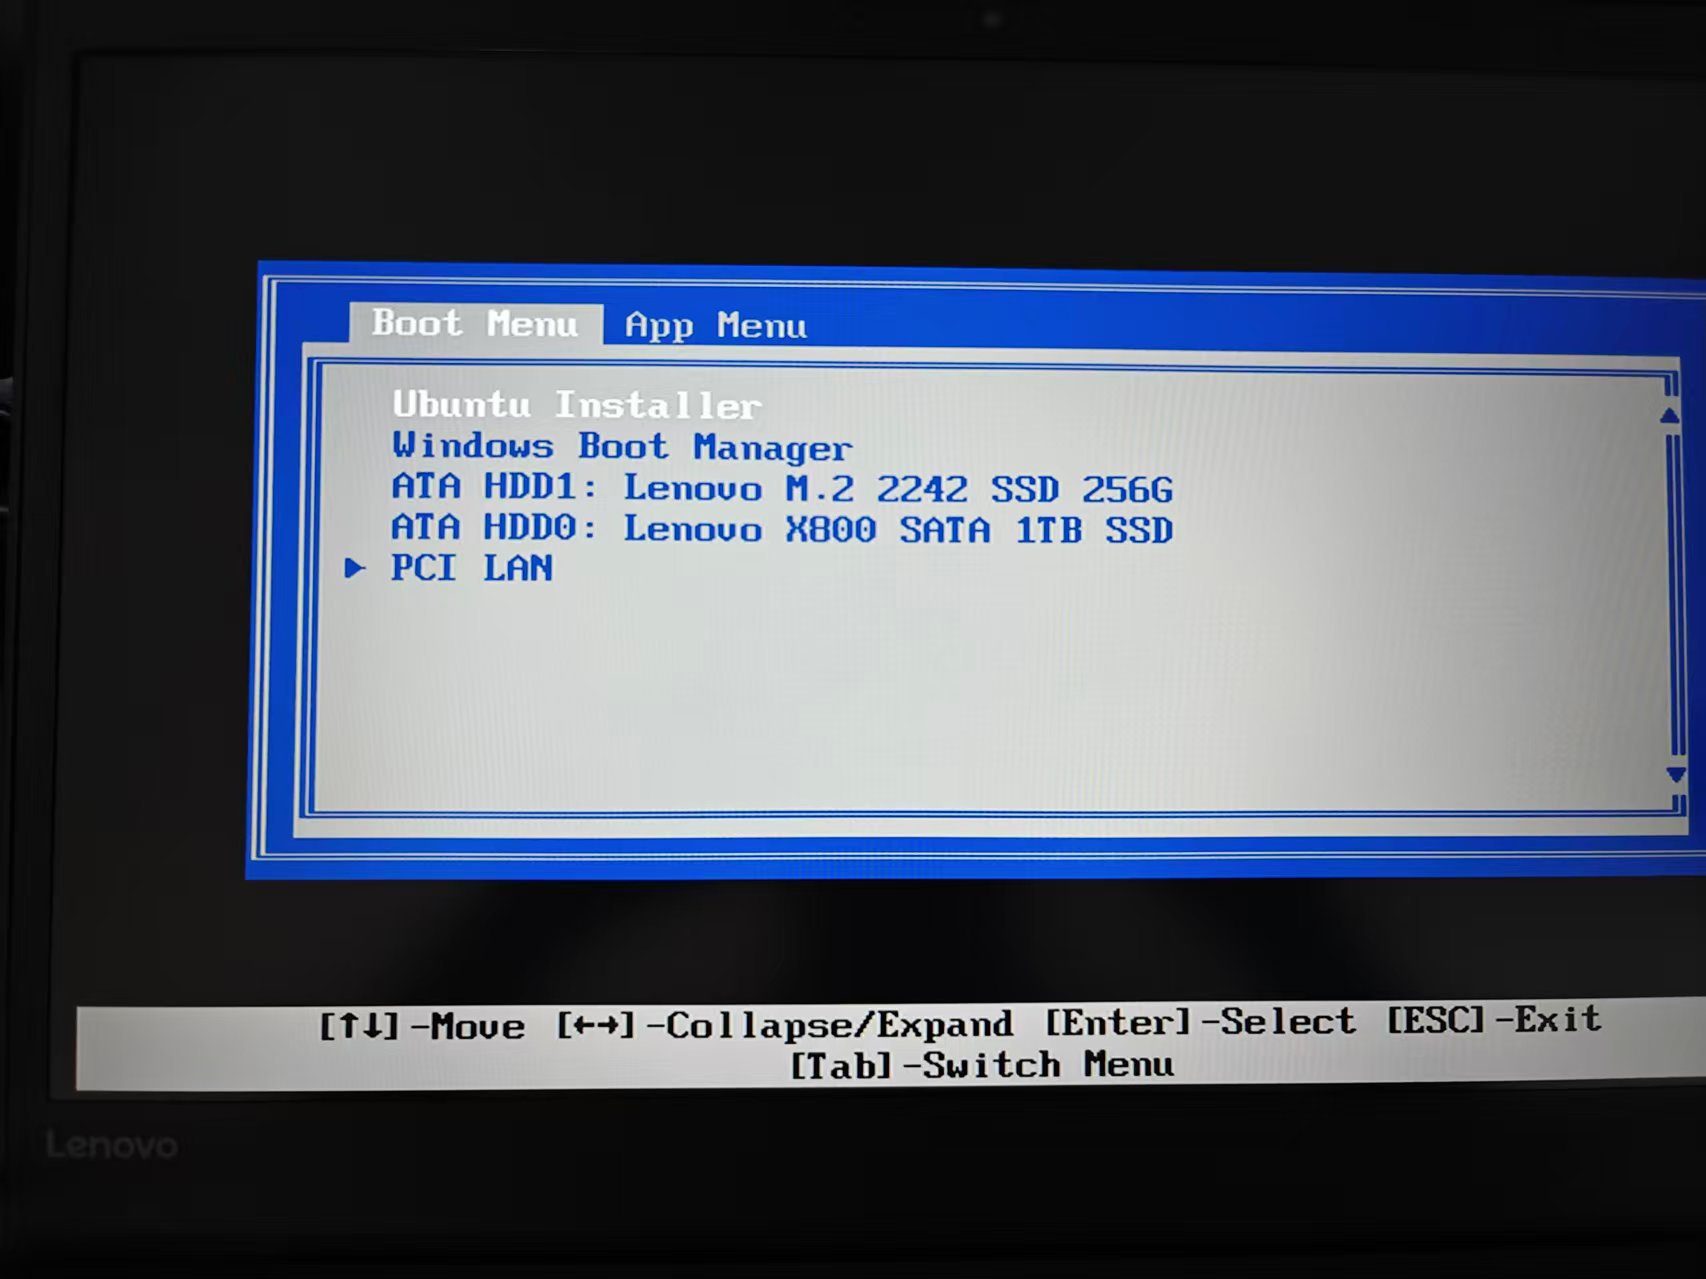
After selecting, press Enter, and the system starts to load the boot file.
1.2 Go to the GRUB menu
After a while, the GRUB menu will appear. Default selected ‘Try or install ubuntu’.
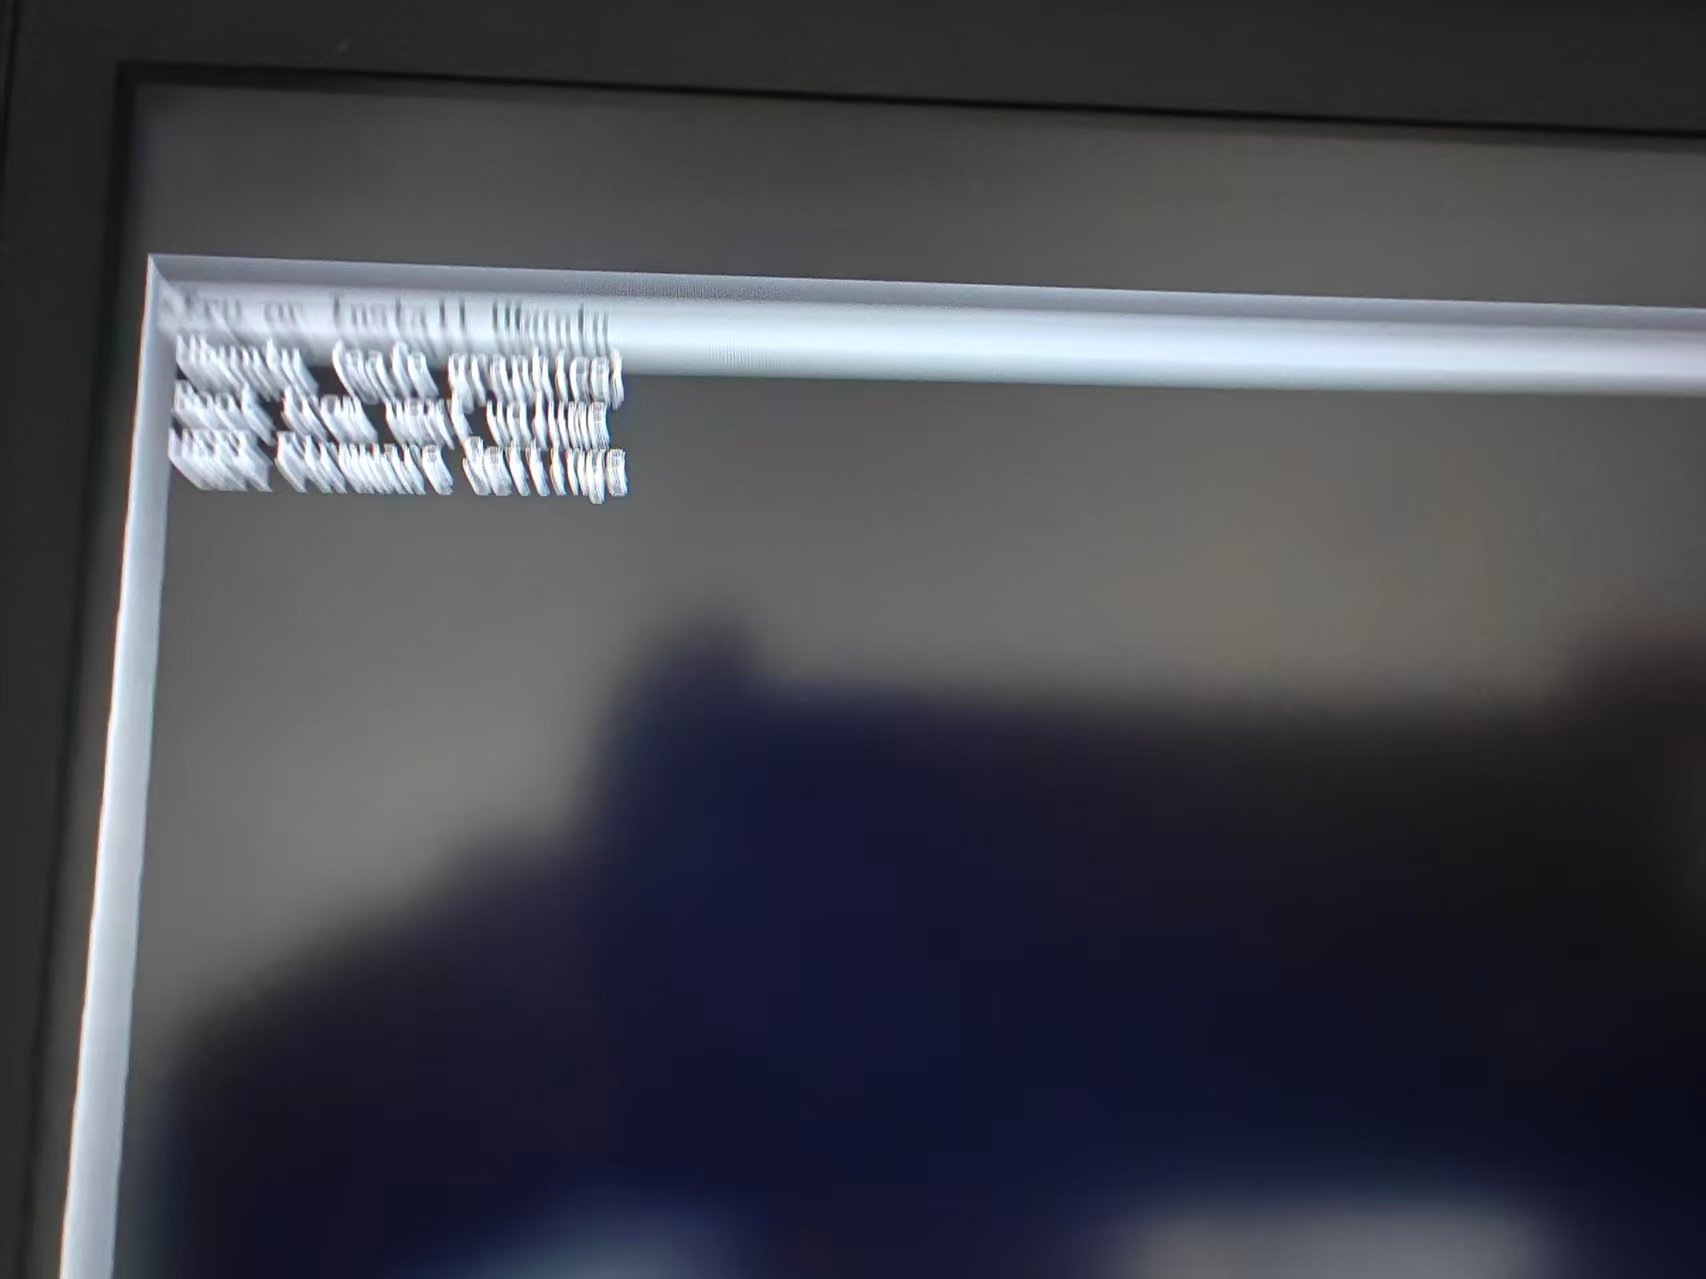
Since I didn’t encounter a black screen problem, I directly press Enter to enter. If you encounter a black screen, press at this time e key to add nomodeset parameters.
1.3 Brand screen
A brief occurrence of Lenovo and Ubuntu logos.
The installation process
2.1 Select language
Enter the welcome interface, select Chinese (Simplified).
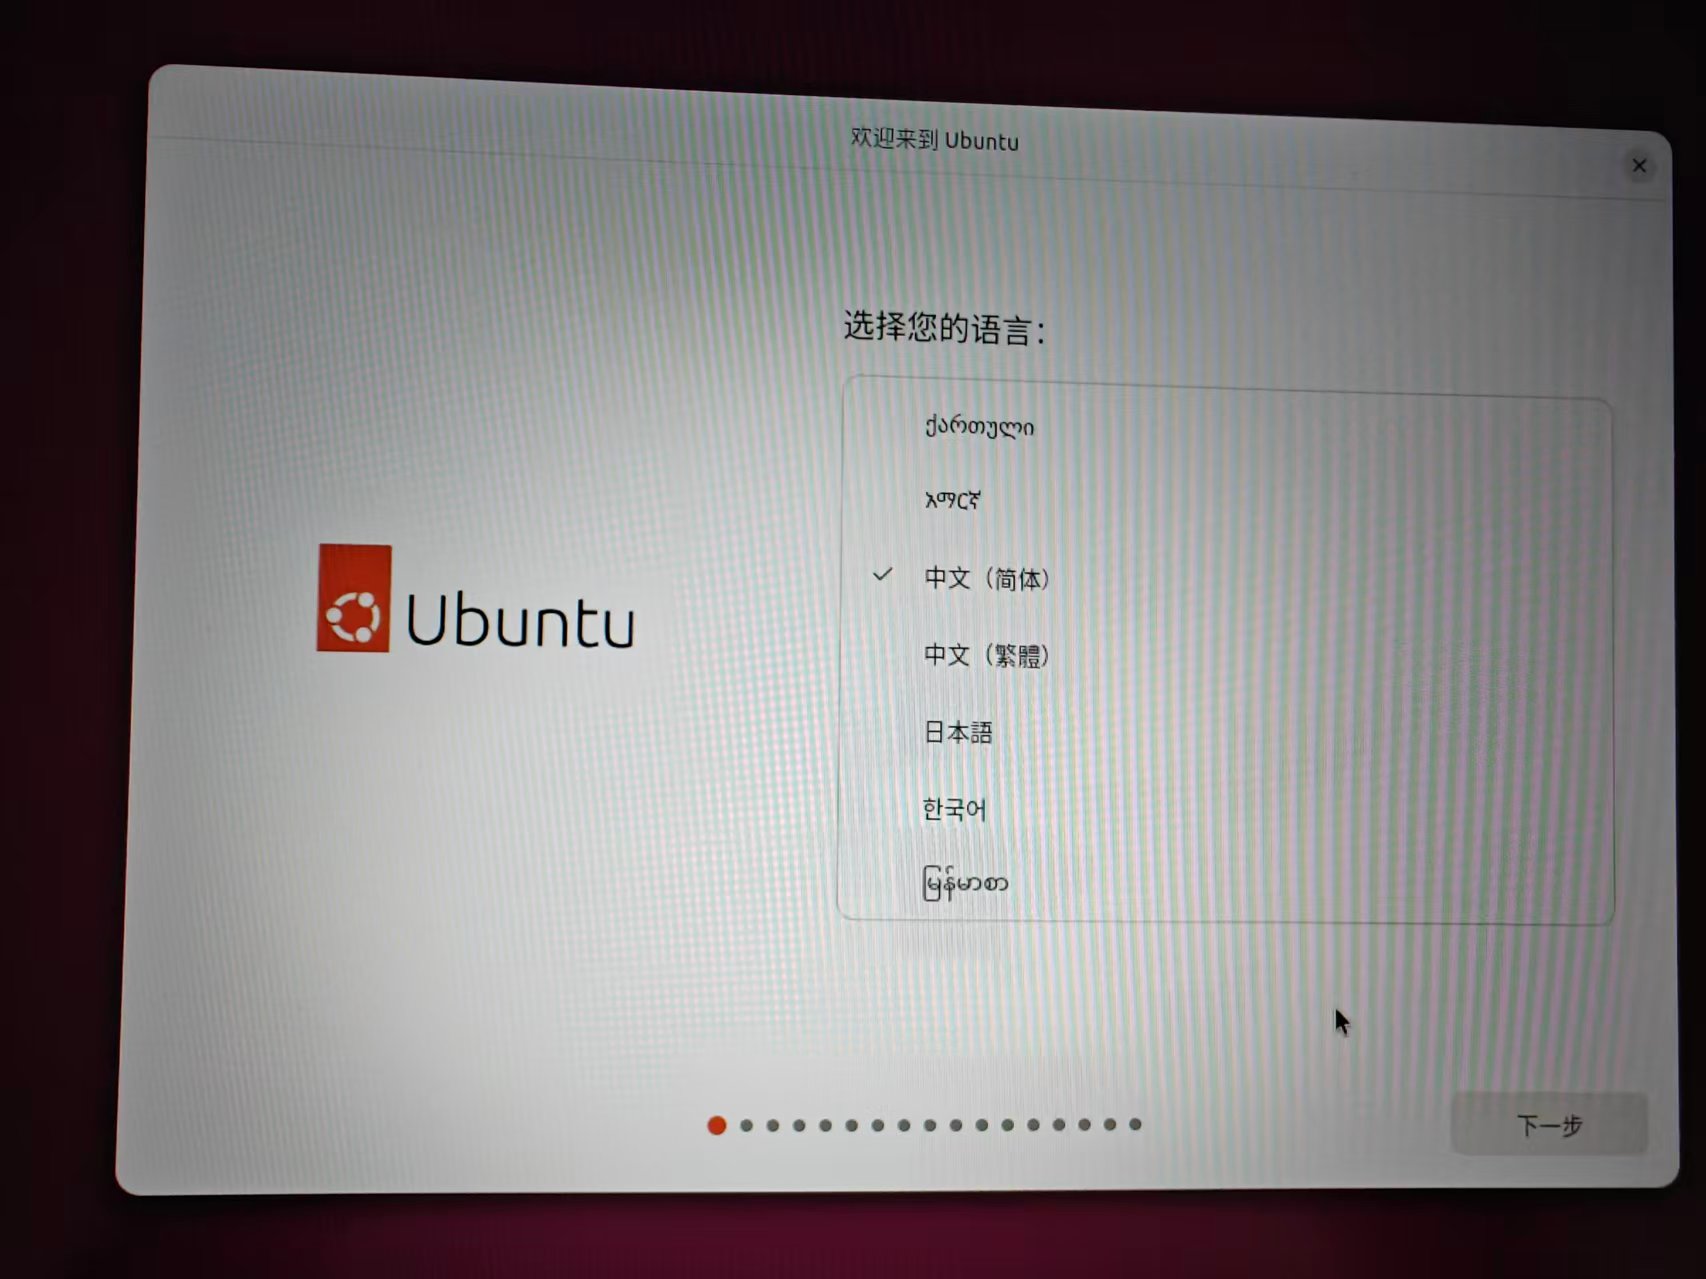
Click on Next step.
2.2 Connecting to the network (optional)
The installer prompts to connect to the Internet. I chose to connect Wi-Fi.
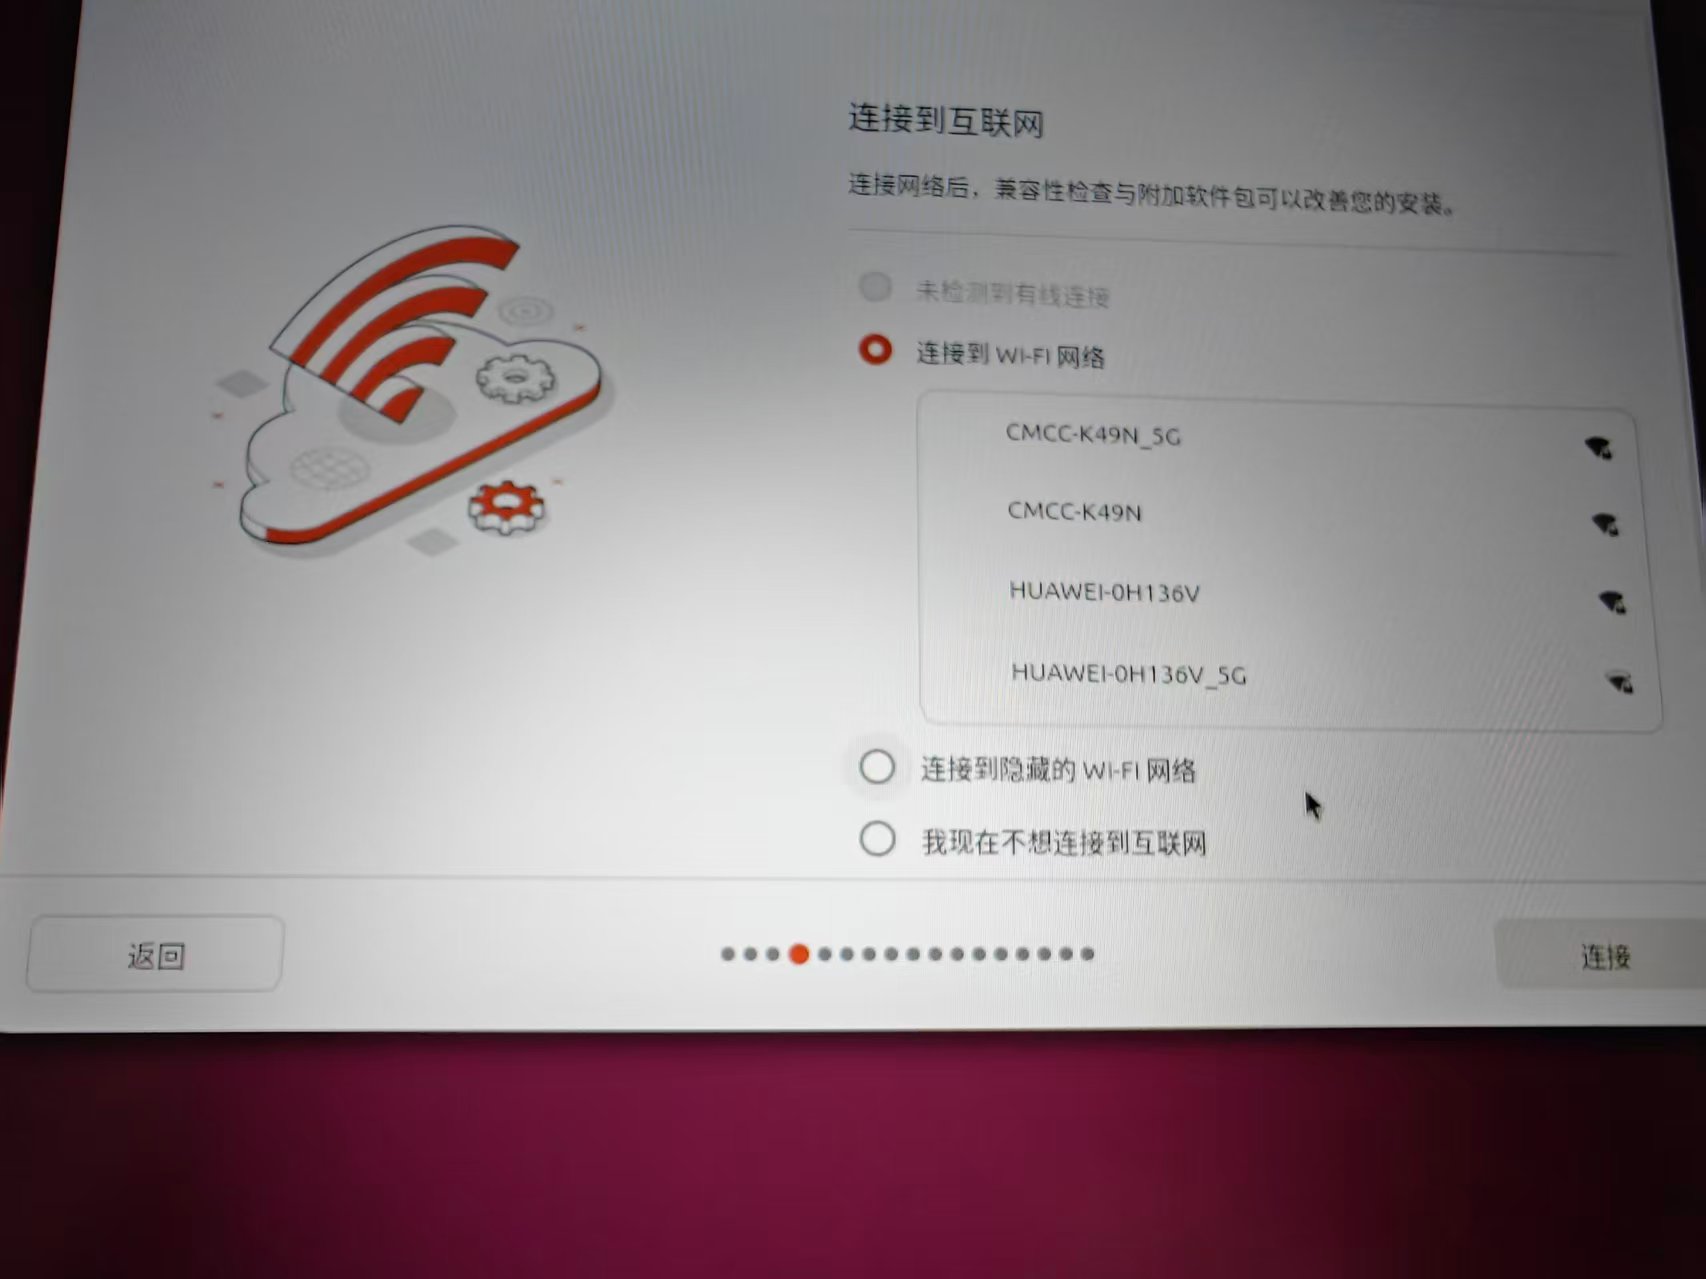
Select CMCC-K49N_5G, enter the password.
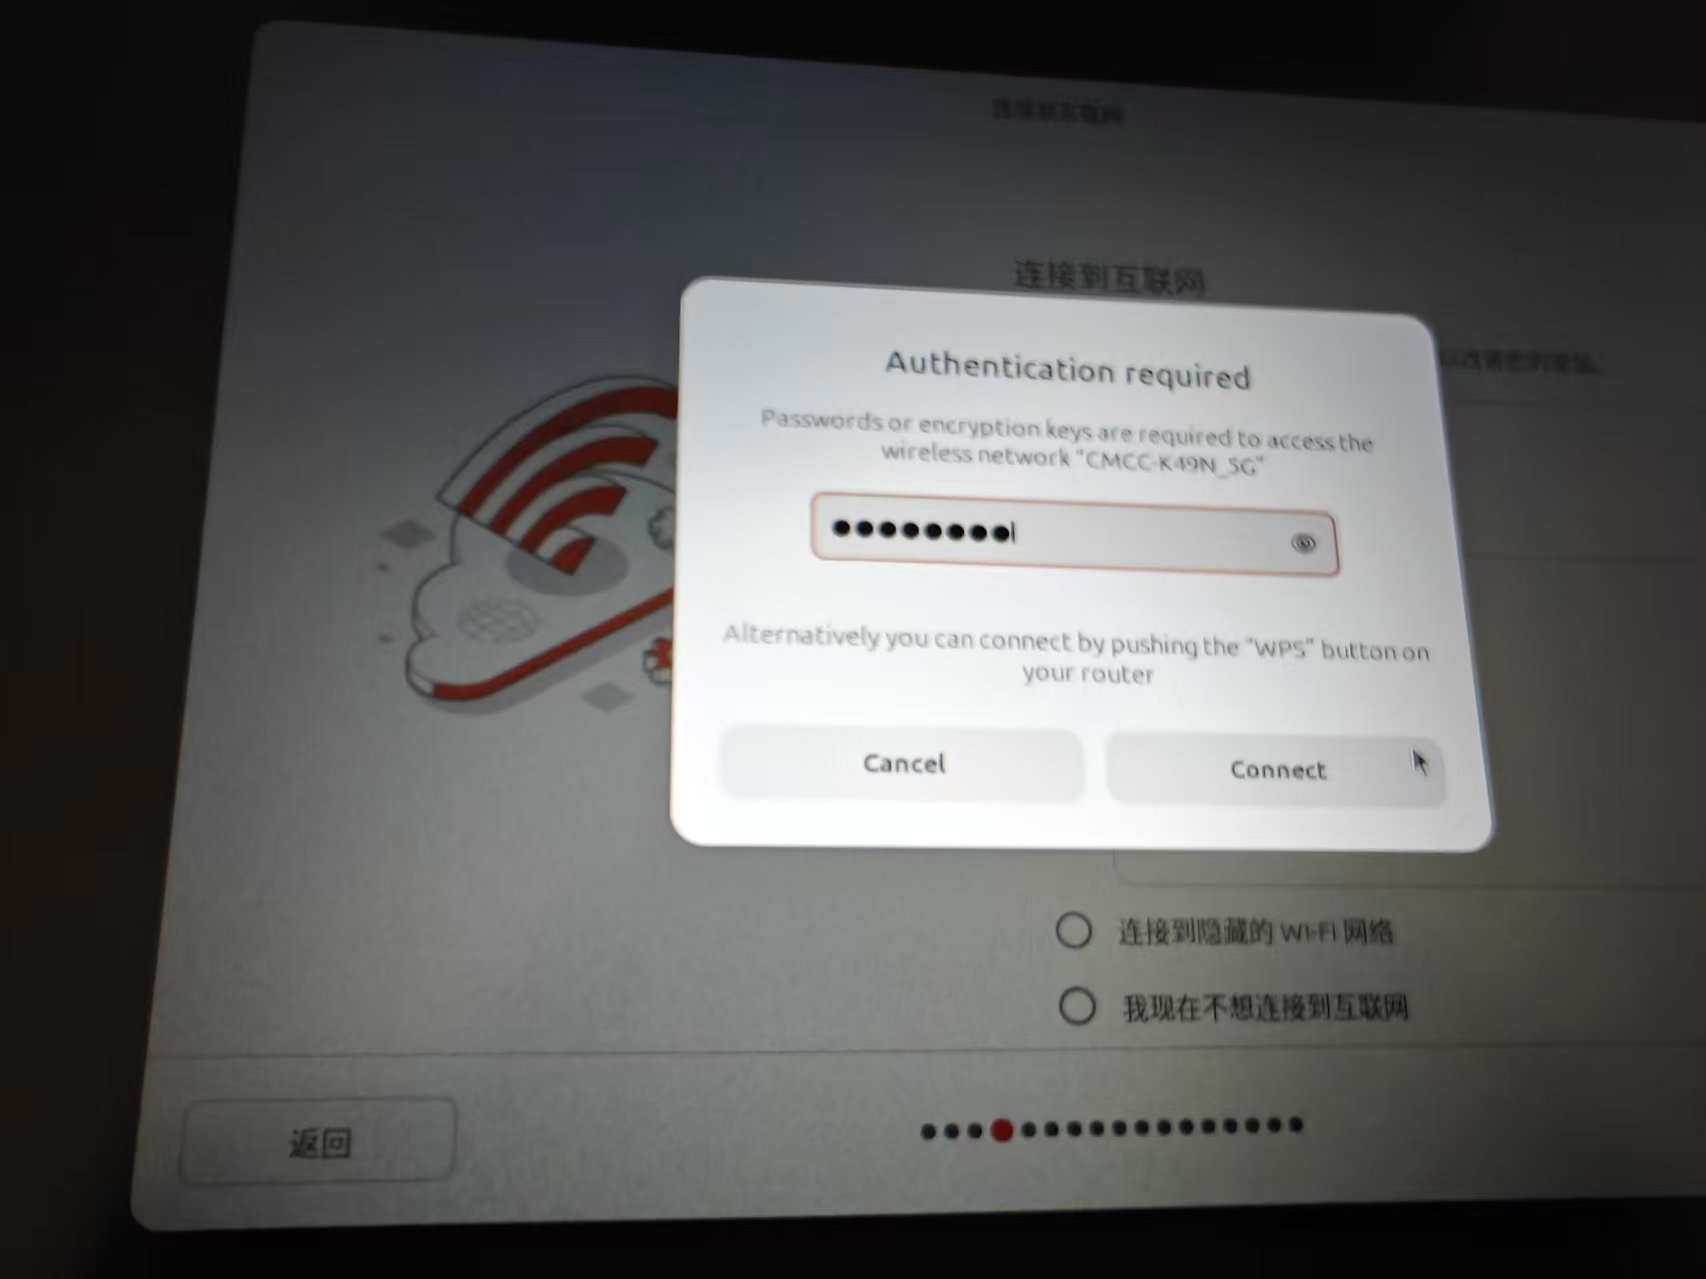
After the connection is successful, the interface becomes ‘Next’ available.
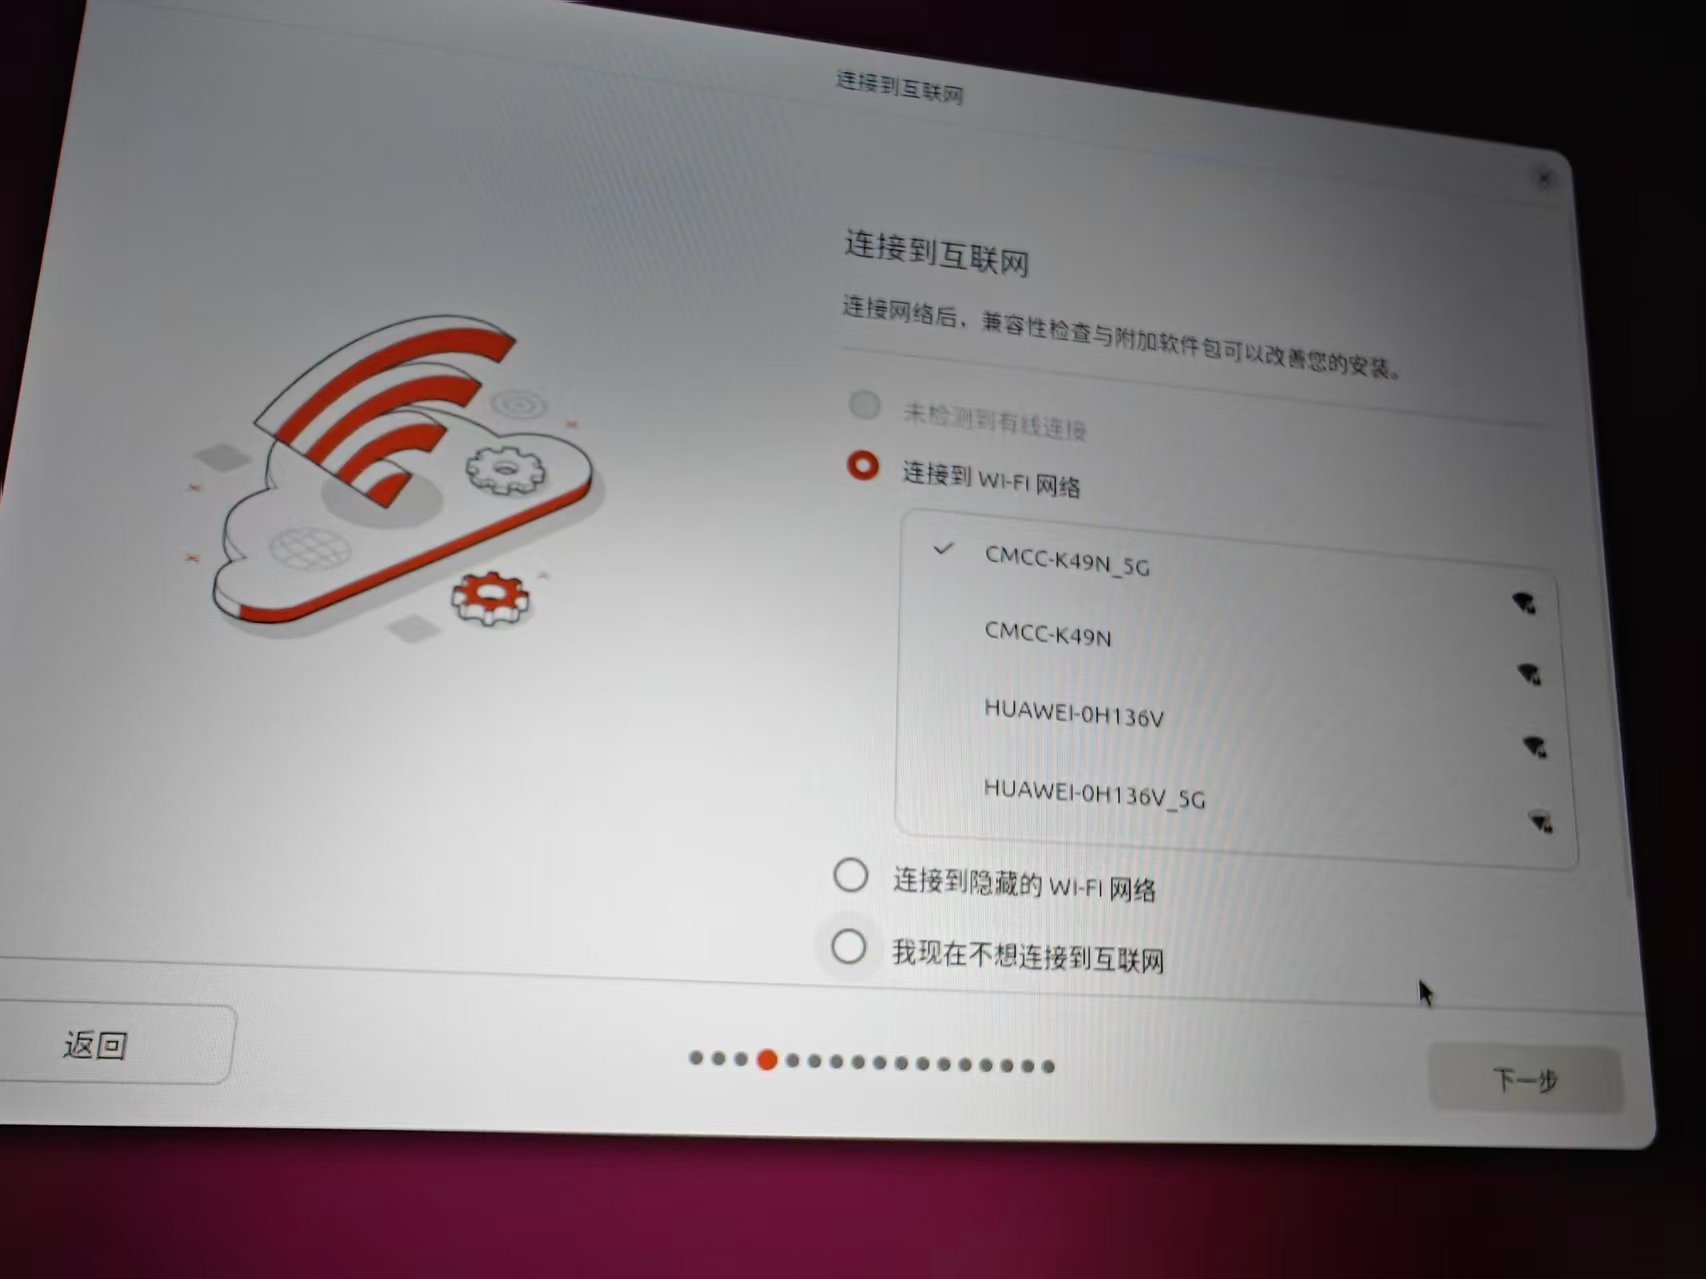
Click on Next step.
2.3 Select the installation method
The ‘Trial or Install Ubuntu’ interface appears, select ‘Install Ubuntu’.
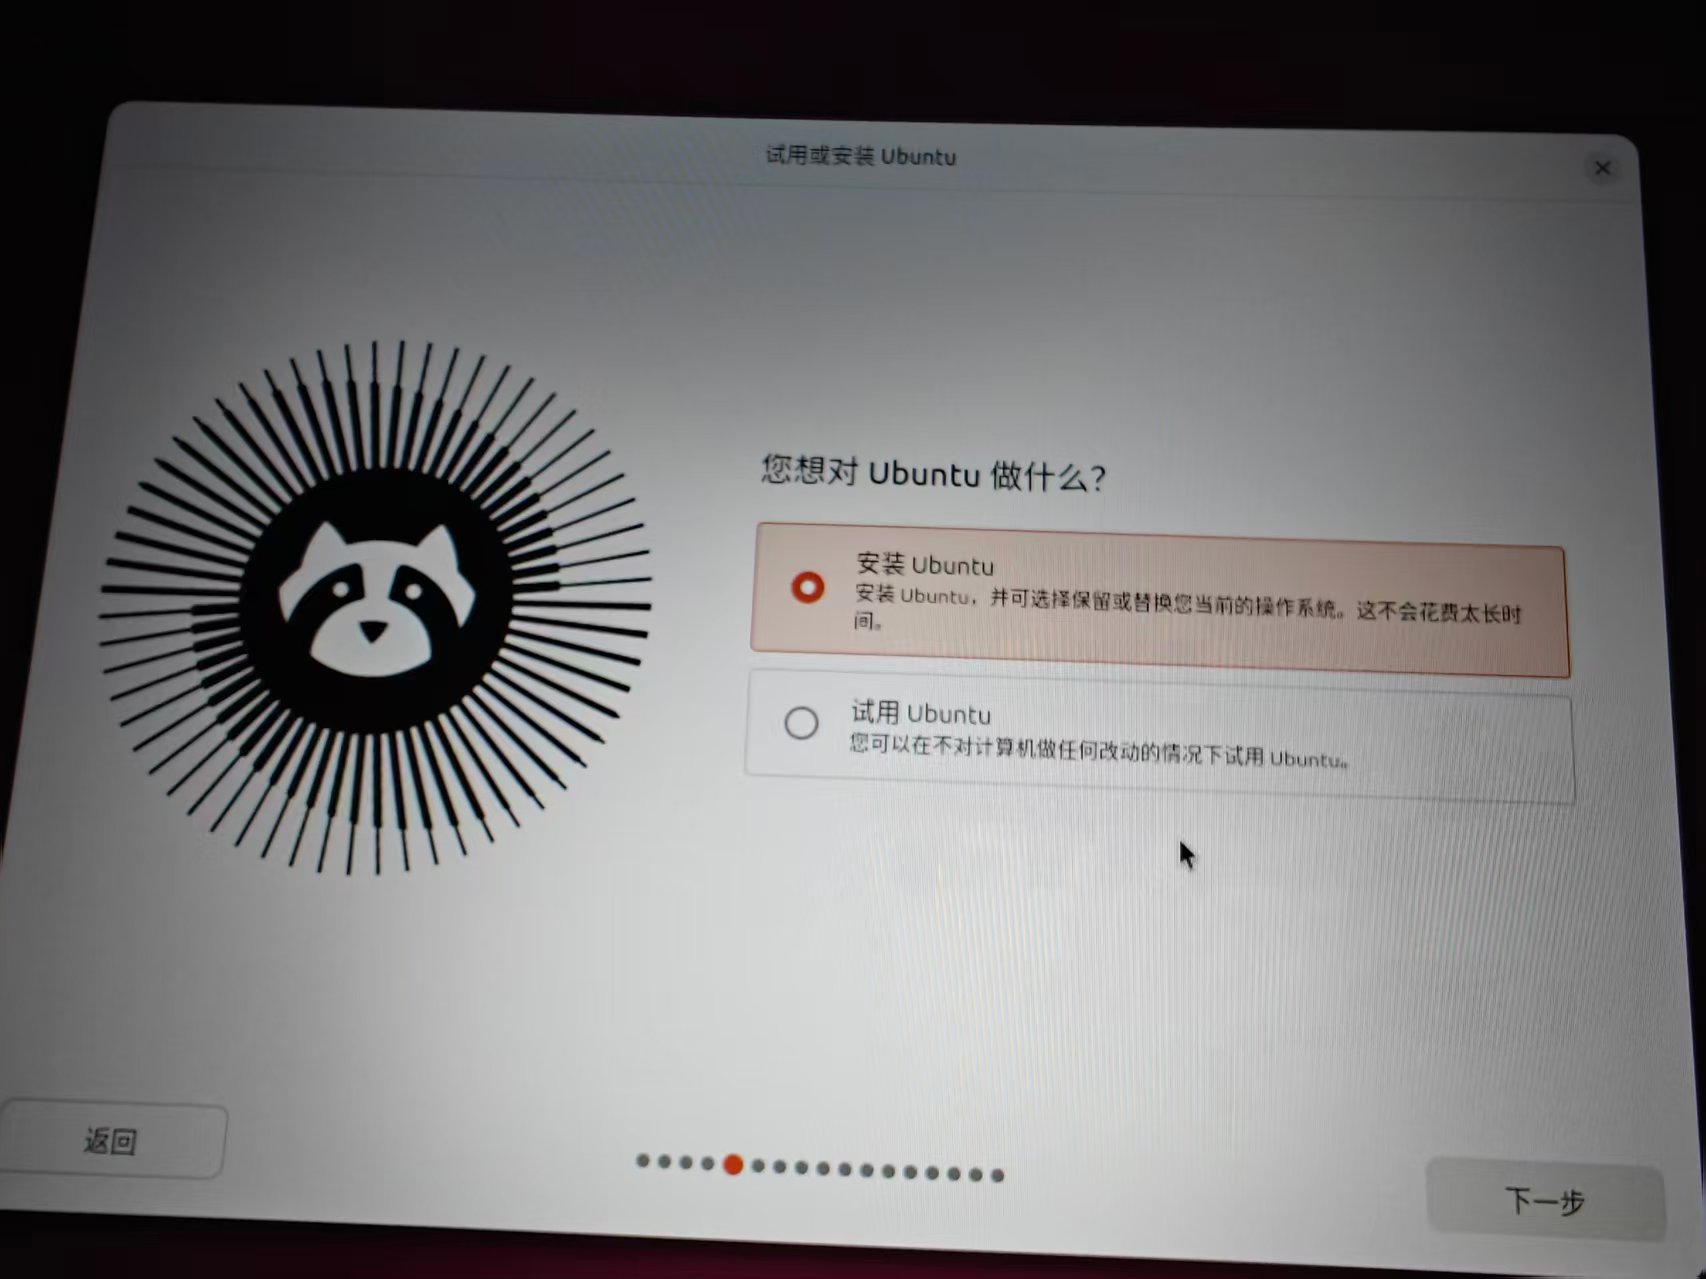
Click on Next step.
2.4 Confirm the installation type
The ‘How do you want to install Ubuntu?’ screen appears. I choose the default options.
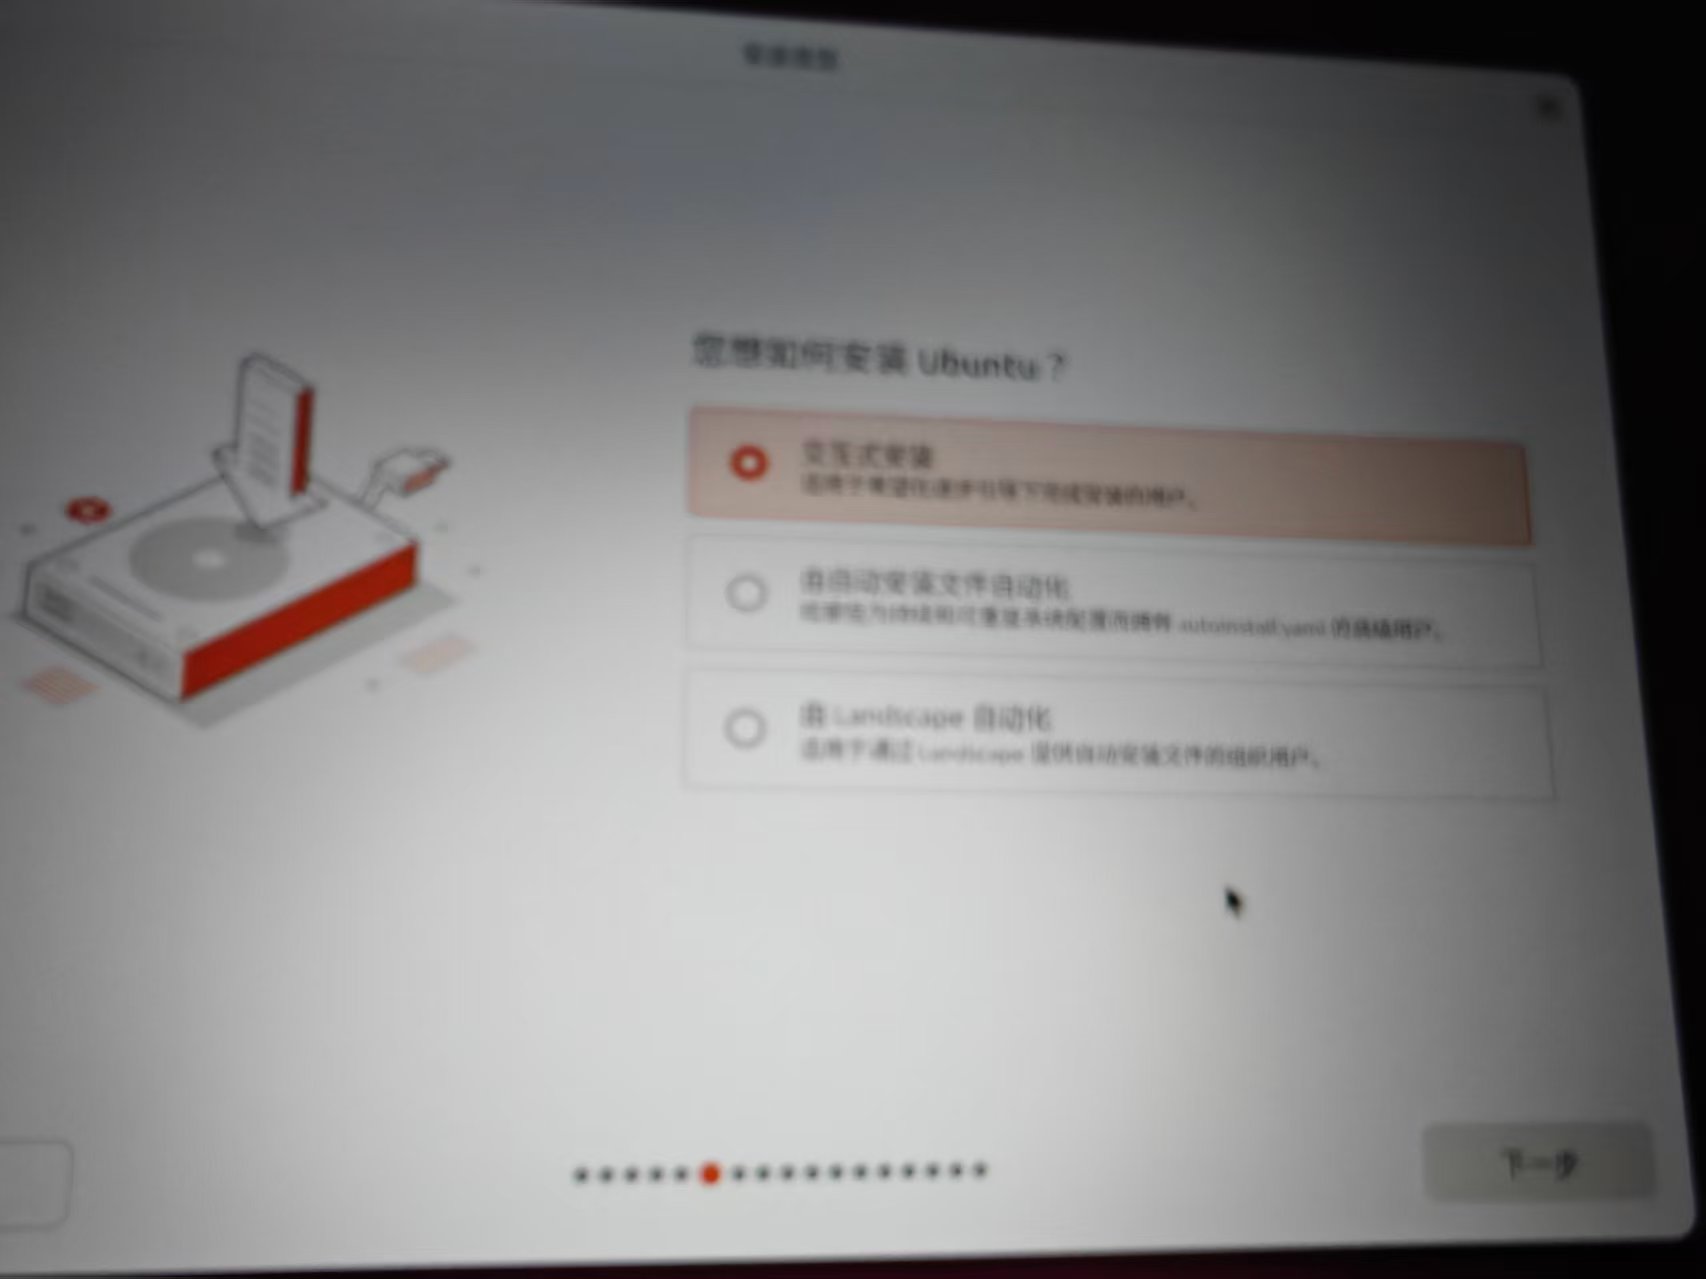
Click on Next step.
2.5 Select Application Collections
I chose ‘Default Collection’.
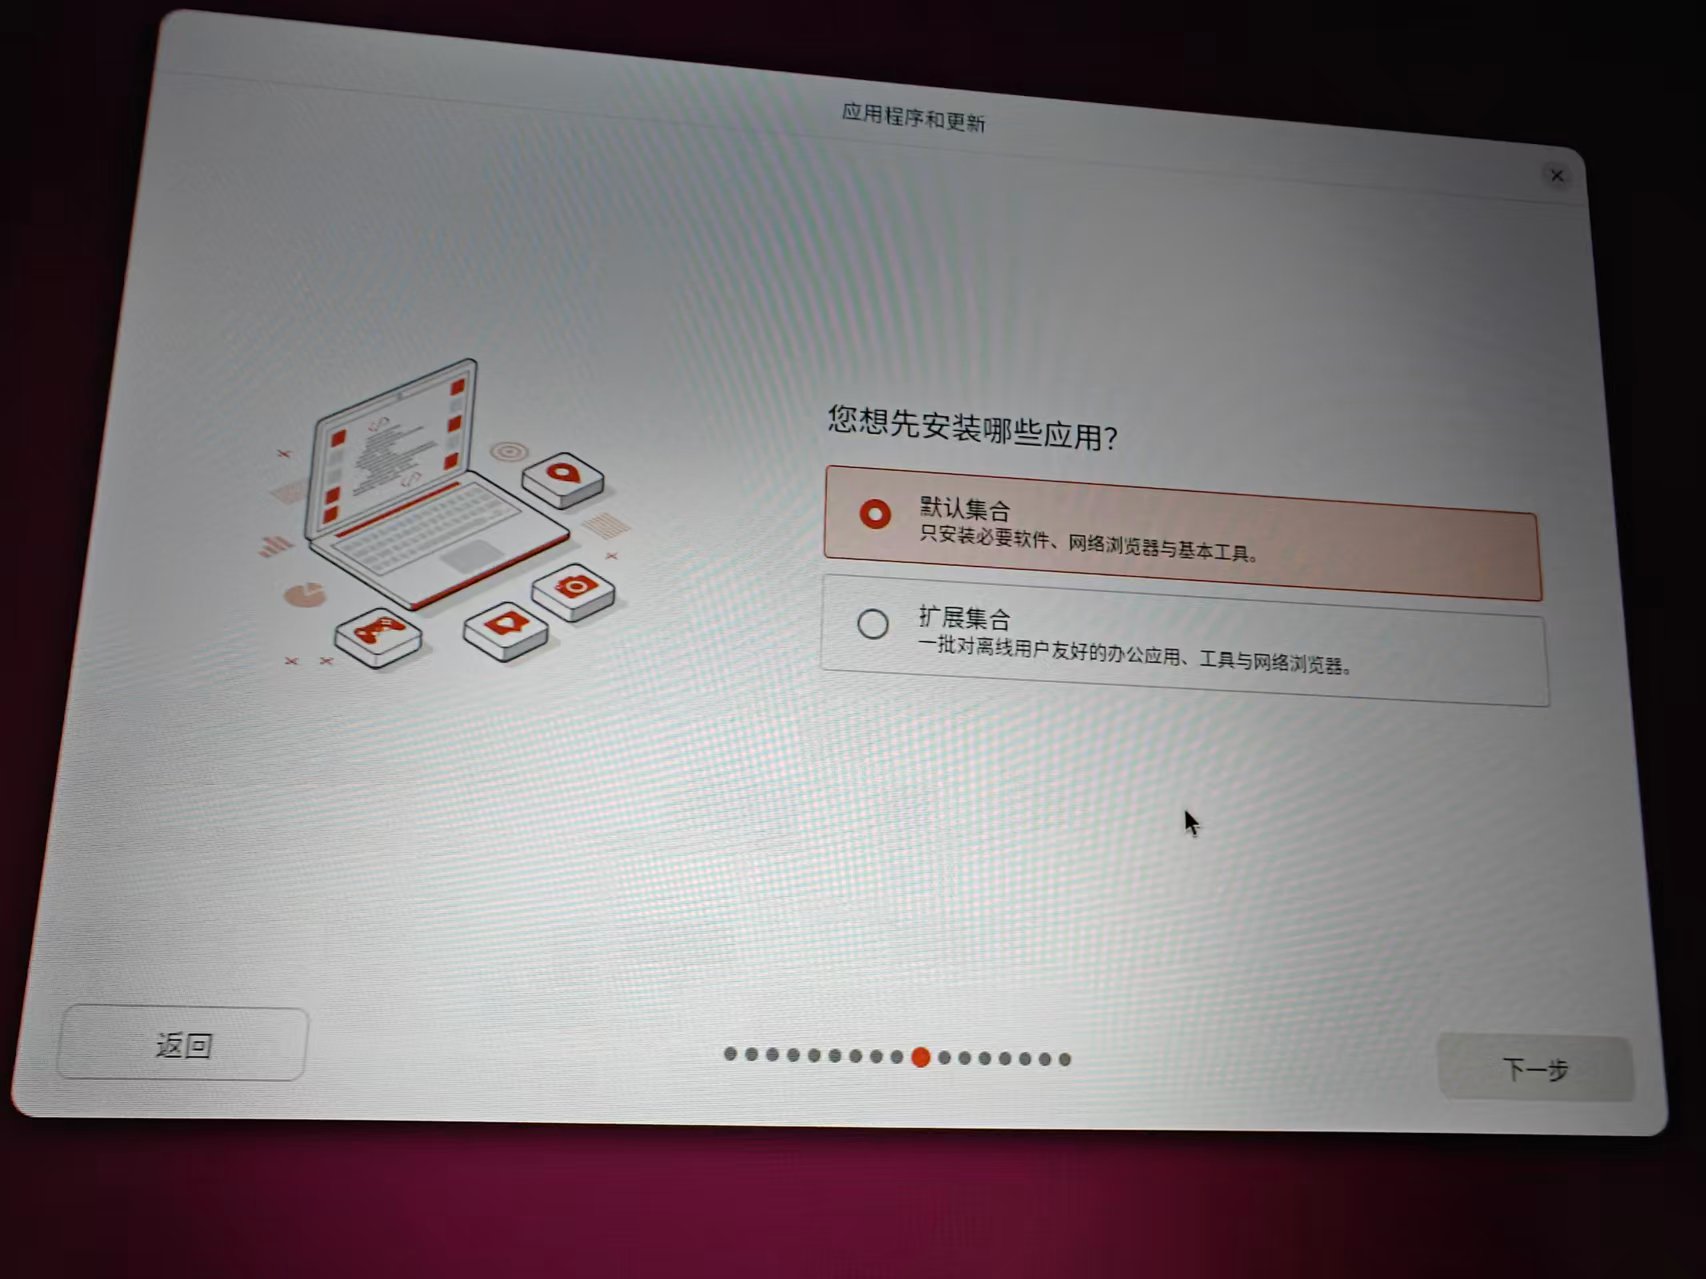
Click on Next step.
2.6 Install third-party software
Check ‘Install third-party software for graphics and Wi-Fi hardware’ And ‘Download and install support for other media formats’.
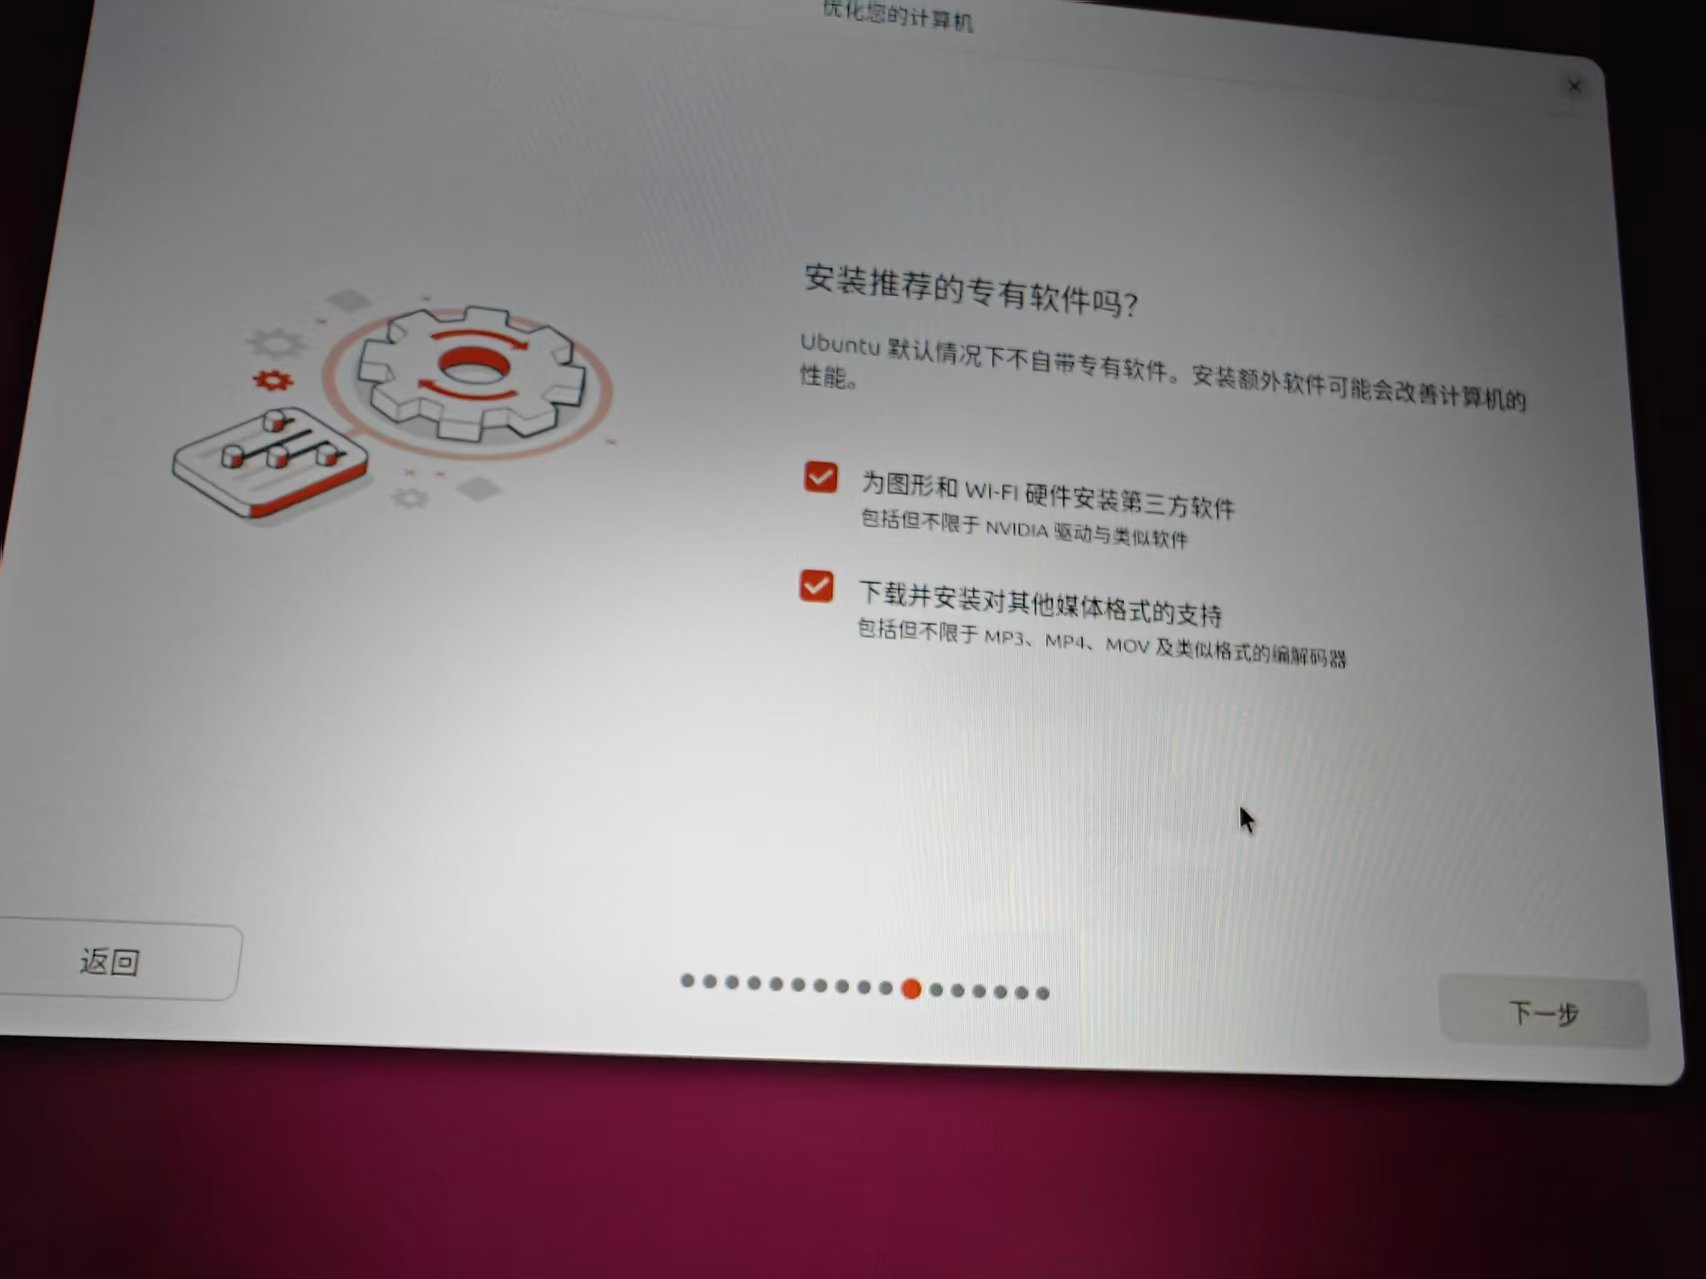
Click on Next step.
2.7 Disk Settings
Select ‘Erase disk and install Ubuntu’.
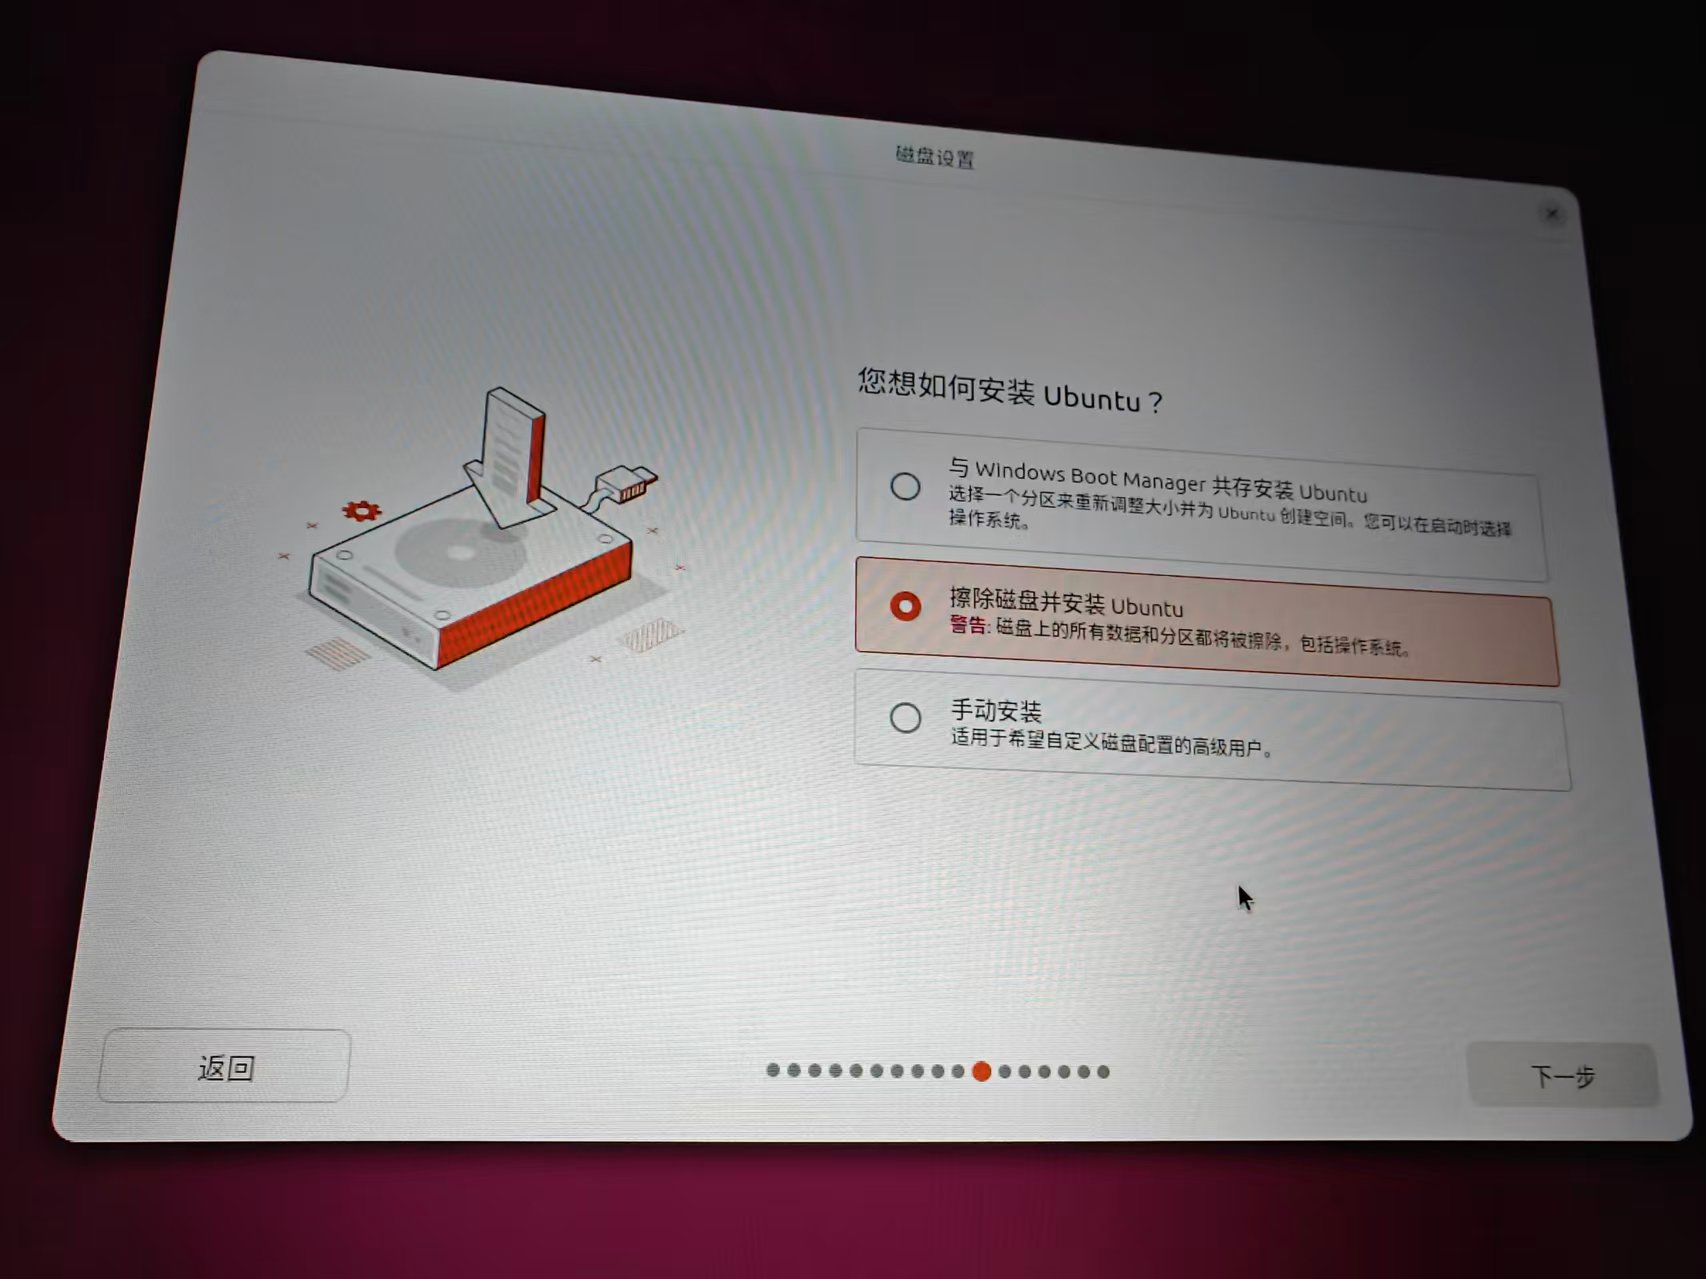
Click on Next step.
2.8 Select the hard disk to install
Key steps! The installer lists the available hard disks. I chose SDA - 256.06 GB Lenovo M.2 2242 SSD 256G(This is the small hard disk where the original Windows is located, with a capacity of about 256 GB, and the actual capacity is about 238 GB).
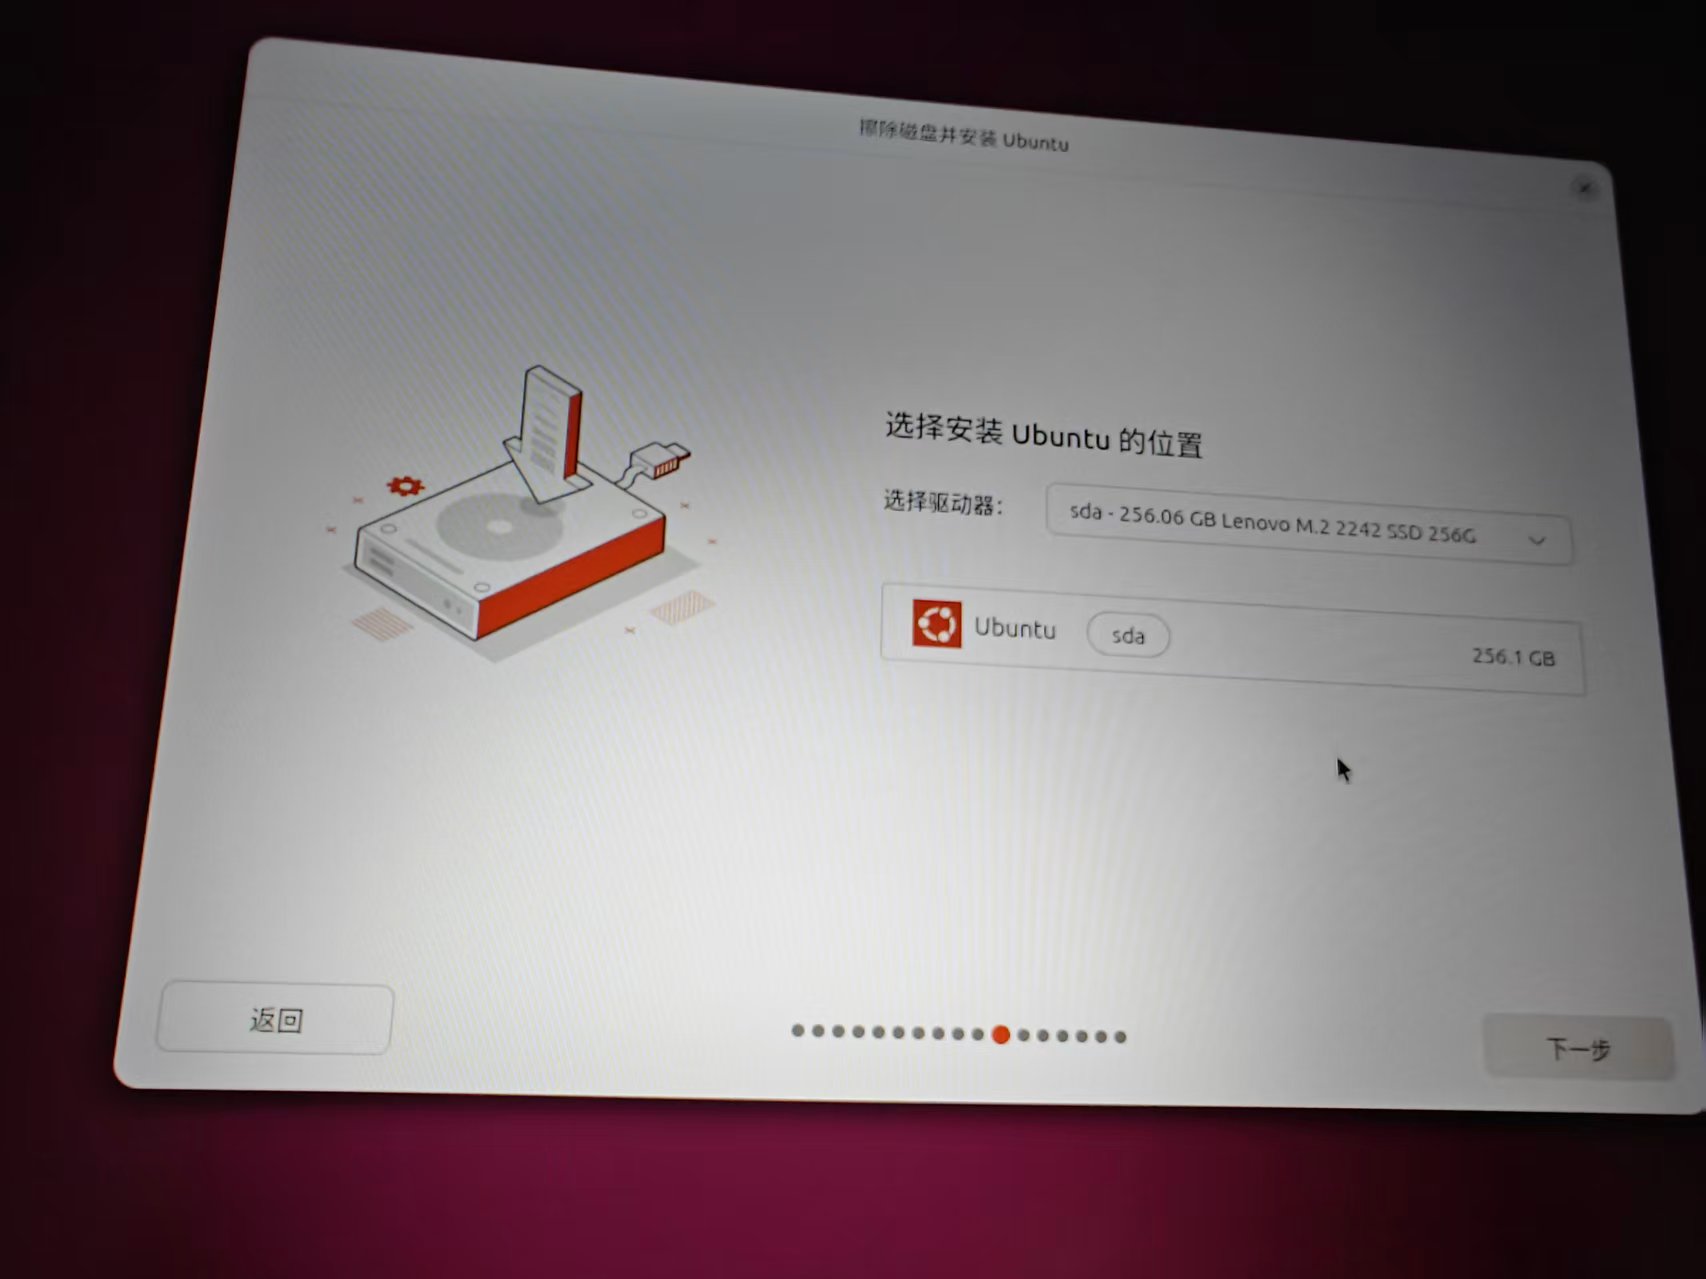
Click on Next step.
2.9 Encryption settings
I choose ‘No encryption’.
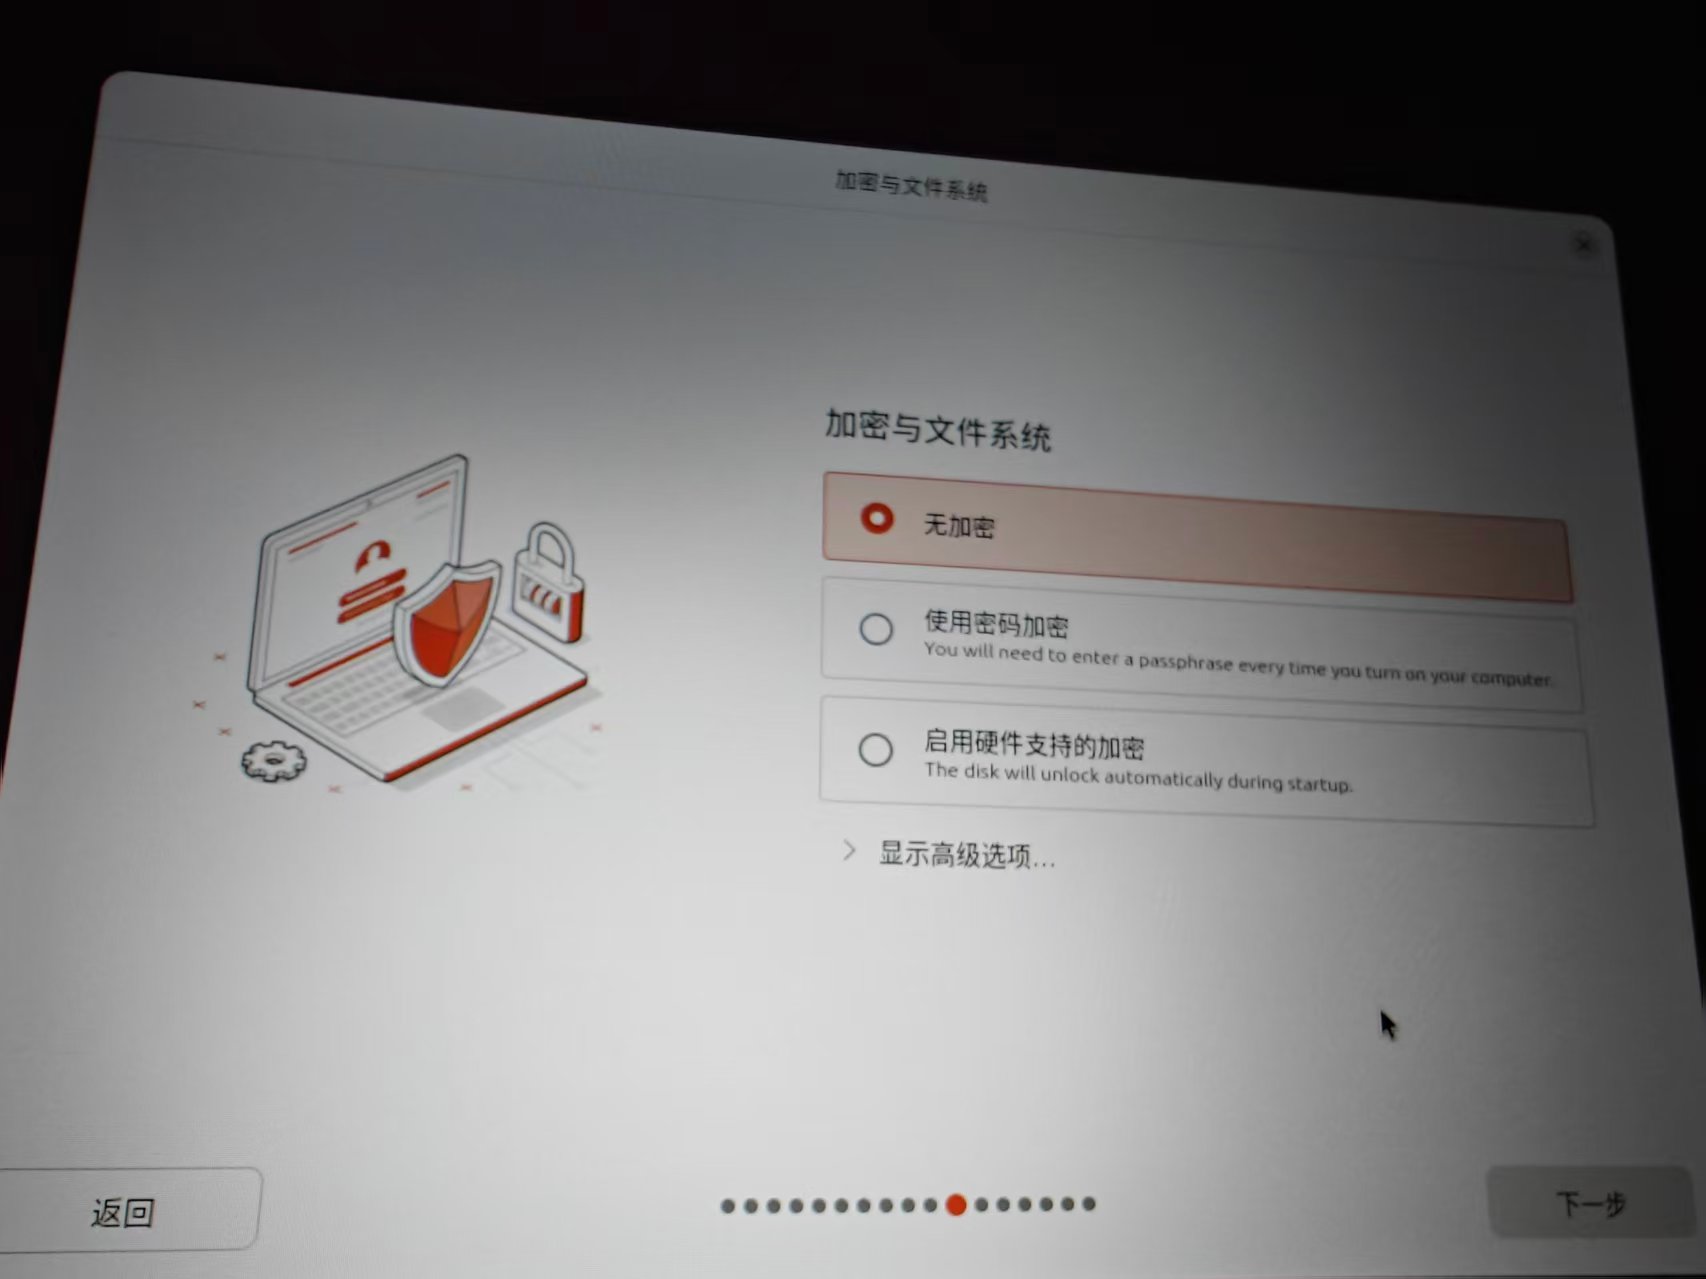
Click on Next step.
2.10 Set up a user account
Fill in the information:
- Your name:
wangqiang - Your computer hostname:
wangqiang-thinkpad-t570 - Username:
wangqiang - Password: self-set (strength is better)
- Check ‘Requires a password when logging in’
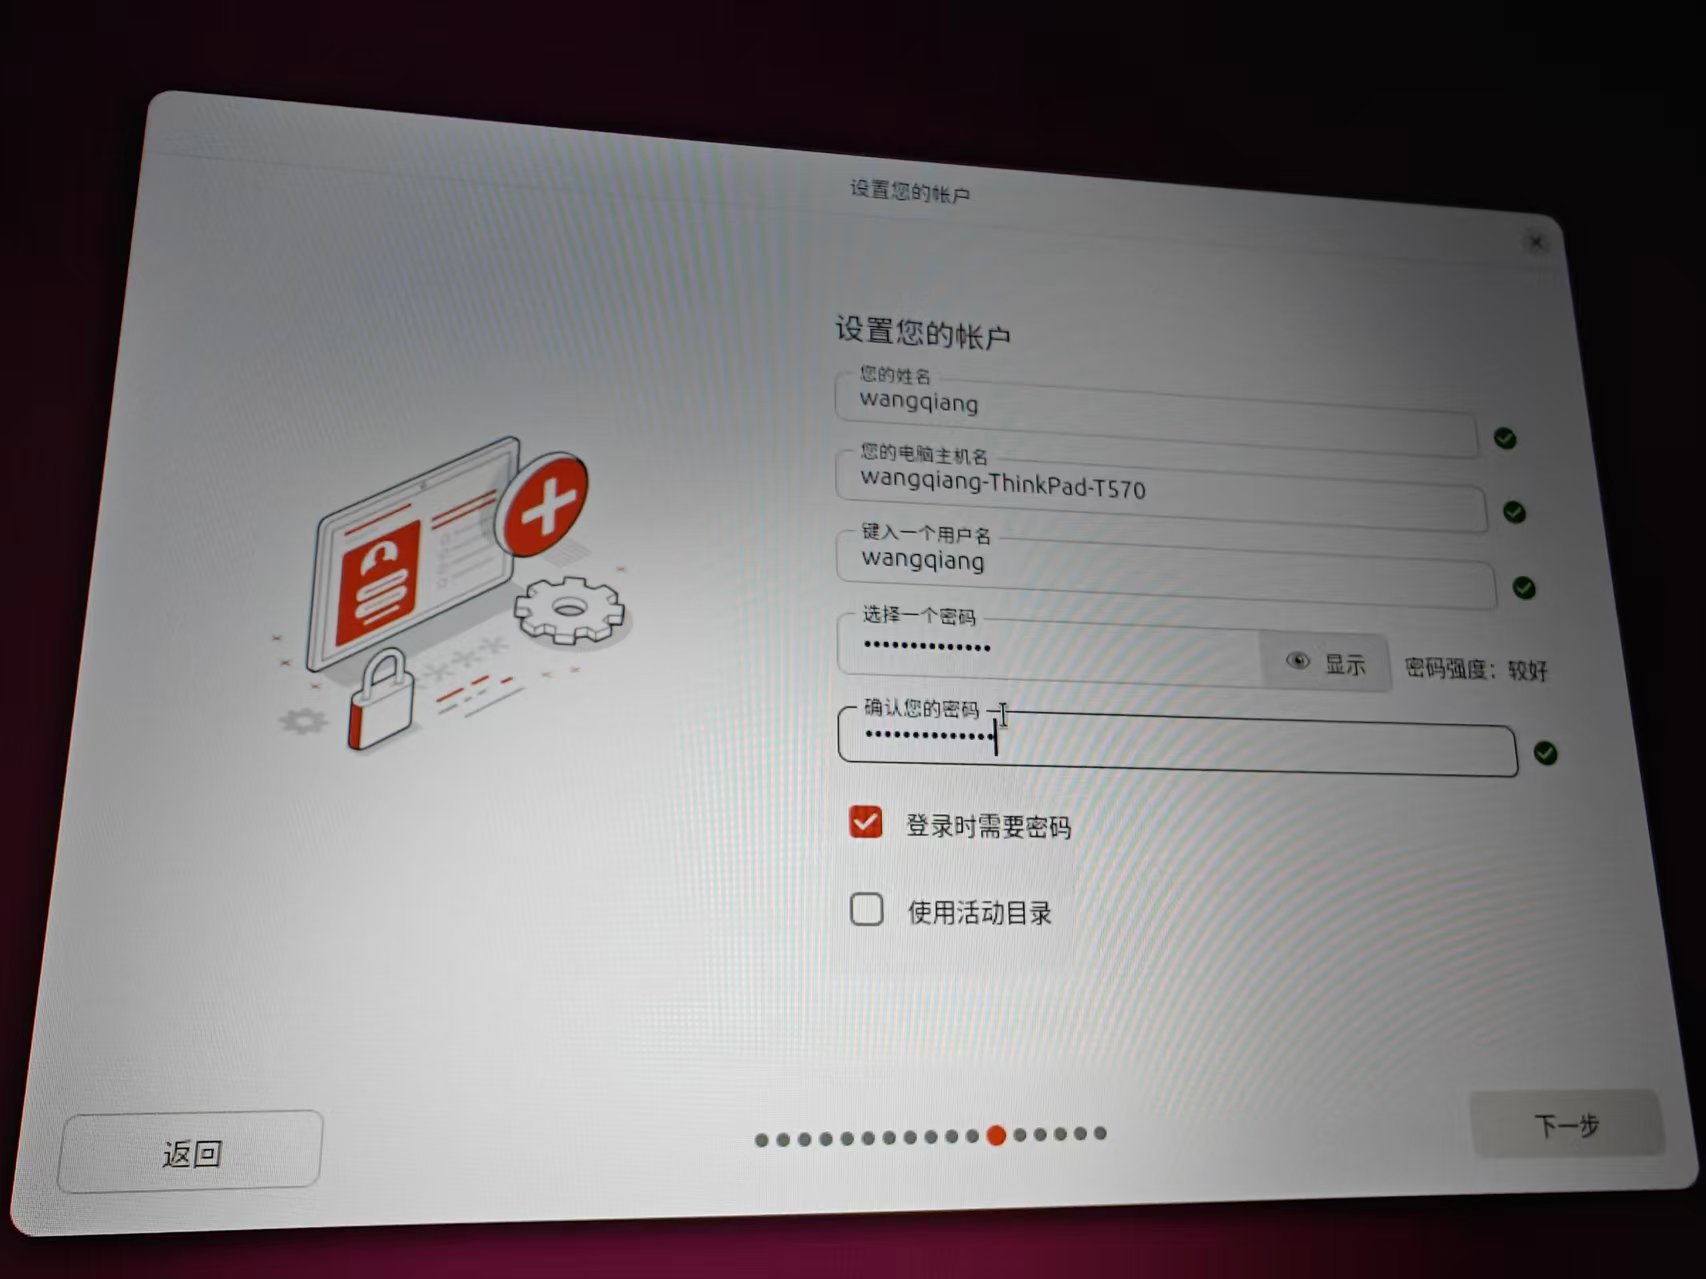
Click on Next step.
2.11 Select time zone
Click on Shanghai on the map, or directly select Asia/Shanghai.
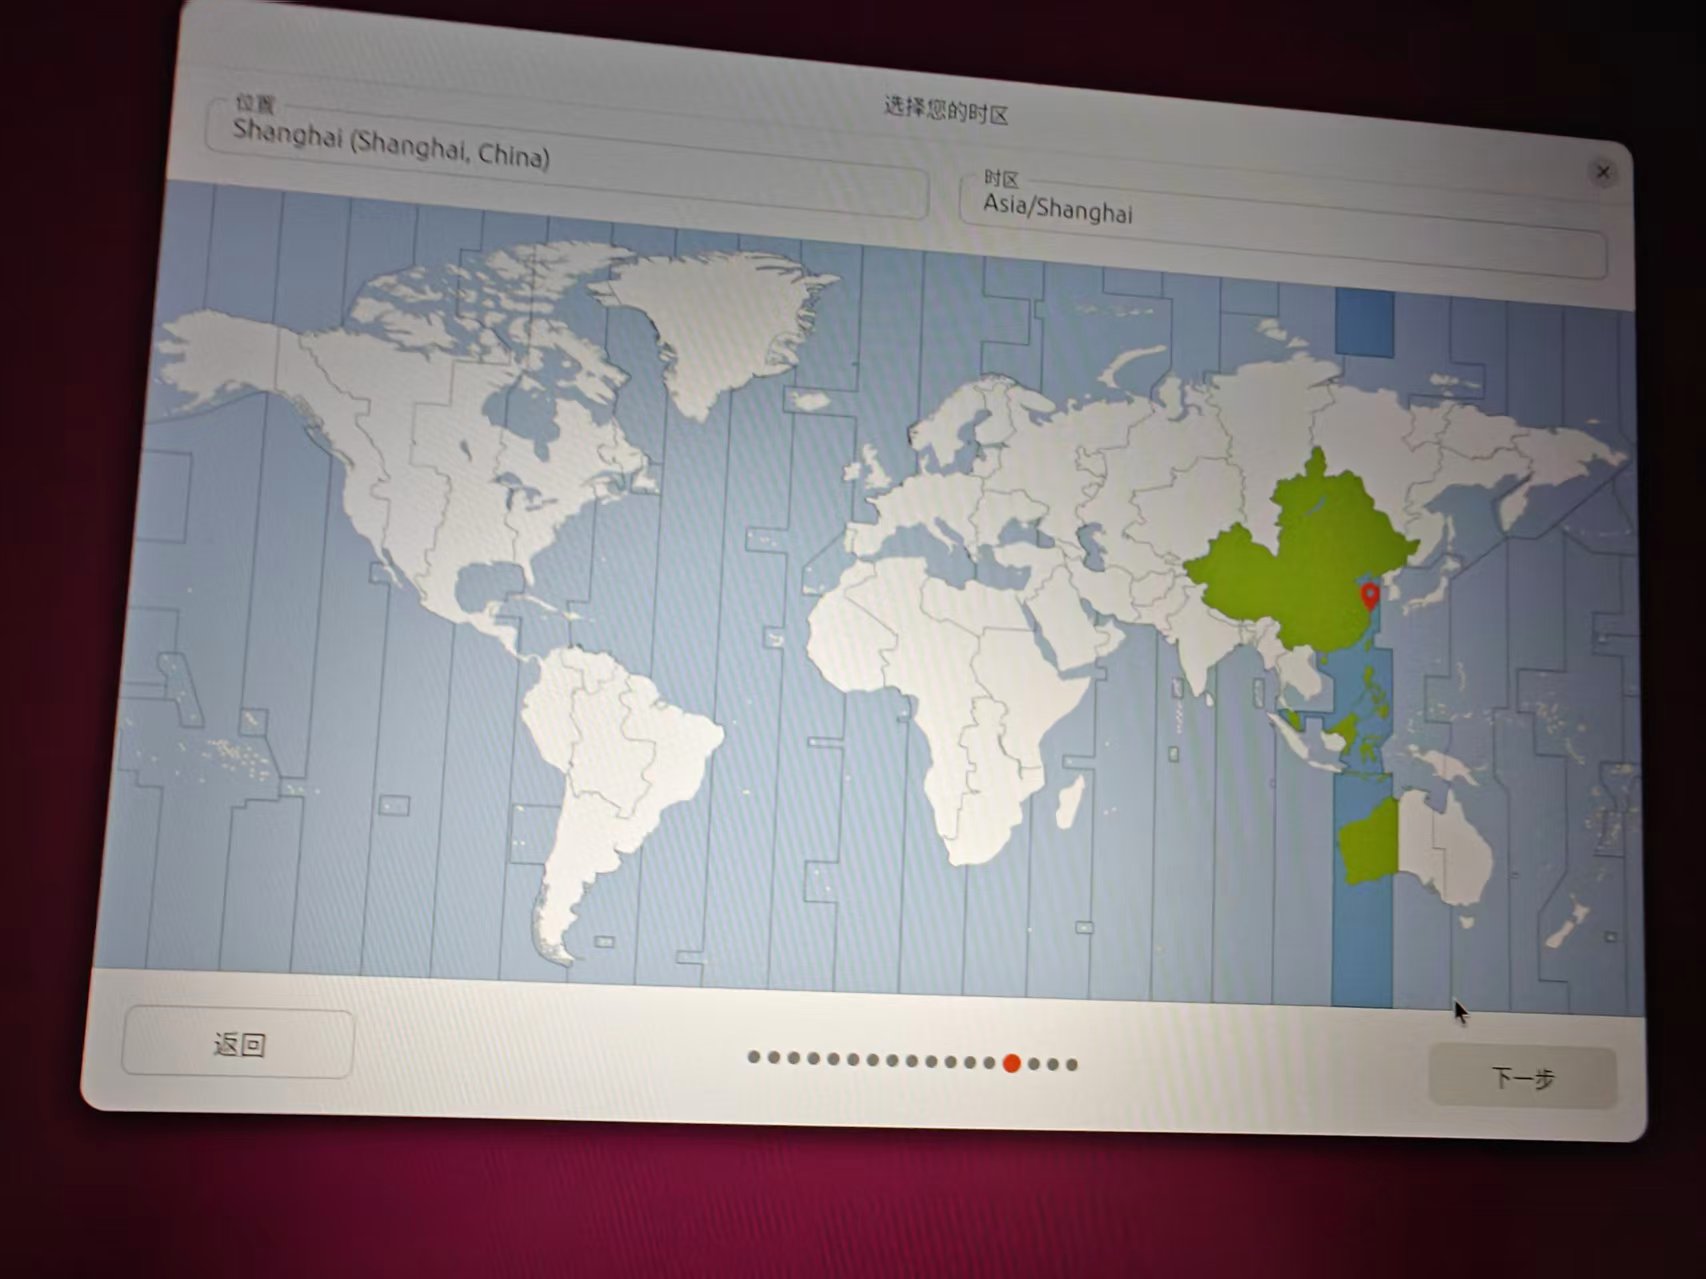
Click on Next step.
2.12 Confirm installation options
The system displays a review page to confirm the installation type, disk, application, encryption, proprietary software, etc. The partition information below shows:
sda1: FAT32 for/boot/efisda2:ext4 for/ / *- Other Windows partitions (SDB1~SDB7) have not been changed (these are larger hard disks)
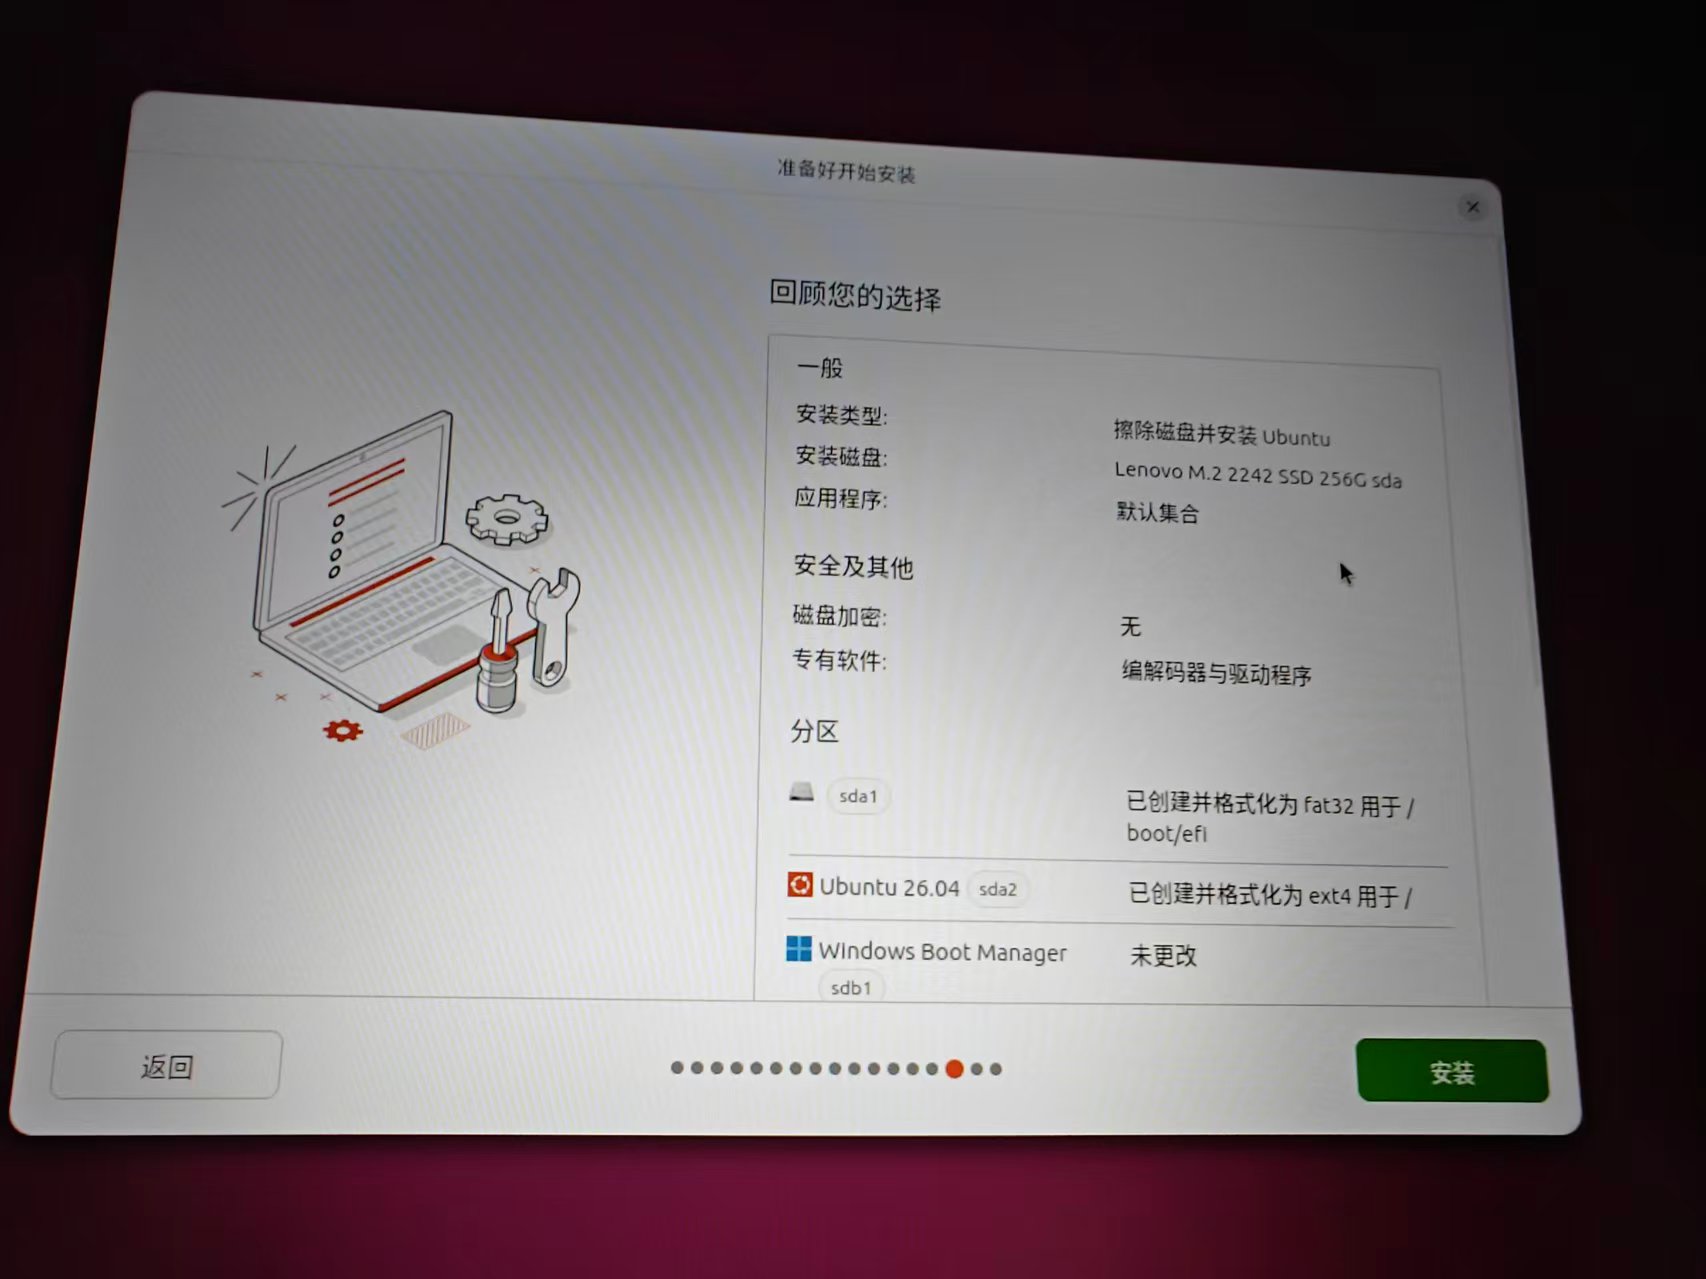
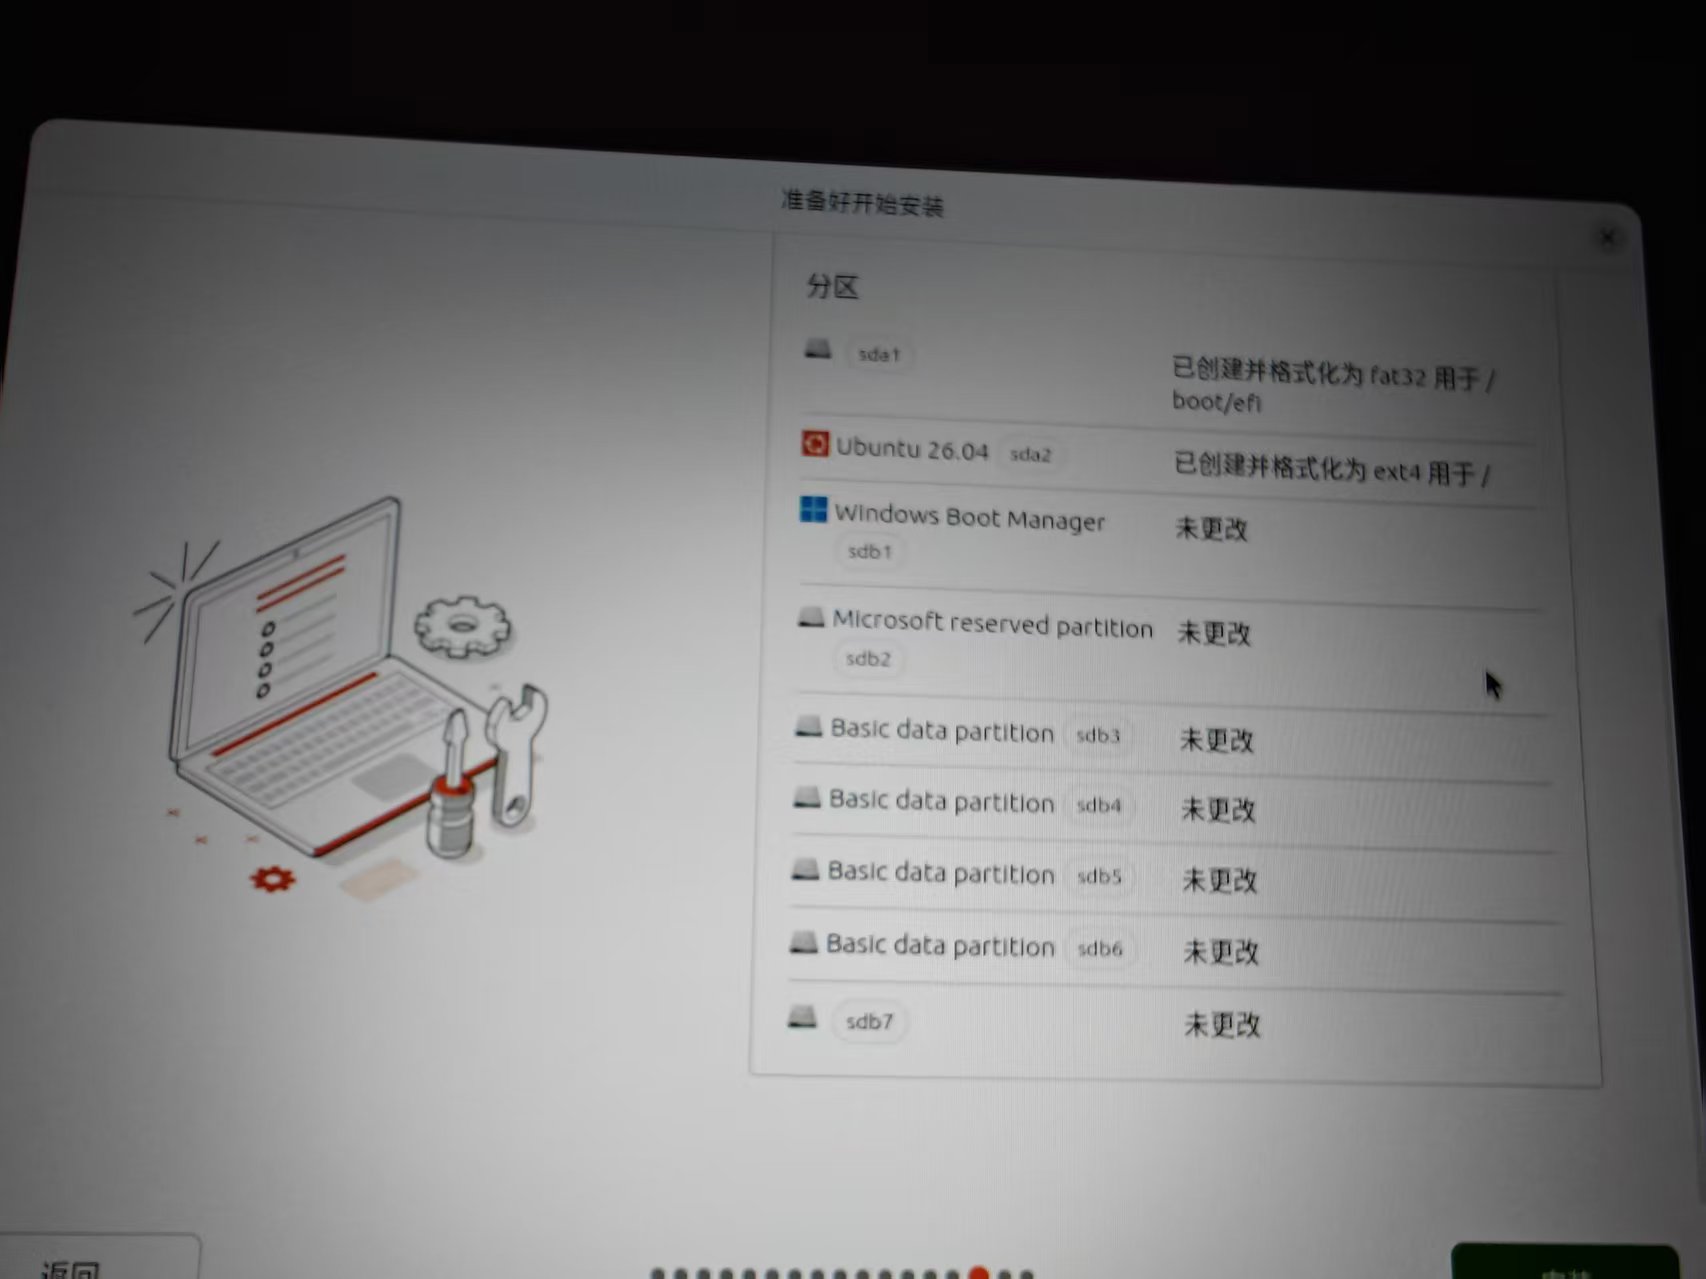
After confirming that it is correct, click Installation.
2.13 Installation process
The system begins to copy files, configure hardware, and install the boot program. The interface displays the progress bar and the Ubuntu feature introduction.
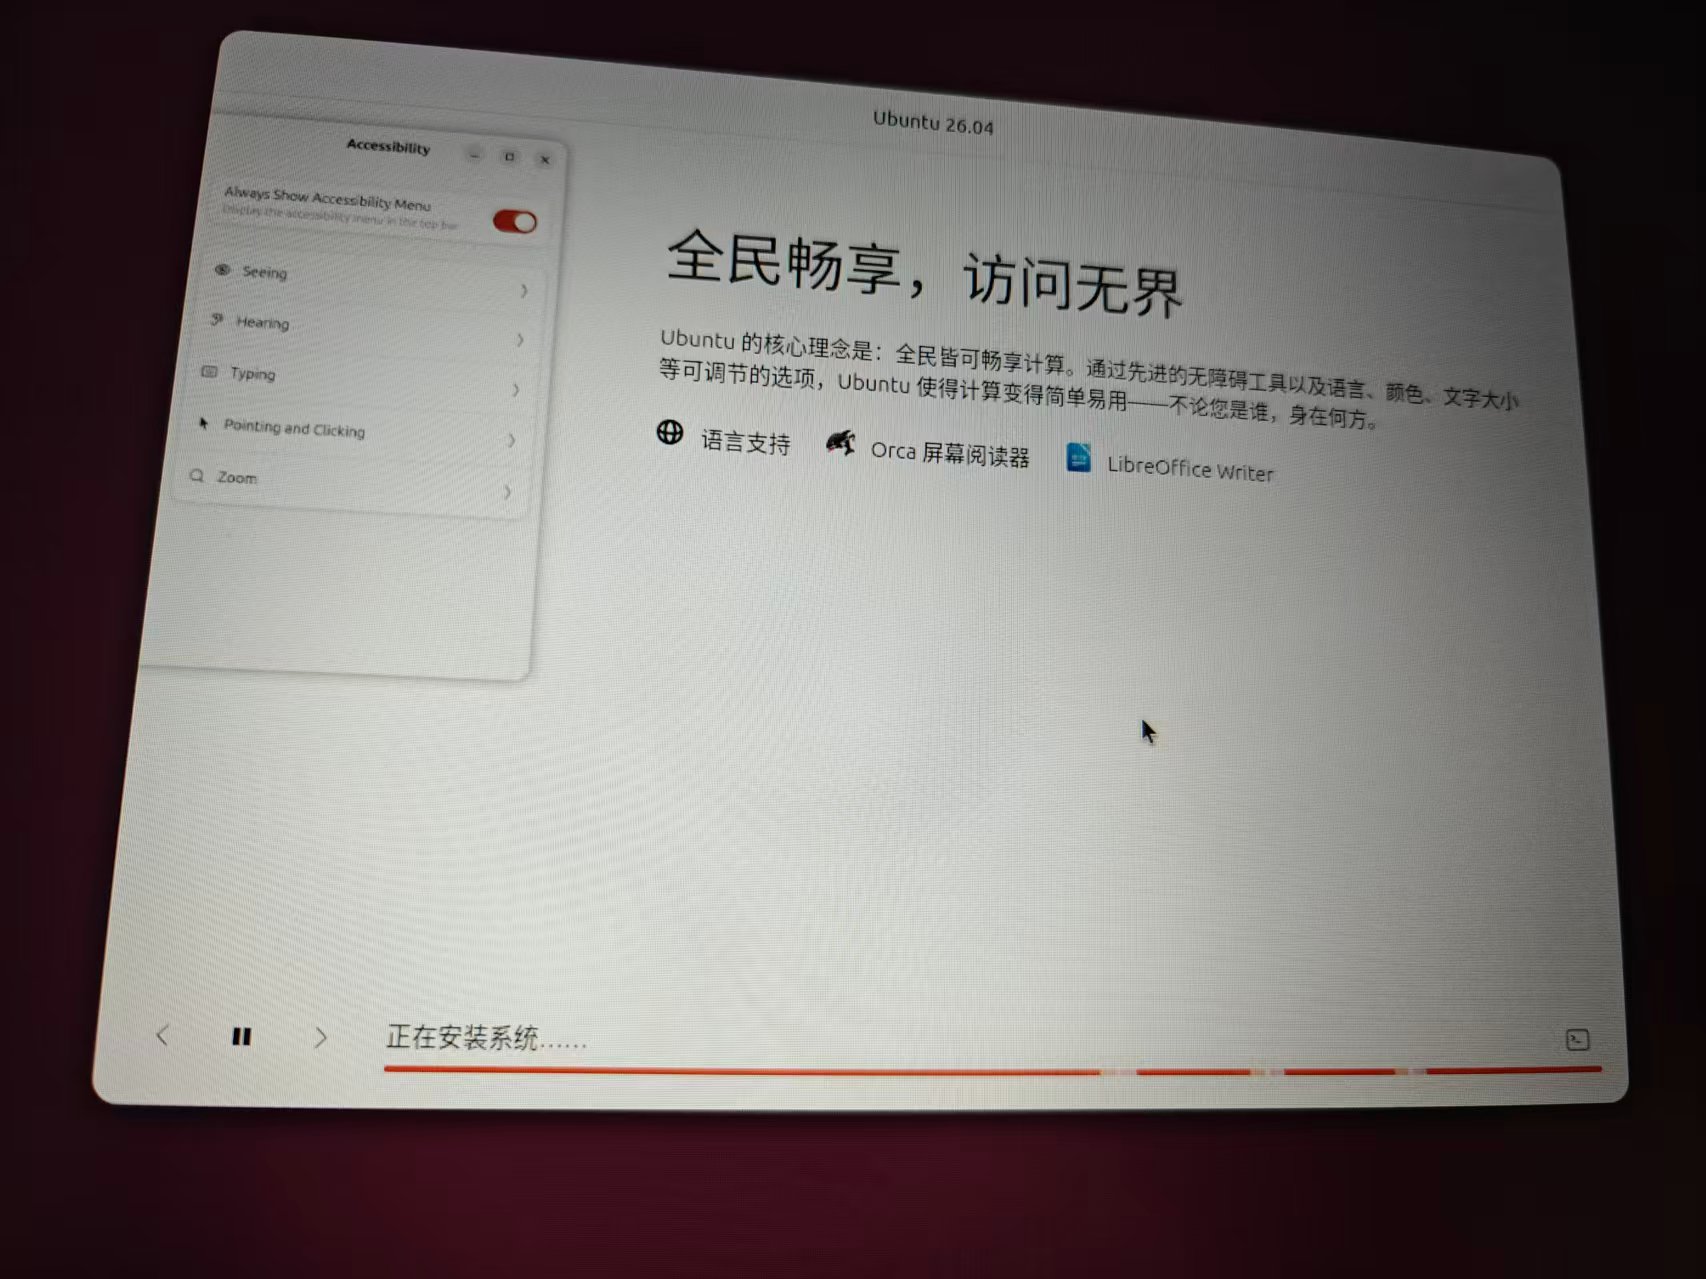
Wait about 10–15 minutes.
2.14 Installation is complete
The ‘Installation Complete’ dialog box pops up, prompting restart.
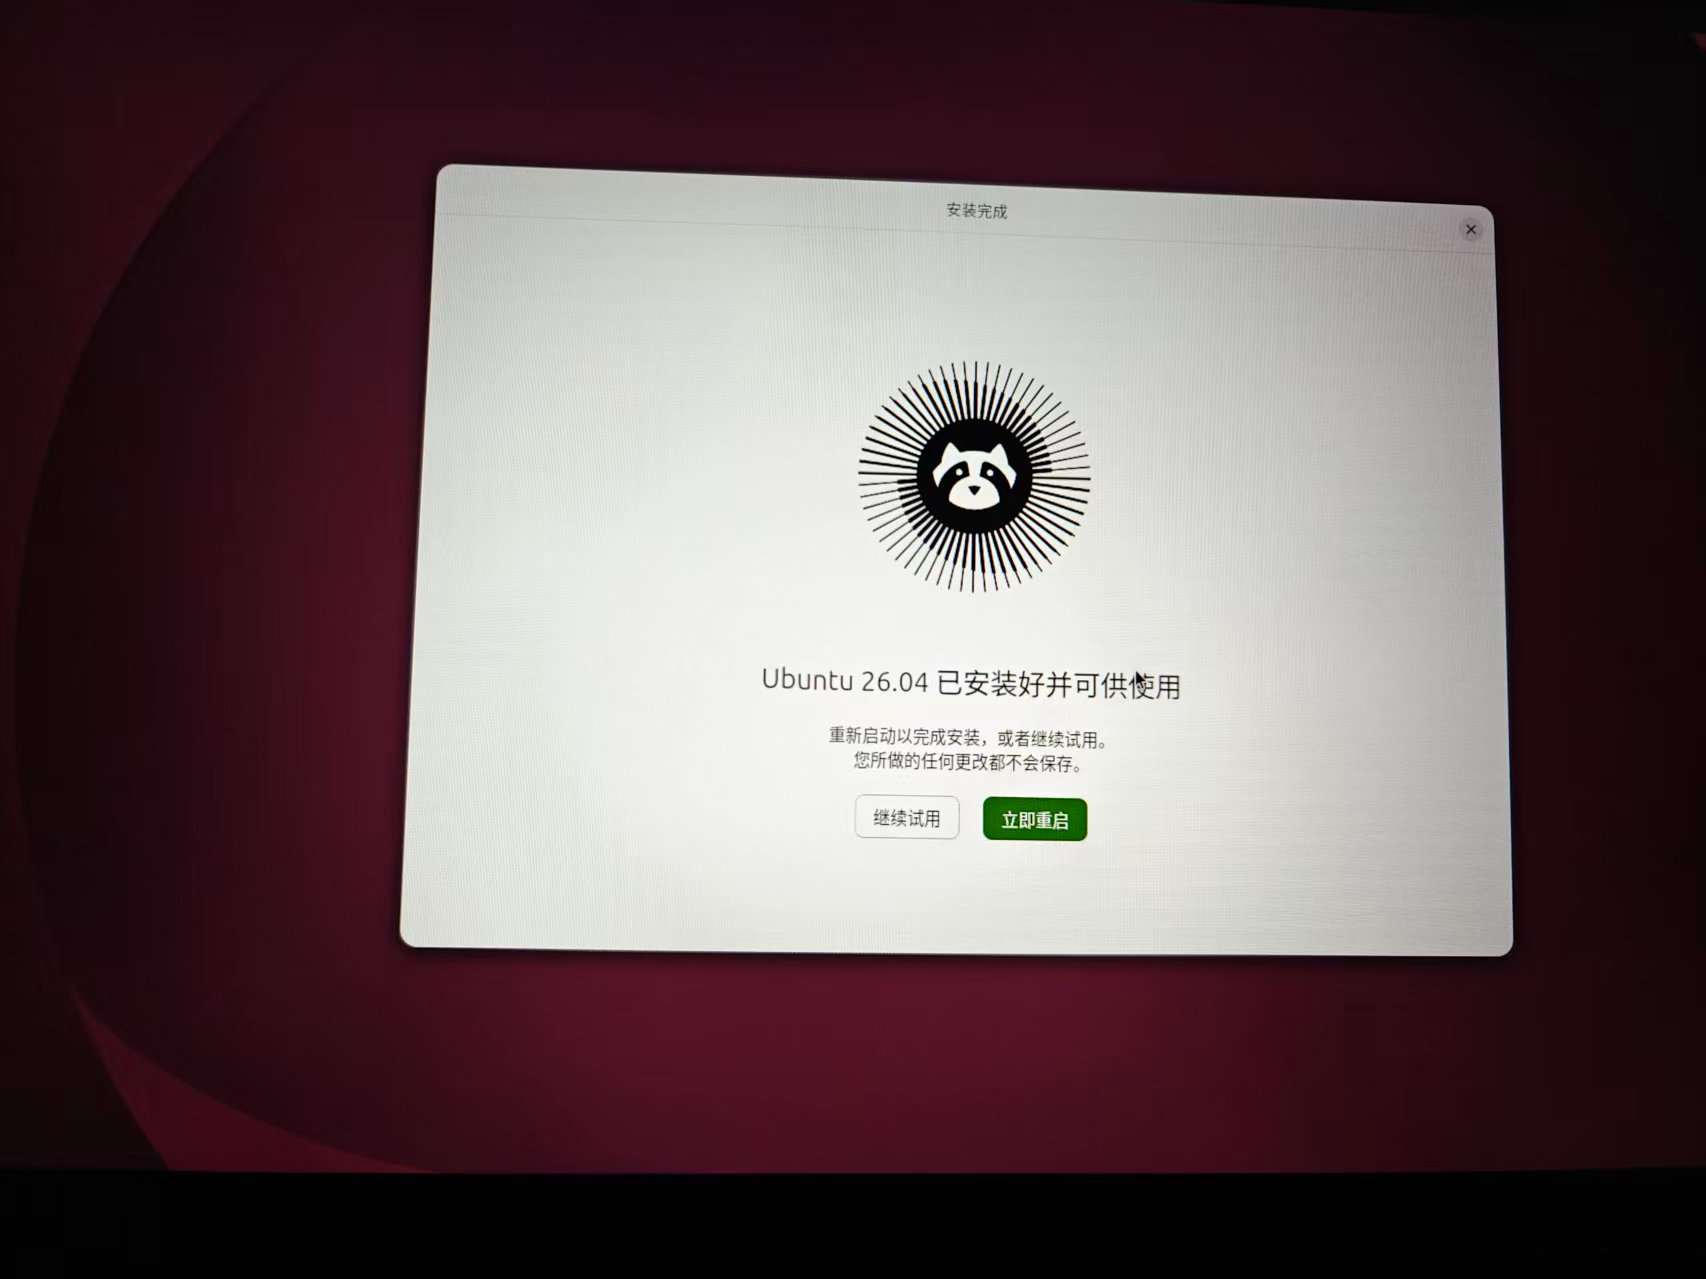
Click on Restart now. The system will prompt to remove the installation media, since we are using a virtual U disk (FAT32 partition on the hard disk), there is no need to operate, just press Enter directly.
3. The first configuration of the first startup (4 photos in total)
After restarting, enter the Ubuntu’s first setup wizard.
3.1 Welcome interface
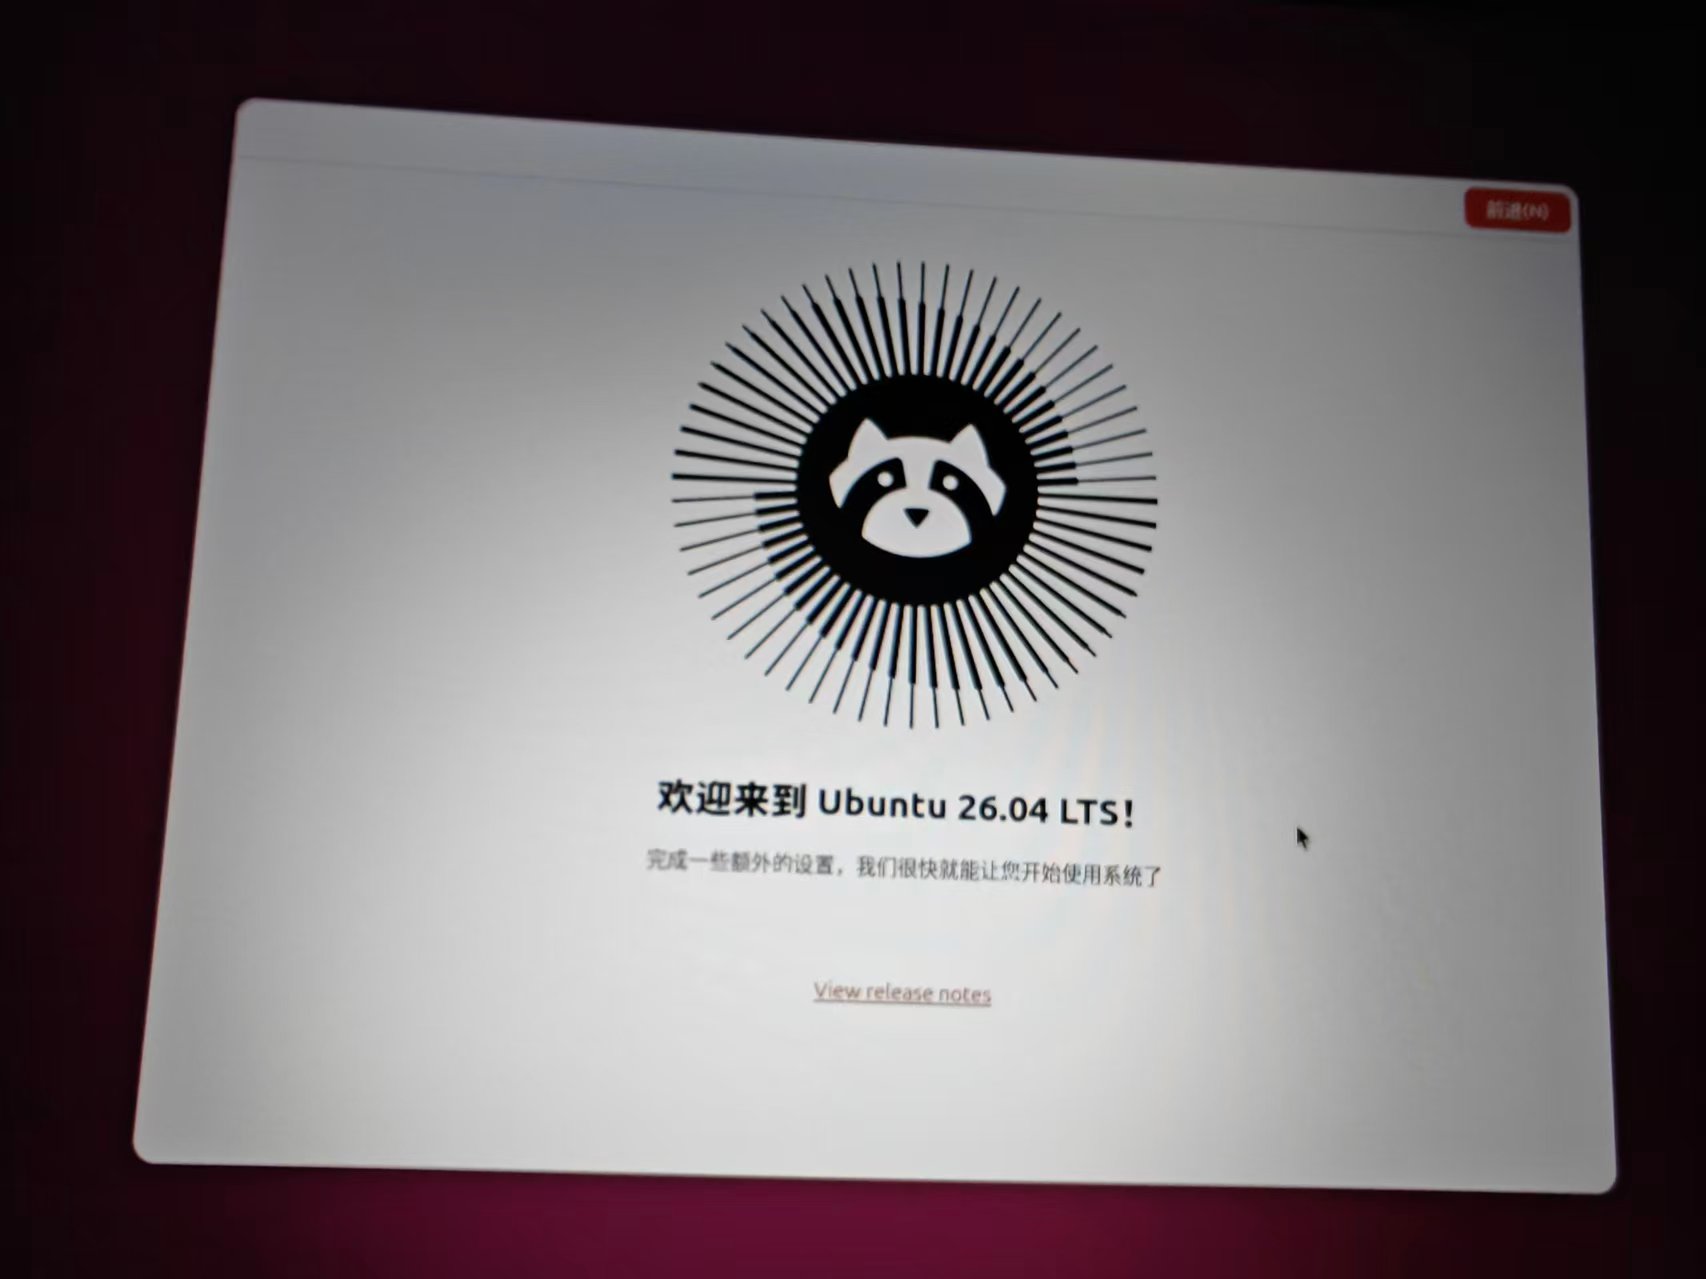
Click on Advance.
3.2 Positioning services
Ask if the location service is enabled. I chose to turn on (you can change it later in the settings).
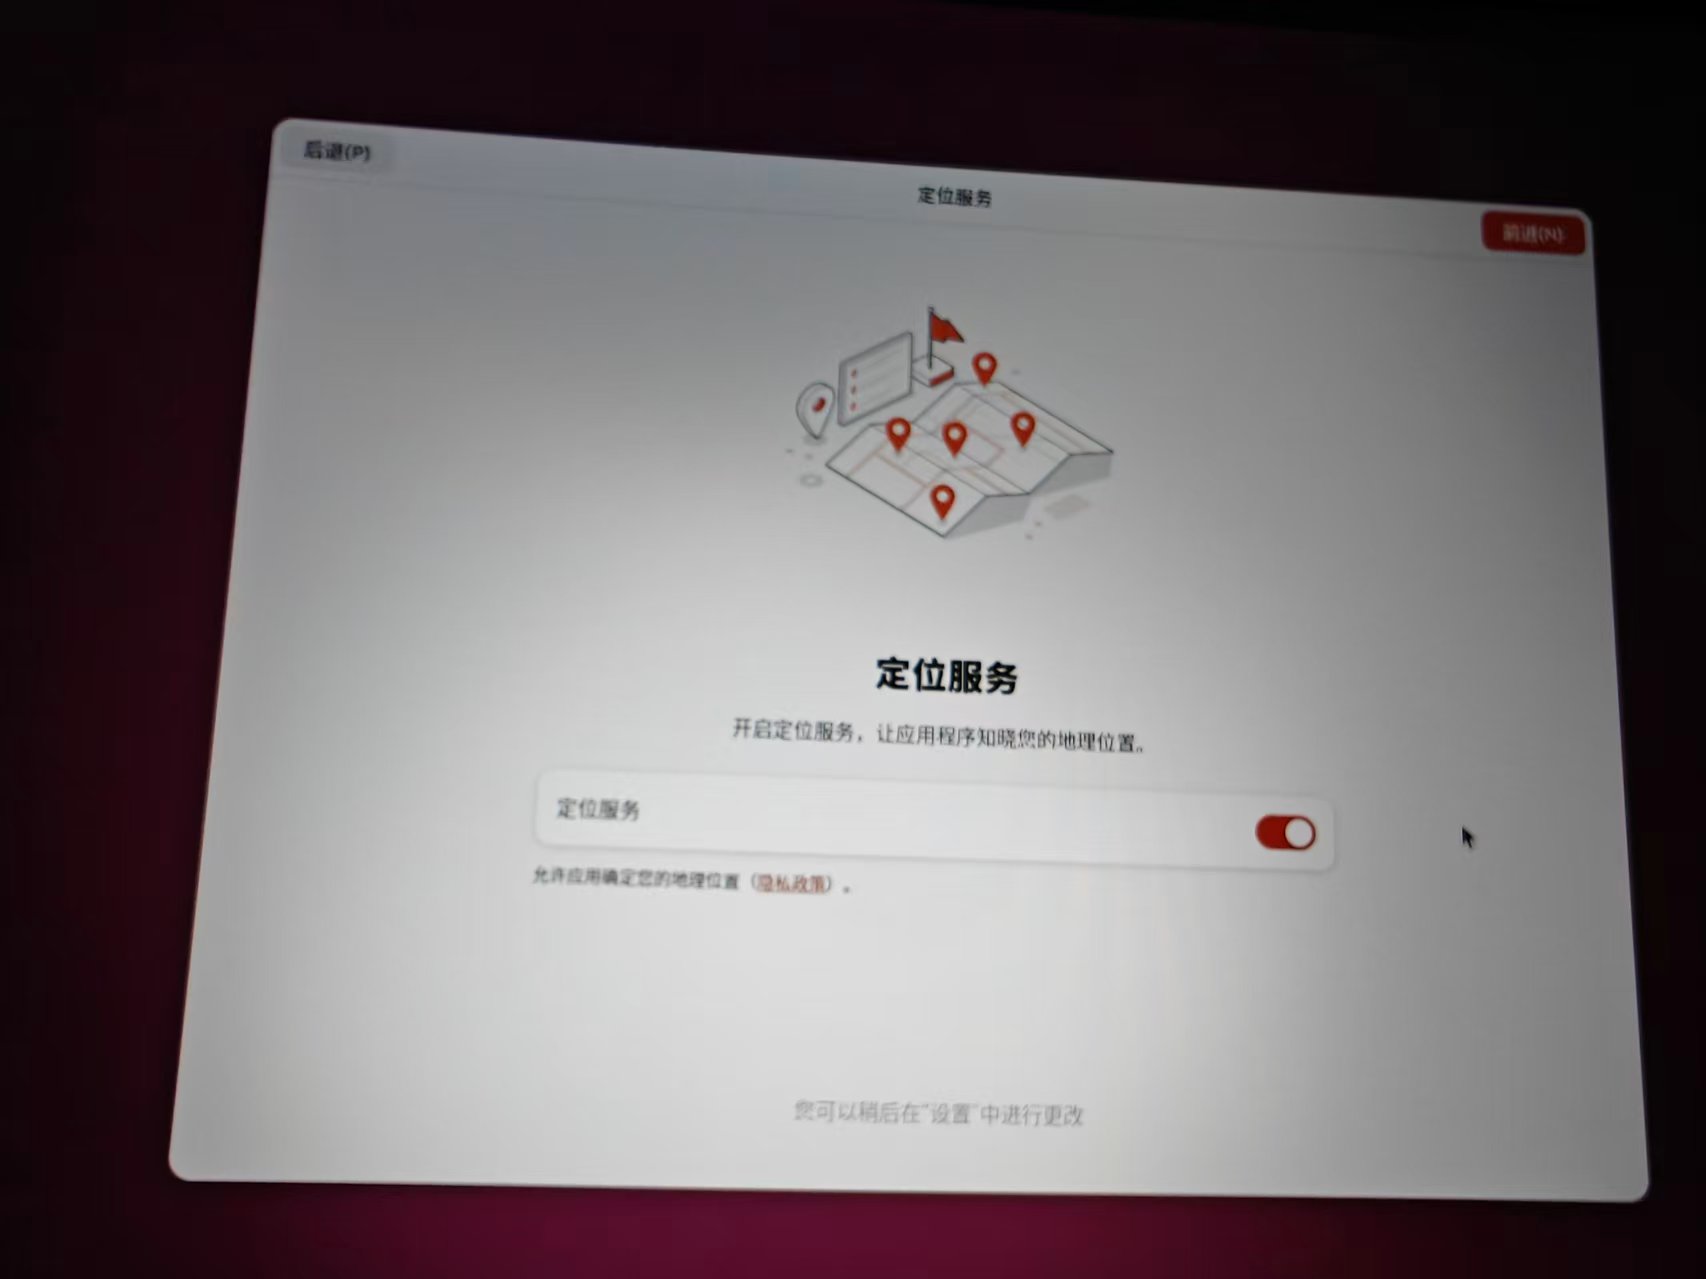
Click on Advance.
3.3 Help to improve Ubuntu
Inquire about sharing system data and error reports. I chose to share (check).
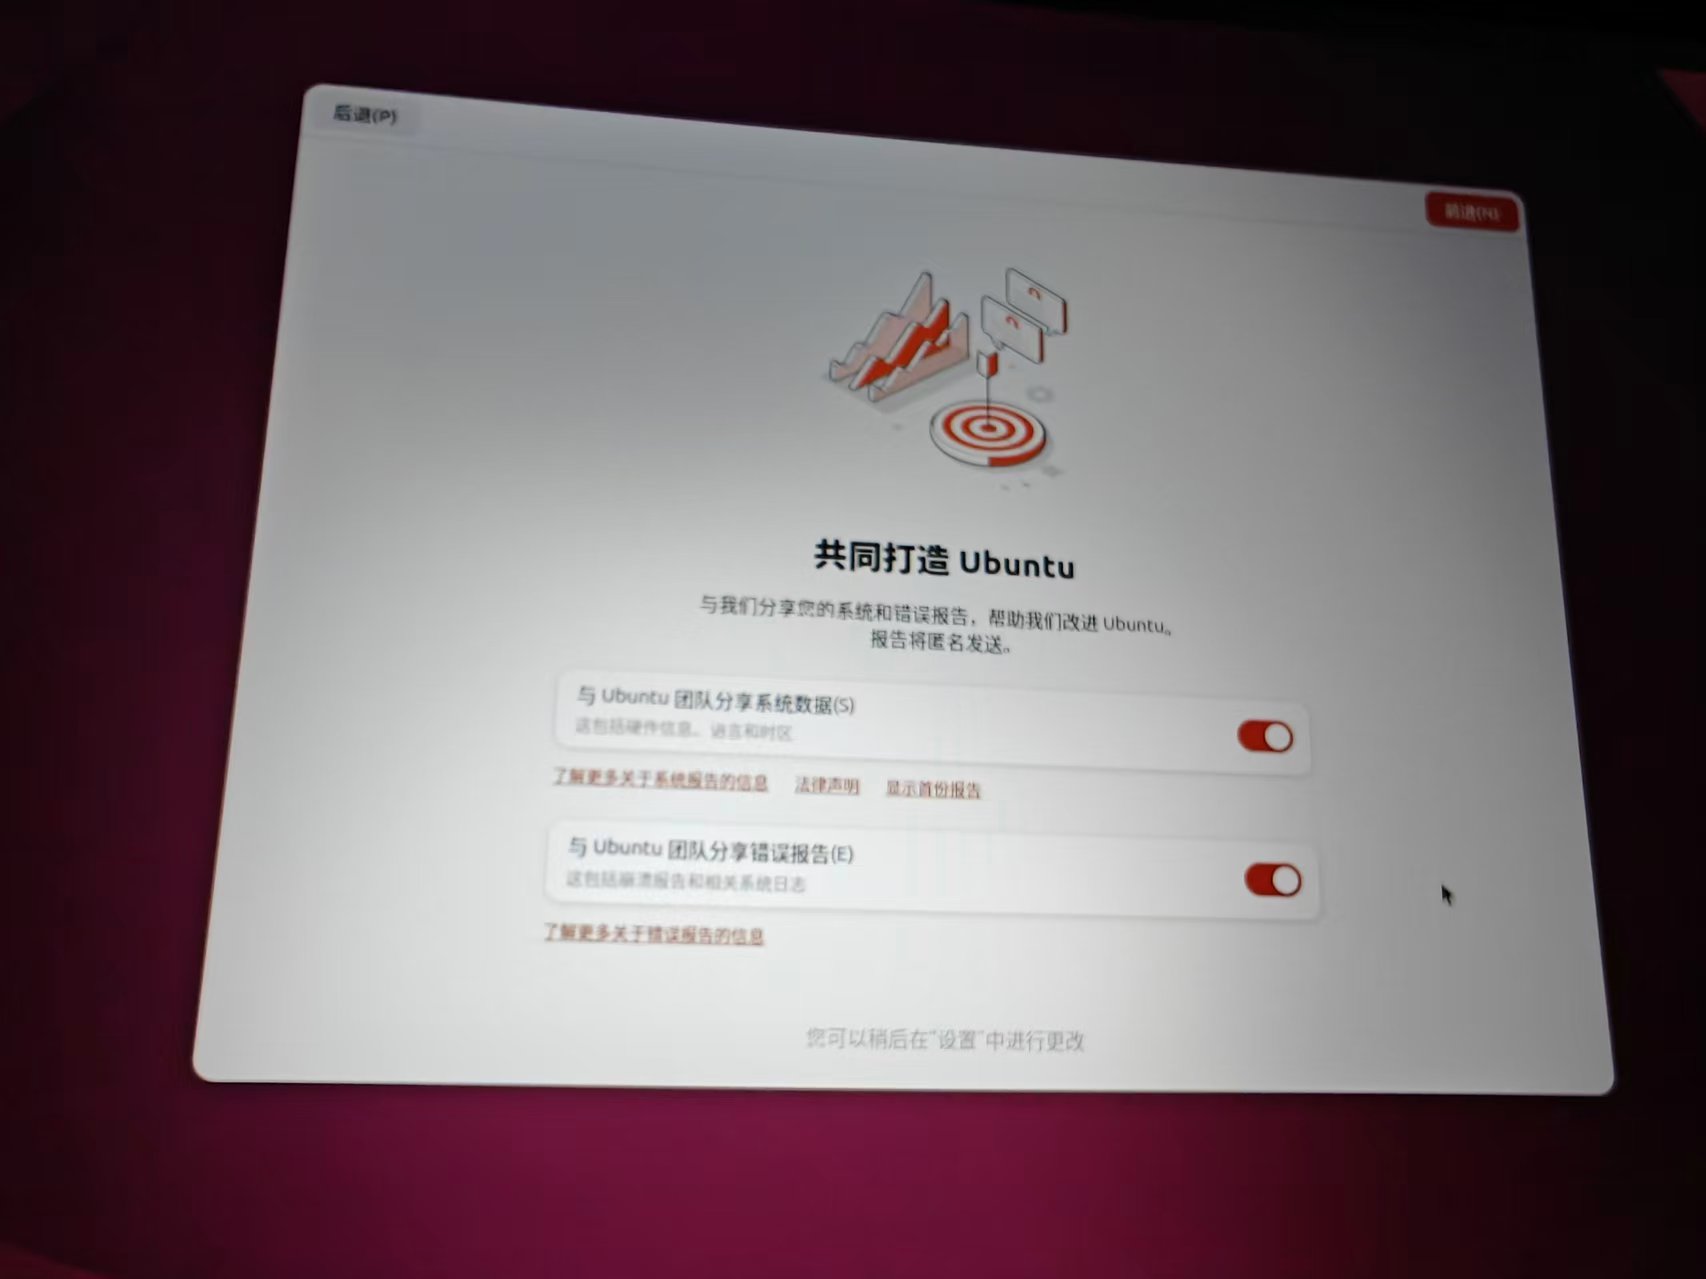
Click on Advance.
3.4 Select Appearance
Can choose Default Or Dark colors theme. I chose Default.
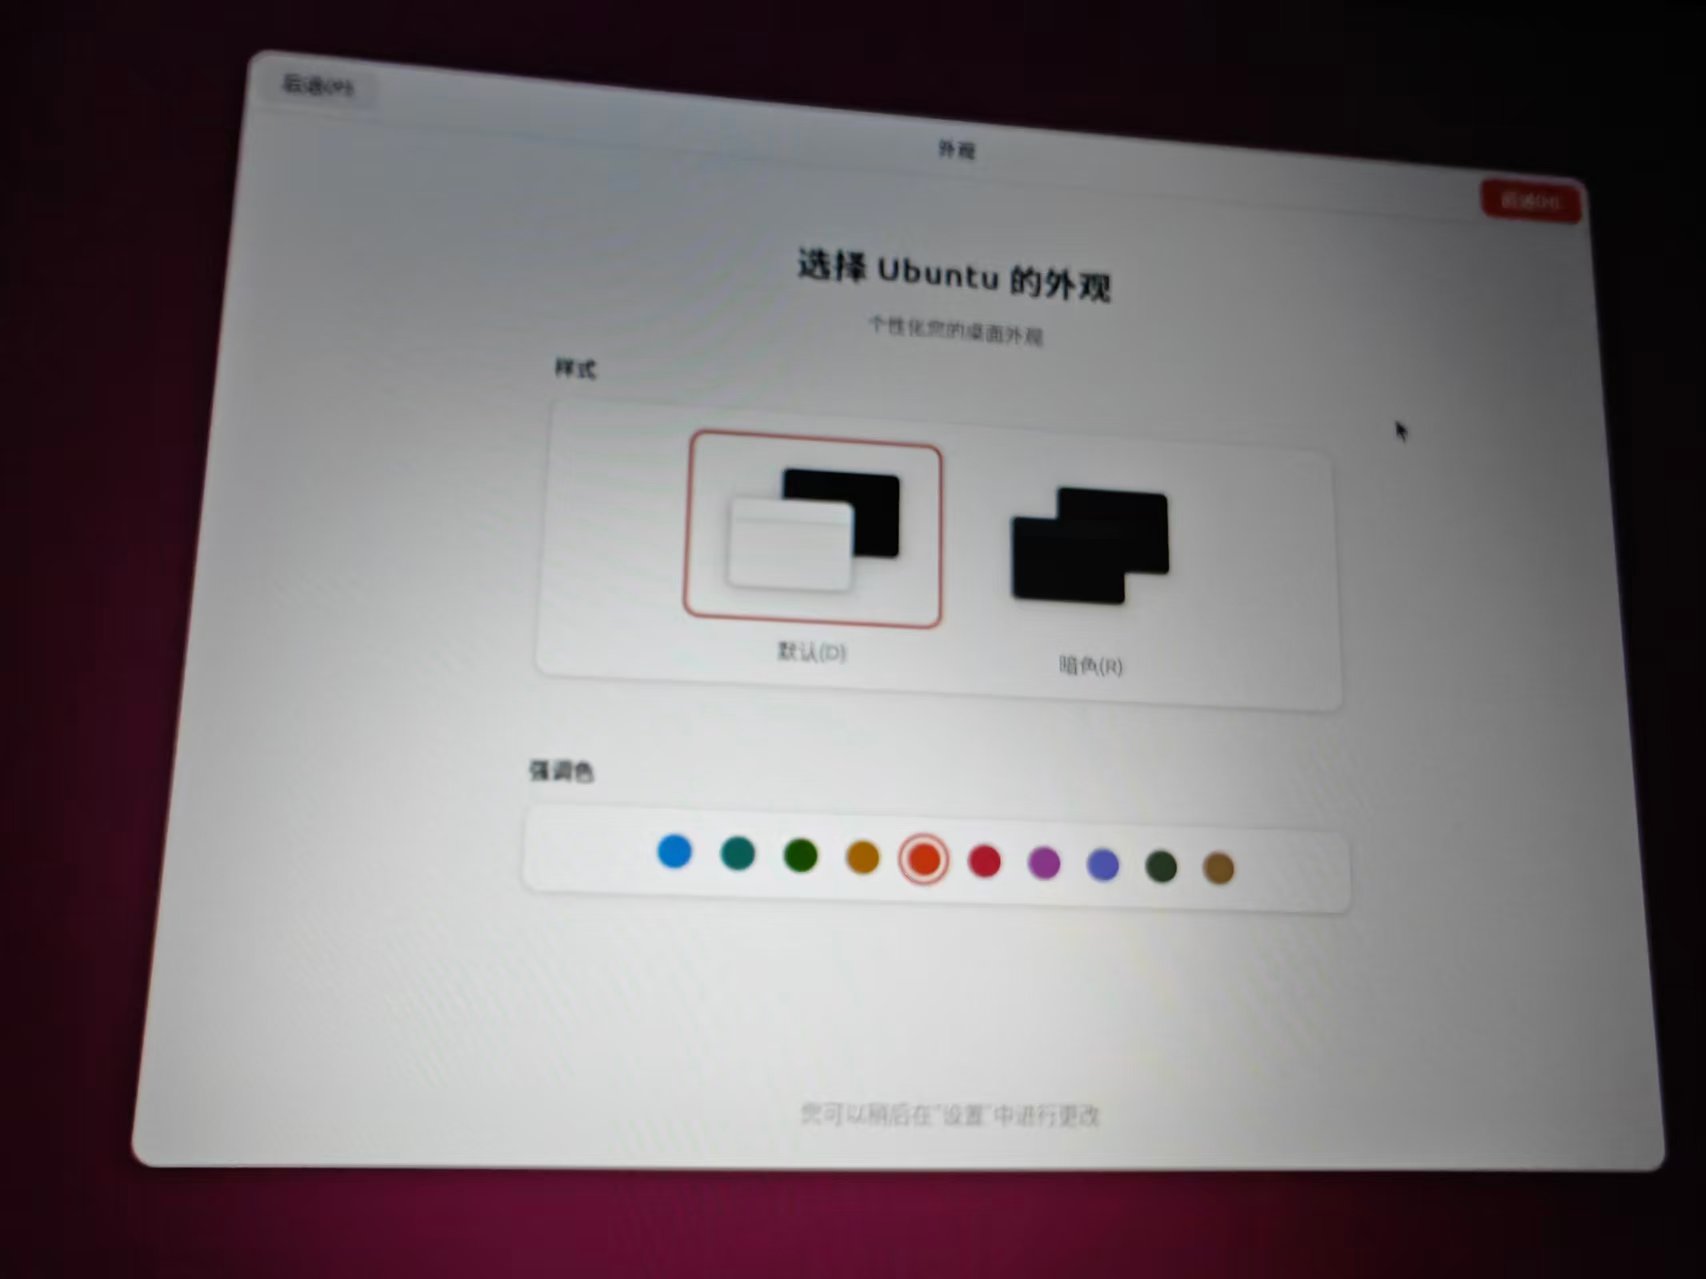
Click on Advance(or finish).
4. Enter the desktop
After the setting is complete, enter the Ubuntu 26.04 default desktop. At this point, the installation and first configuration are all completed.
5. Follow-up cleaning and suggestions
5.1 Delete the startup items added by EasyEFI
Open the terminal, use efibootmgr Delete the startup item named ‘Ubuntu Installer’:
sudo efibootmgr
# 找到对应的 Boot 编号,例如 Boot0003
sudo efibootmgr -b 3 -B
5.2 Update the system
sudo apt update && sudo apt upgrade -y
6. Summary
This article records the complete process from startup and installation to the first Ubuntu desktop, with a total of 20 installation photos + 4 first configuration photos. The whole process went smoothly without a black screen or a driver problem.