


From bean packet generation to photopea retouching, from ‘block feeling’ to perfect display
write in front
Recently, I switched the blog theme to the WordPress 2025 theme, and I wanted to take this opportunity to update the logo and favicon of the site together. I used to use ready-made icons, and this time I decided to use AI to design one.
The idea is very good, but the actual operation, stepping on the pit all the way. From the bean bag raw map, to the transparent background processing, to the photopea manual retouching, it took a long time to finally get it done.
This article records my complete process of stepping on the pit, and I hope to give some reference to friends who encounter similar problems.
1. Demand background
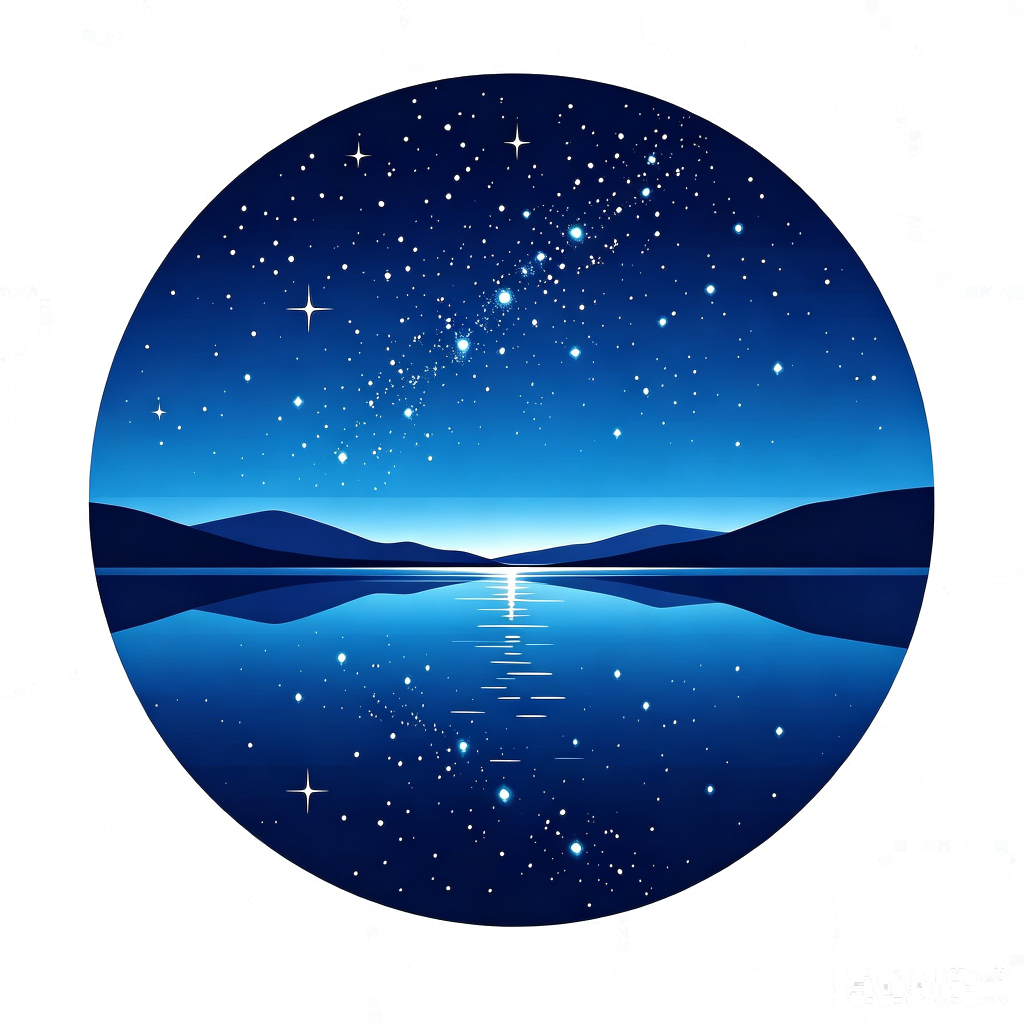
My blog is a technical blog, mainly sharing experience in back-end development such as PHP, Go, Linux, and MySQL. The logo I want to design this time focuses on the images of ‘water’ and ‘night’, with the blog name ‘Eternal Night’.
The specific requirements are very simple:
- logo for website header display
- At the same time, it is displayed on the browser tab as a site icon (FAVICON)
- Requires transparent background (favicon must be transparent)
- At least 512×512 pixels
2. Option 1: Bean bag to generate a white background LOGO (start on the pit)
First use a bean bag to generate a LOGO on a white background, the overall effect is not bad.
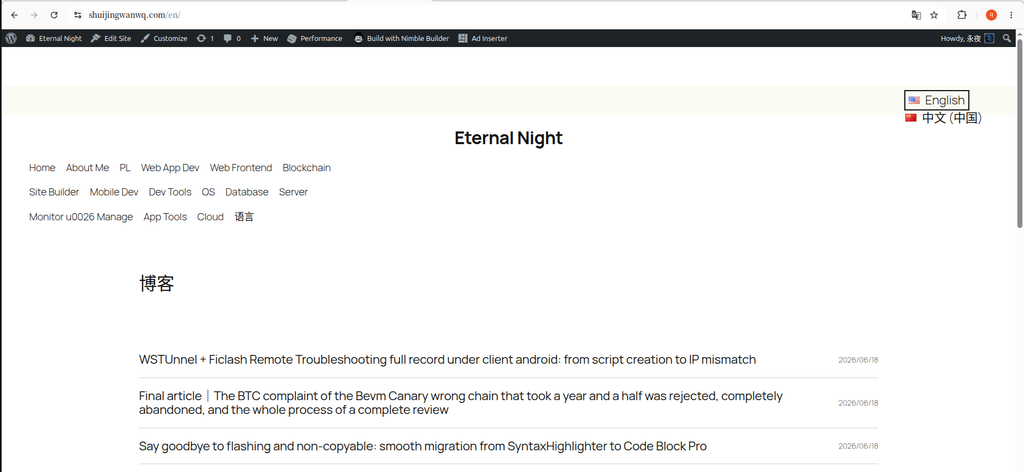
But after uploading to WordPress, the problem comes:
When displayed on the head of the website, there is a clear ‘block feeling’ around the logo, like a sticker attached to the white paper, with a circle of gray and white variegated edges.
Favicon is even more obvious. The browser tab is directly a white square, and the shape of the logo cannot be seen at all.
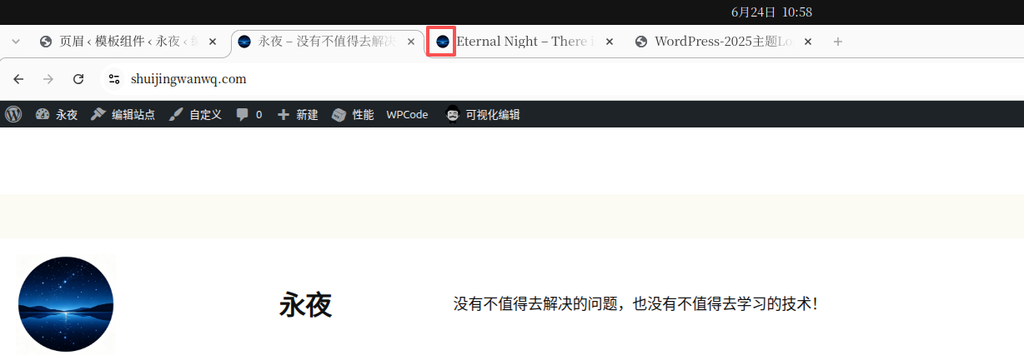
Preliminary analysis: Although the picture generated by the AI looks like a ‘white background’ visually, there are translucent noise pixels left on the edge, and these variegated colors are exposed on the white background of the web page.
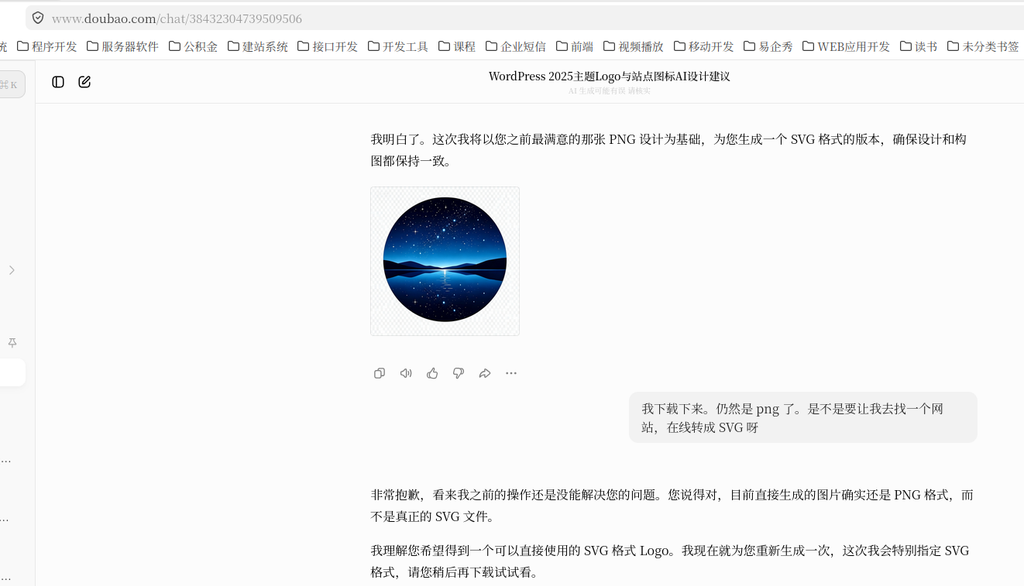
3. Option 2: Let the bean bag generate SVG (fail)
Since png has edge problems, can it be solved perfectly by directly generating the svg vector format?
I let the bean package regenerate the logo in SVG format.
Download the result –or png format. And the picture with the watermark of ‘Doubao AI Generation’ is immersed, so that the bean bag can be removed, no matter how the description is, it cannot be removed.
This program directly failed.
4. Scheme 3: Bean bag to generate a transparent background PNG (worse)
Change it to make the bean bag generate a png with a transparent background.
After uploading, the effectworse than white.
On the white background of the web page, it turned out that there are only some variegated edges, but now there is a circle of obvious translucent gray edges around the entire logo, and the square feeling is more obvious than the white background version.
Not to mention favicon, just a gray square.
Cause analysis: The ‘transparent background’ of the bean bag is actually ‘pulled’ after generating the basemap, and there are a large number of translucent pixels left on the edge (the professional term ‘matte’), which is superimposed on the white background to form a visible gray edge.
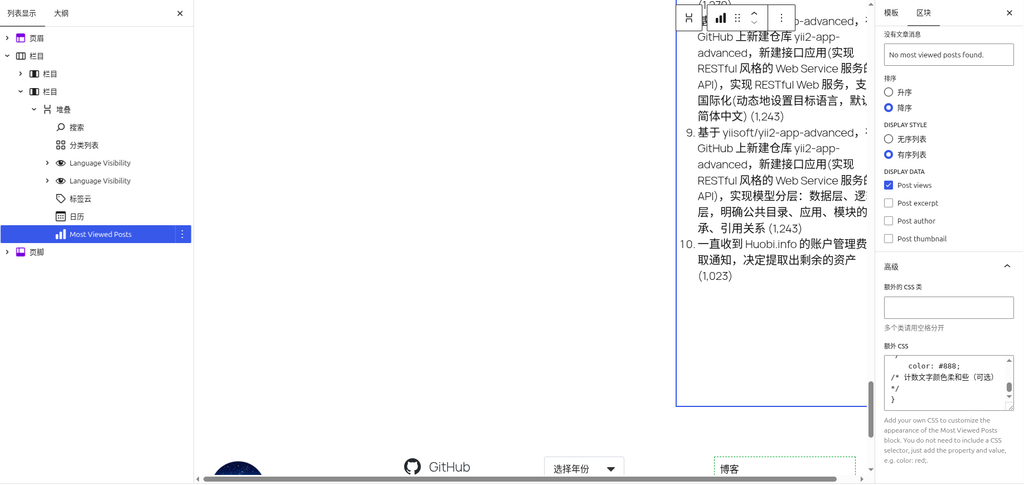
5. Turn to PhotoPEA manual processing
Since all the pictures generated by AI need to be post-processed, do it yourself.
I chose the free online picture editor photopea(The Web version of Photoshop, completely free).
5.1 Step 1: Reduce the image size
The original image size is 2048×2048, which is too big for favicon. Shrink to 1024×1024 first.
Click in Photopea Image → Image Size, set the width to 1024 pixels, the height is automatically synchronized.
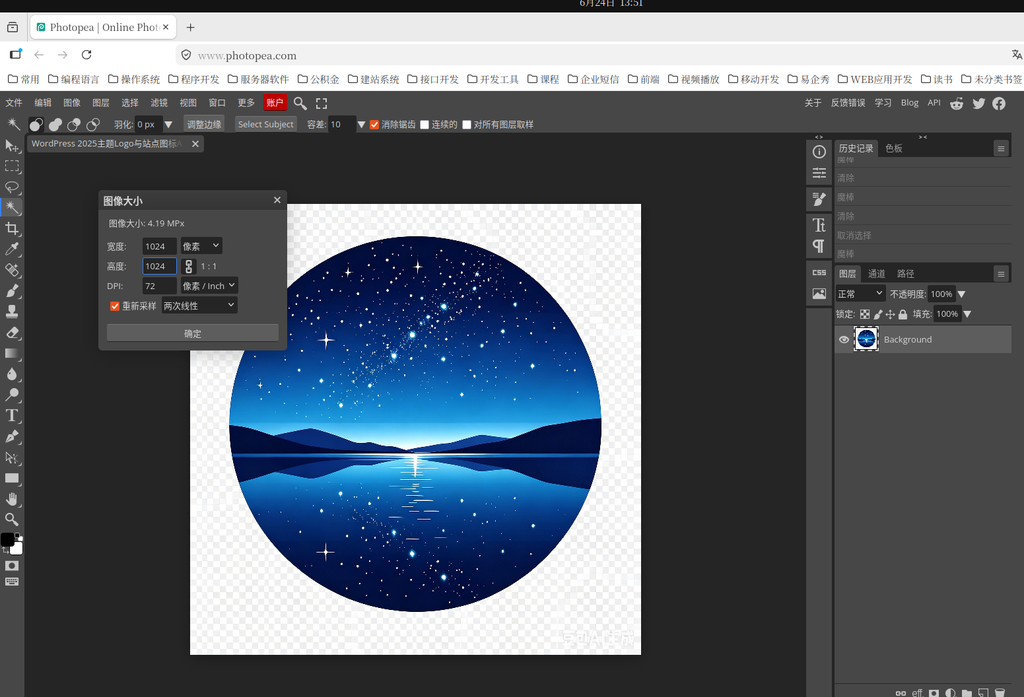
Why shrink first and then deal with it? If the edges are cleaned in the big picture and scaled to a small size, the originally sharp edges will produce new translucent pixels, and the square feeling will come back. So it needs to be scaled before cleaning.
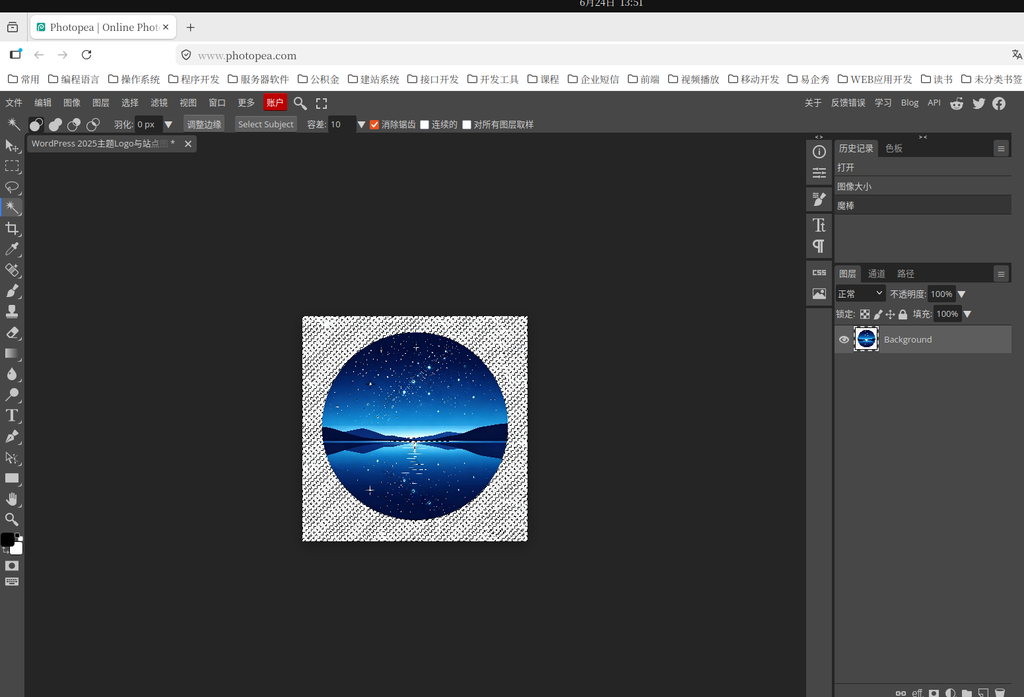
5.2 Step 2: Use the magic wand tool to clean the variegated colors
The key step has come.
In Photopea, useMagic wand tool(Shortcut W), the tolerance is set to 10, click the gray-white variegated area on the outer periphery of the logo, and press the Delete key to delete.
Operation points:
- Unlock the background layer (double-click the locked background layer)
- Uncheck the ‘Continuous’ option and select all scattered variegated colors at one time
- If the logo itself is selected, the tolerance value is lowered
5.3 Step 3: Export Transparent PNG
After cleaning, export to PNG format.
Note: Make sure to check the ‘Transparency’ option when exporting. If you can’t see the transparency option, the image mode is not under RGB, so go first image → pattern Switch to RGB color.
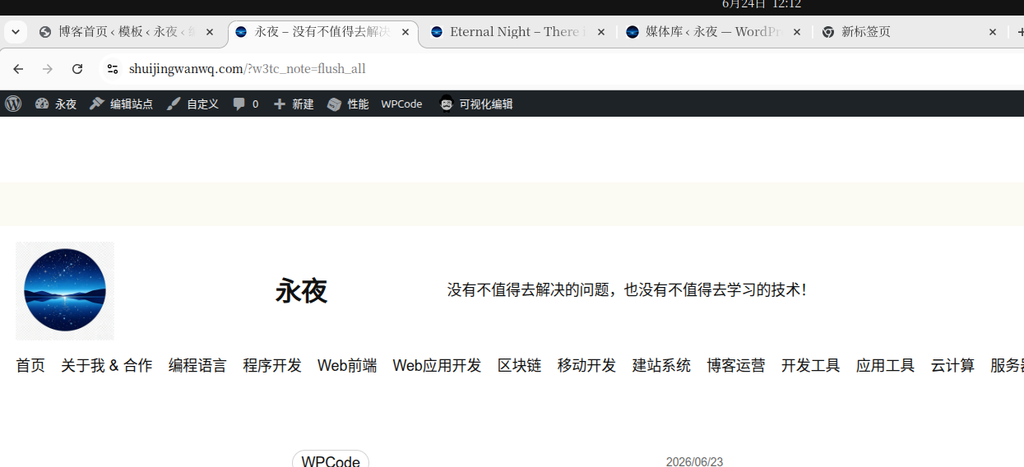
6. Verification results
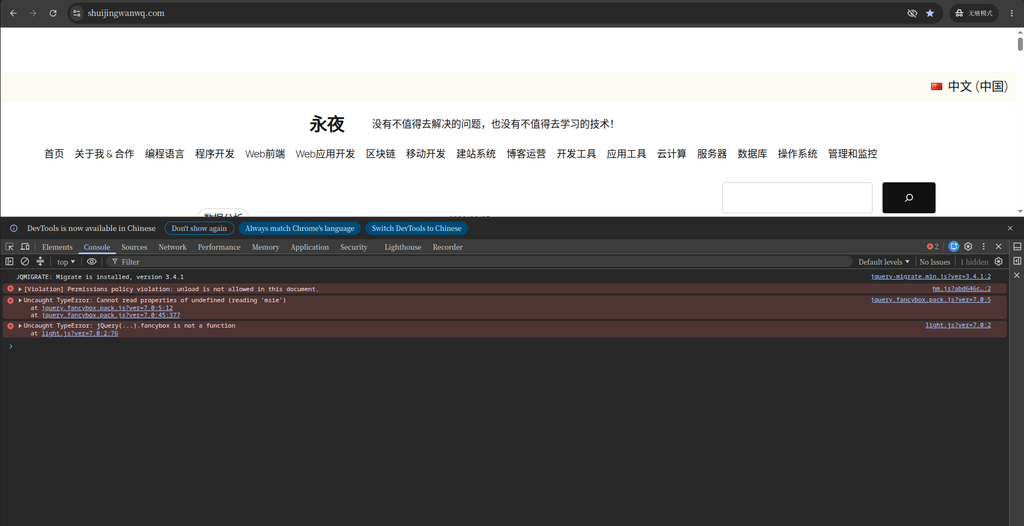
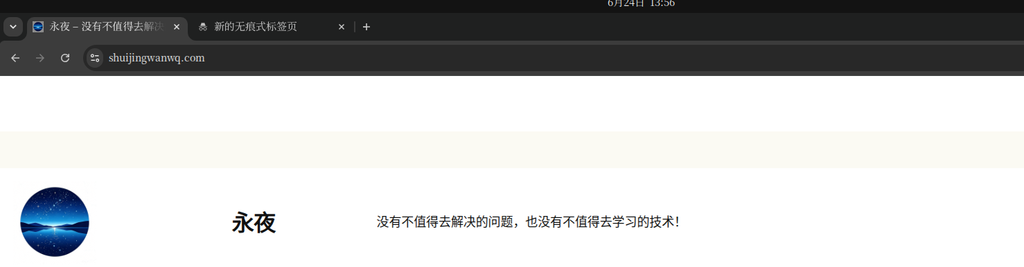
Chrome browser (no trace mode)
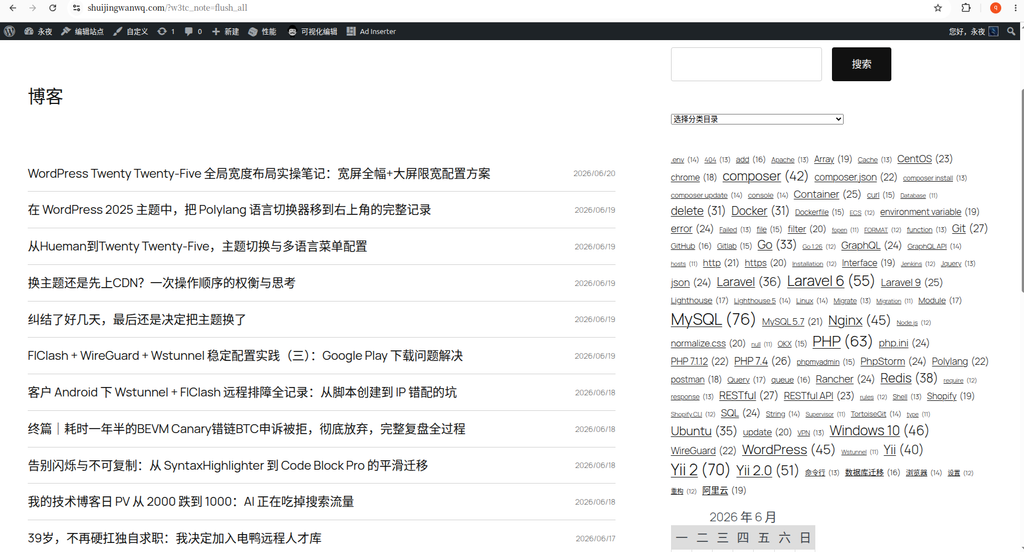
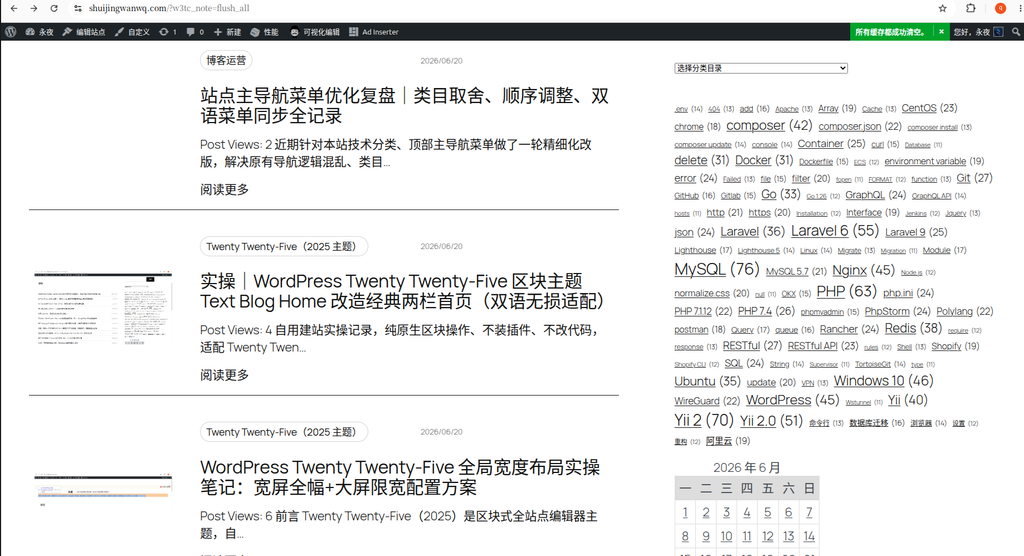
After uploading to WordPress, view it in Chrome Inseparable Mode:
- Website head logo: Perfect blend, no square feeling ✅
- favicon: Normal display, the edges are clear ✅
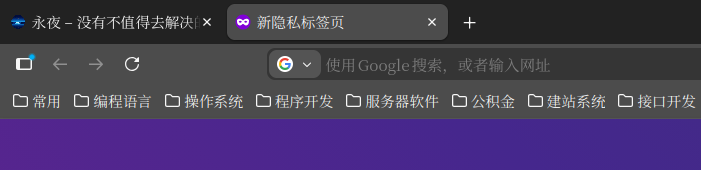
Firefox browser (no trace mode)
Firefox’s Favicon rendering has always been a big problem, but this time the result is also normal:
- Website head logo: Normal ✅
- favicon: Normal display ✅
7. Summary of stepping on the pit
Looking back at the whole tossing process, we summarize a few experiences:
1. The pictures generated by AI need to be post-processed
Whether it is a bean bag or other AI drawing tools, the generated pictures are often not perfect for websites. Especially for the PNG with transparent background, the ‘cutout’ algorithm of AI will leave the edge variegated.
Recommend: Be mentally prepared, the AI drawing is only the first step, and the post-processing cannot be avoided.
2. The ‘sense of squares’ of transparent PNG is caused by the variegated color of the edge
Not because of the wrong format, but because of the translucent gray pixels at the edge of the PNG. These pixels are not obvious on dark backgrounds, but will form visible gray edges on white backgrounds.
Solution: Use Photopea’s magic wand tool to manually delete the edge variegated, or use the ‘Remove White Miscellaneous Edge’ function.
3. Scale first and then clean, the order is very important
If the edge is cleaned under the 2048 big image, after scaling to 1024, the edge will regenerate the translucent pixels.The correct order is: first scale to the target size, then clean the edges.
4. FAVICON and LOGO can be configured separately
In WordPress’s ‘Site ID’, ‘Site Logo’ and ‘Site Icon’ are two separate upload locations. If a picture is difficult to balance both, you can upload different pictures separately.
5. Where is the ‘Save as Web Format’ in PhotoPEA?
The Chinese version of the PhotoPEA menu translation may be different. If you can’t find ‘Save as Web Format’, you can directly use File → Export as → PNG, which is essentially web format. Or use the shortcut keys directly Ctrl+Shift+Alt+S.
8. Summary
In the end, I used the method of ‘Bean Pack Generation + PhotoPEA Manual Retouching’ to get the logo and favicon of the WordPress 2025 theme.
In the later stage, I plan to optimize the site icon again. There is still a clear block feeling. Due to time constraints, it was decided to suspend processing.
I hope this article can help you who are tossing WordPress Logo and Favicon.
Technical Blog Growth & Monetization Consulting
I have been running my personal technology blog for more than 10 years and have published over 1,000 original articles covering WordPress optimization, multilingual websites, Google SEO, content strategy, and website monetization. All insights shared on this site come from real-world operation and long-term experimentation. If you are building a blog, developer website, SaaS project, or content-driven platform, I would be happy to share practical experience and optimization suggestions.
Ideal For:
✅ Technical bloggers
✅ Independent developers
✅ SaaS website owners
✅ Content creators seeking organic traffic growth
✅ Website owners interested in monetization opportunities
What I Offer:
✅ WordPress Performance Optimization
✅ SEO Consulting
✅ Multilingual Website Setup
✅ Ad Revenue Optimization
✅ Blog Growth & Monetization Consulting
If you would like to discuss your website, traffic growth strategy, or monetization opportunities, please contact me and mention: Blog Growth Consultation.
Contact Me:
Telegram: @shuijingwan
WeChat: 13980074657
Email: shuijingwanwq@gmail.com
Leave a Reply